

Machinery
Lathes:
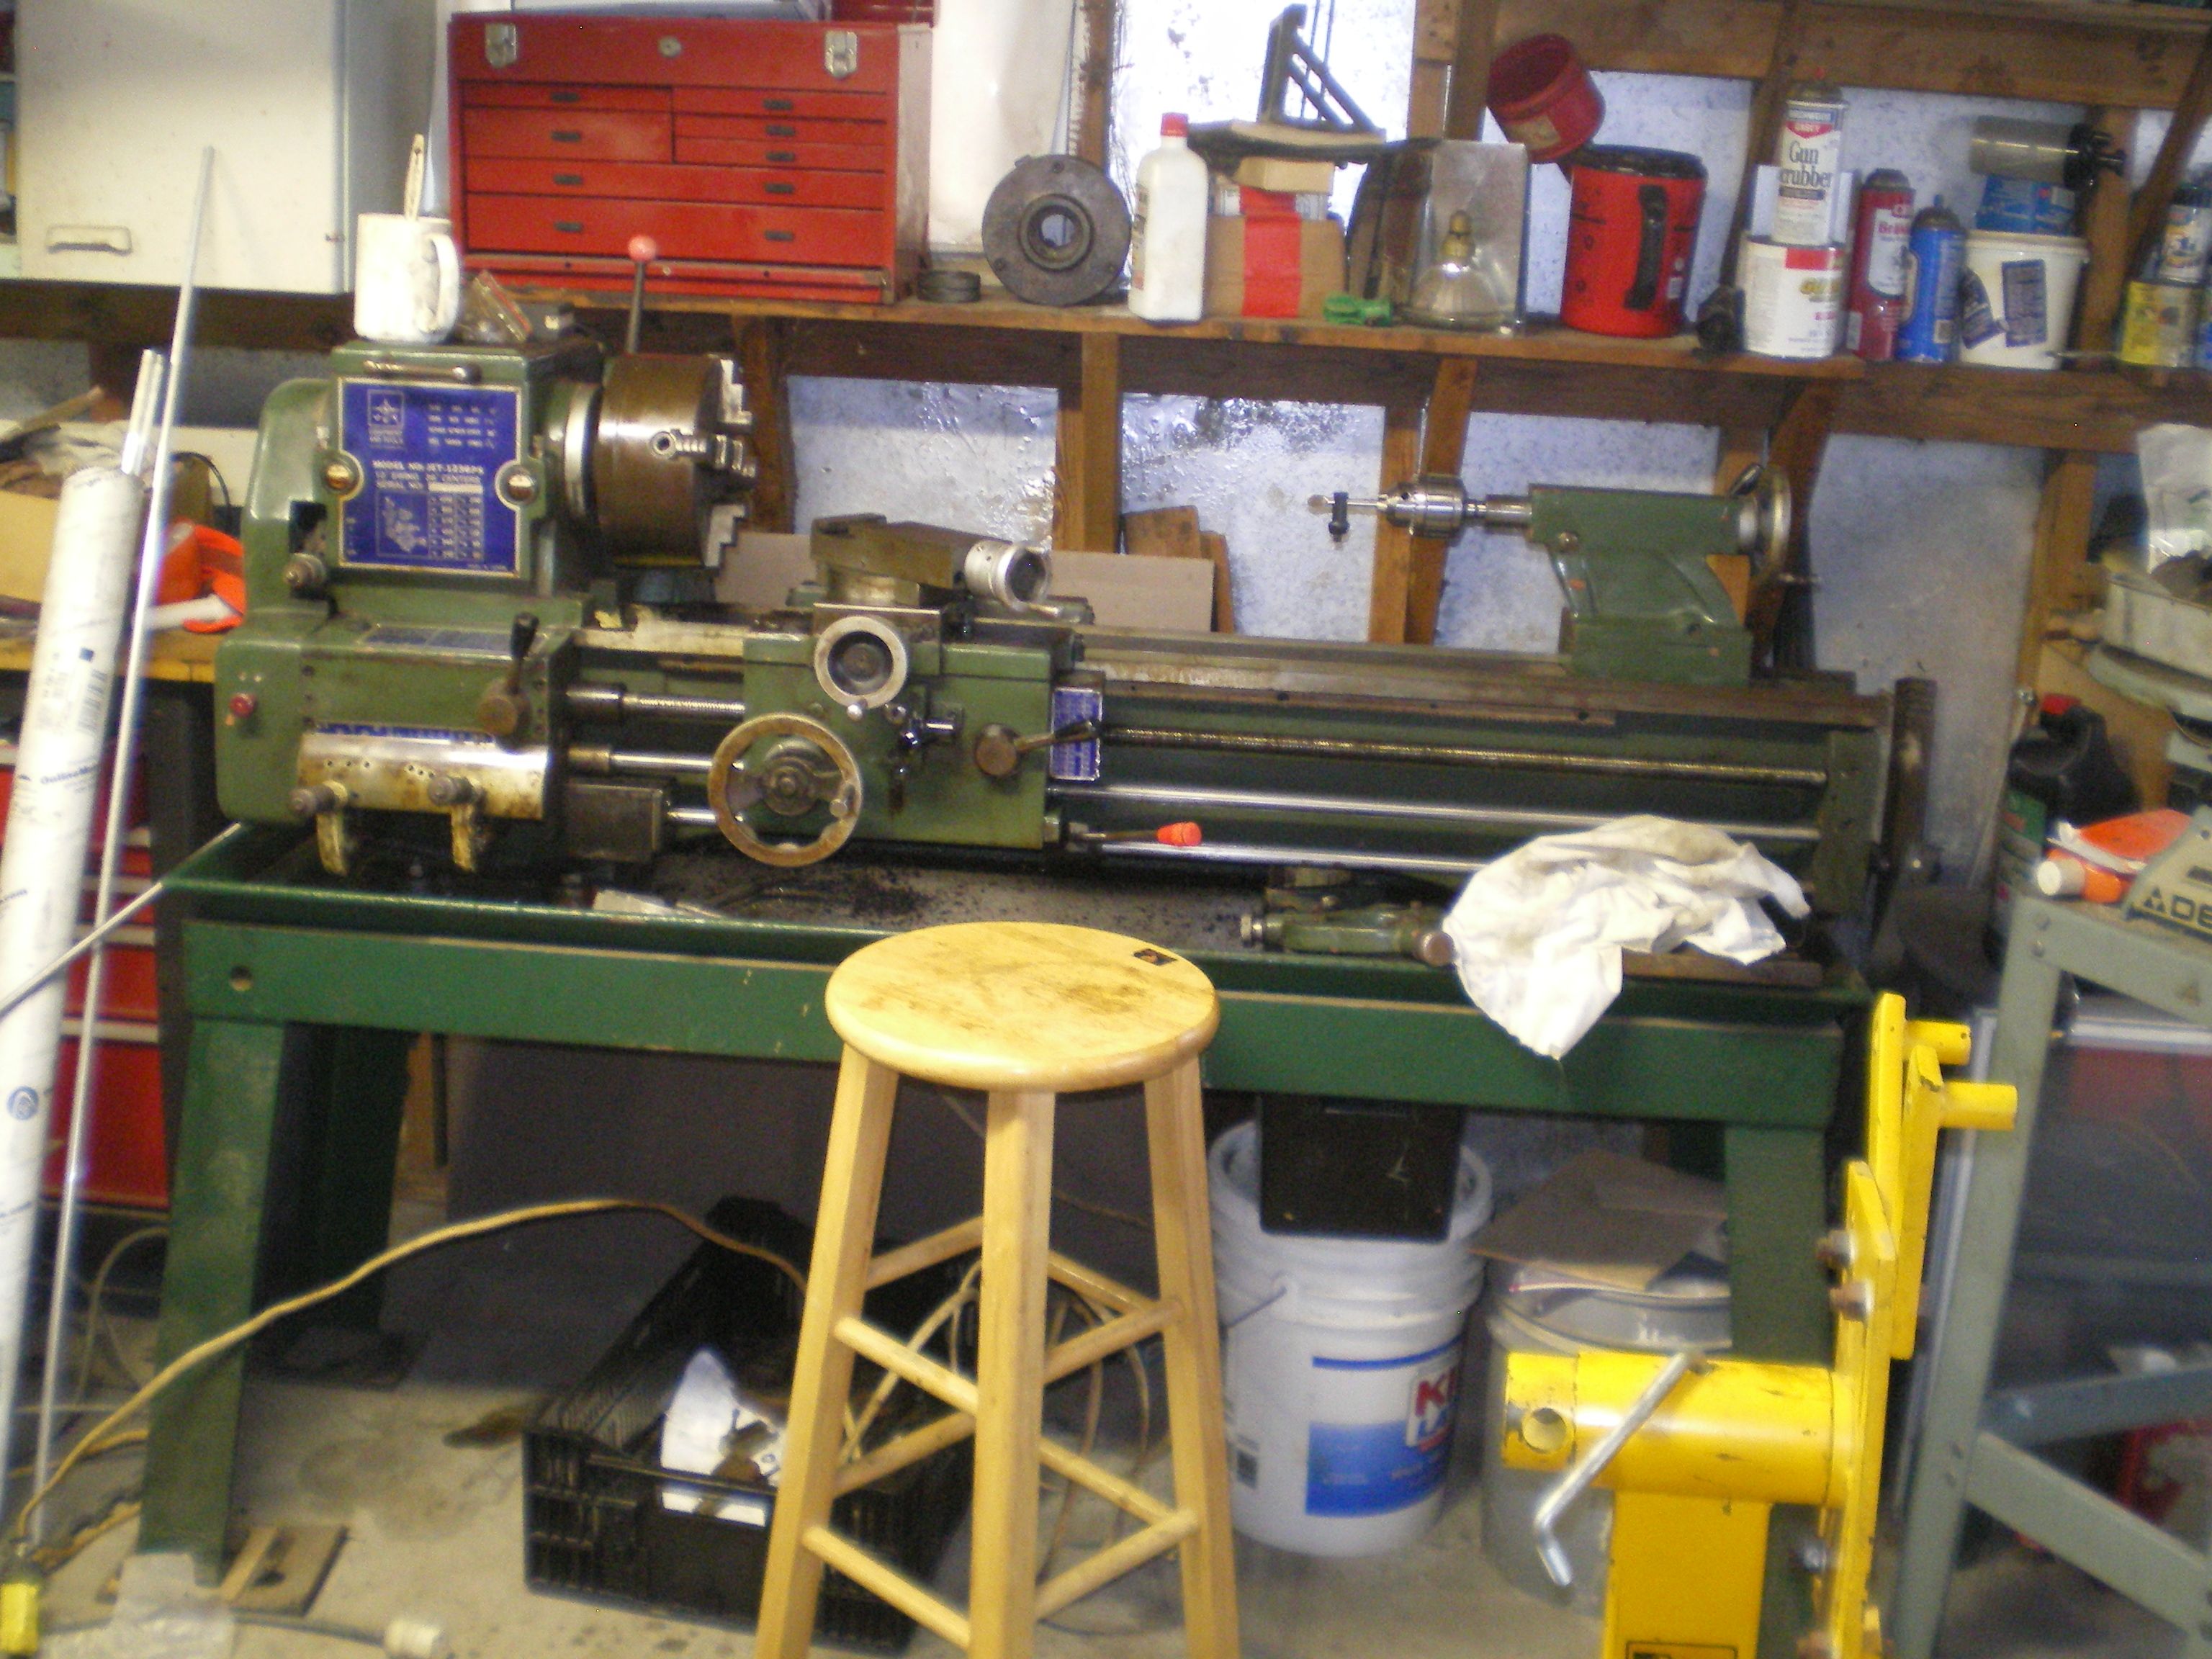
9x20 Jet
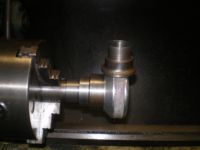
I've had a nice little 9x20 Jet for about a year. 1st pic is to be placed later, 2nd pic is the center of it, 3rd is the 4 bolt compound clamp that made a huge difference. Last is the home made tumble reverse that works well. Now that I have a mill/drill I keep meaning to ditch the lucite for steel but it just keeps working.
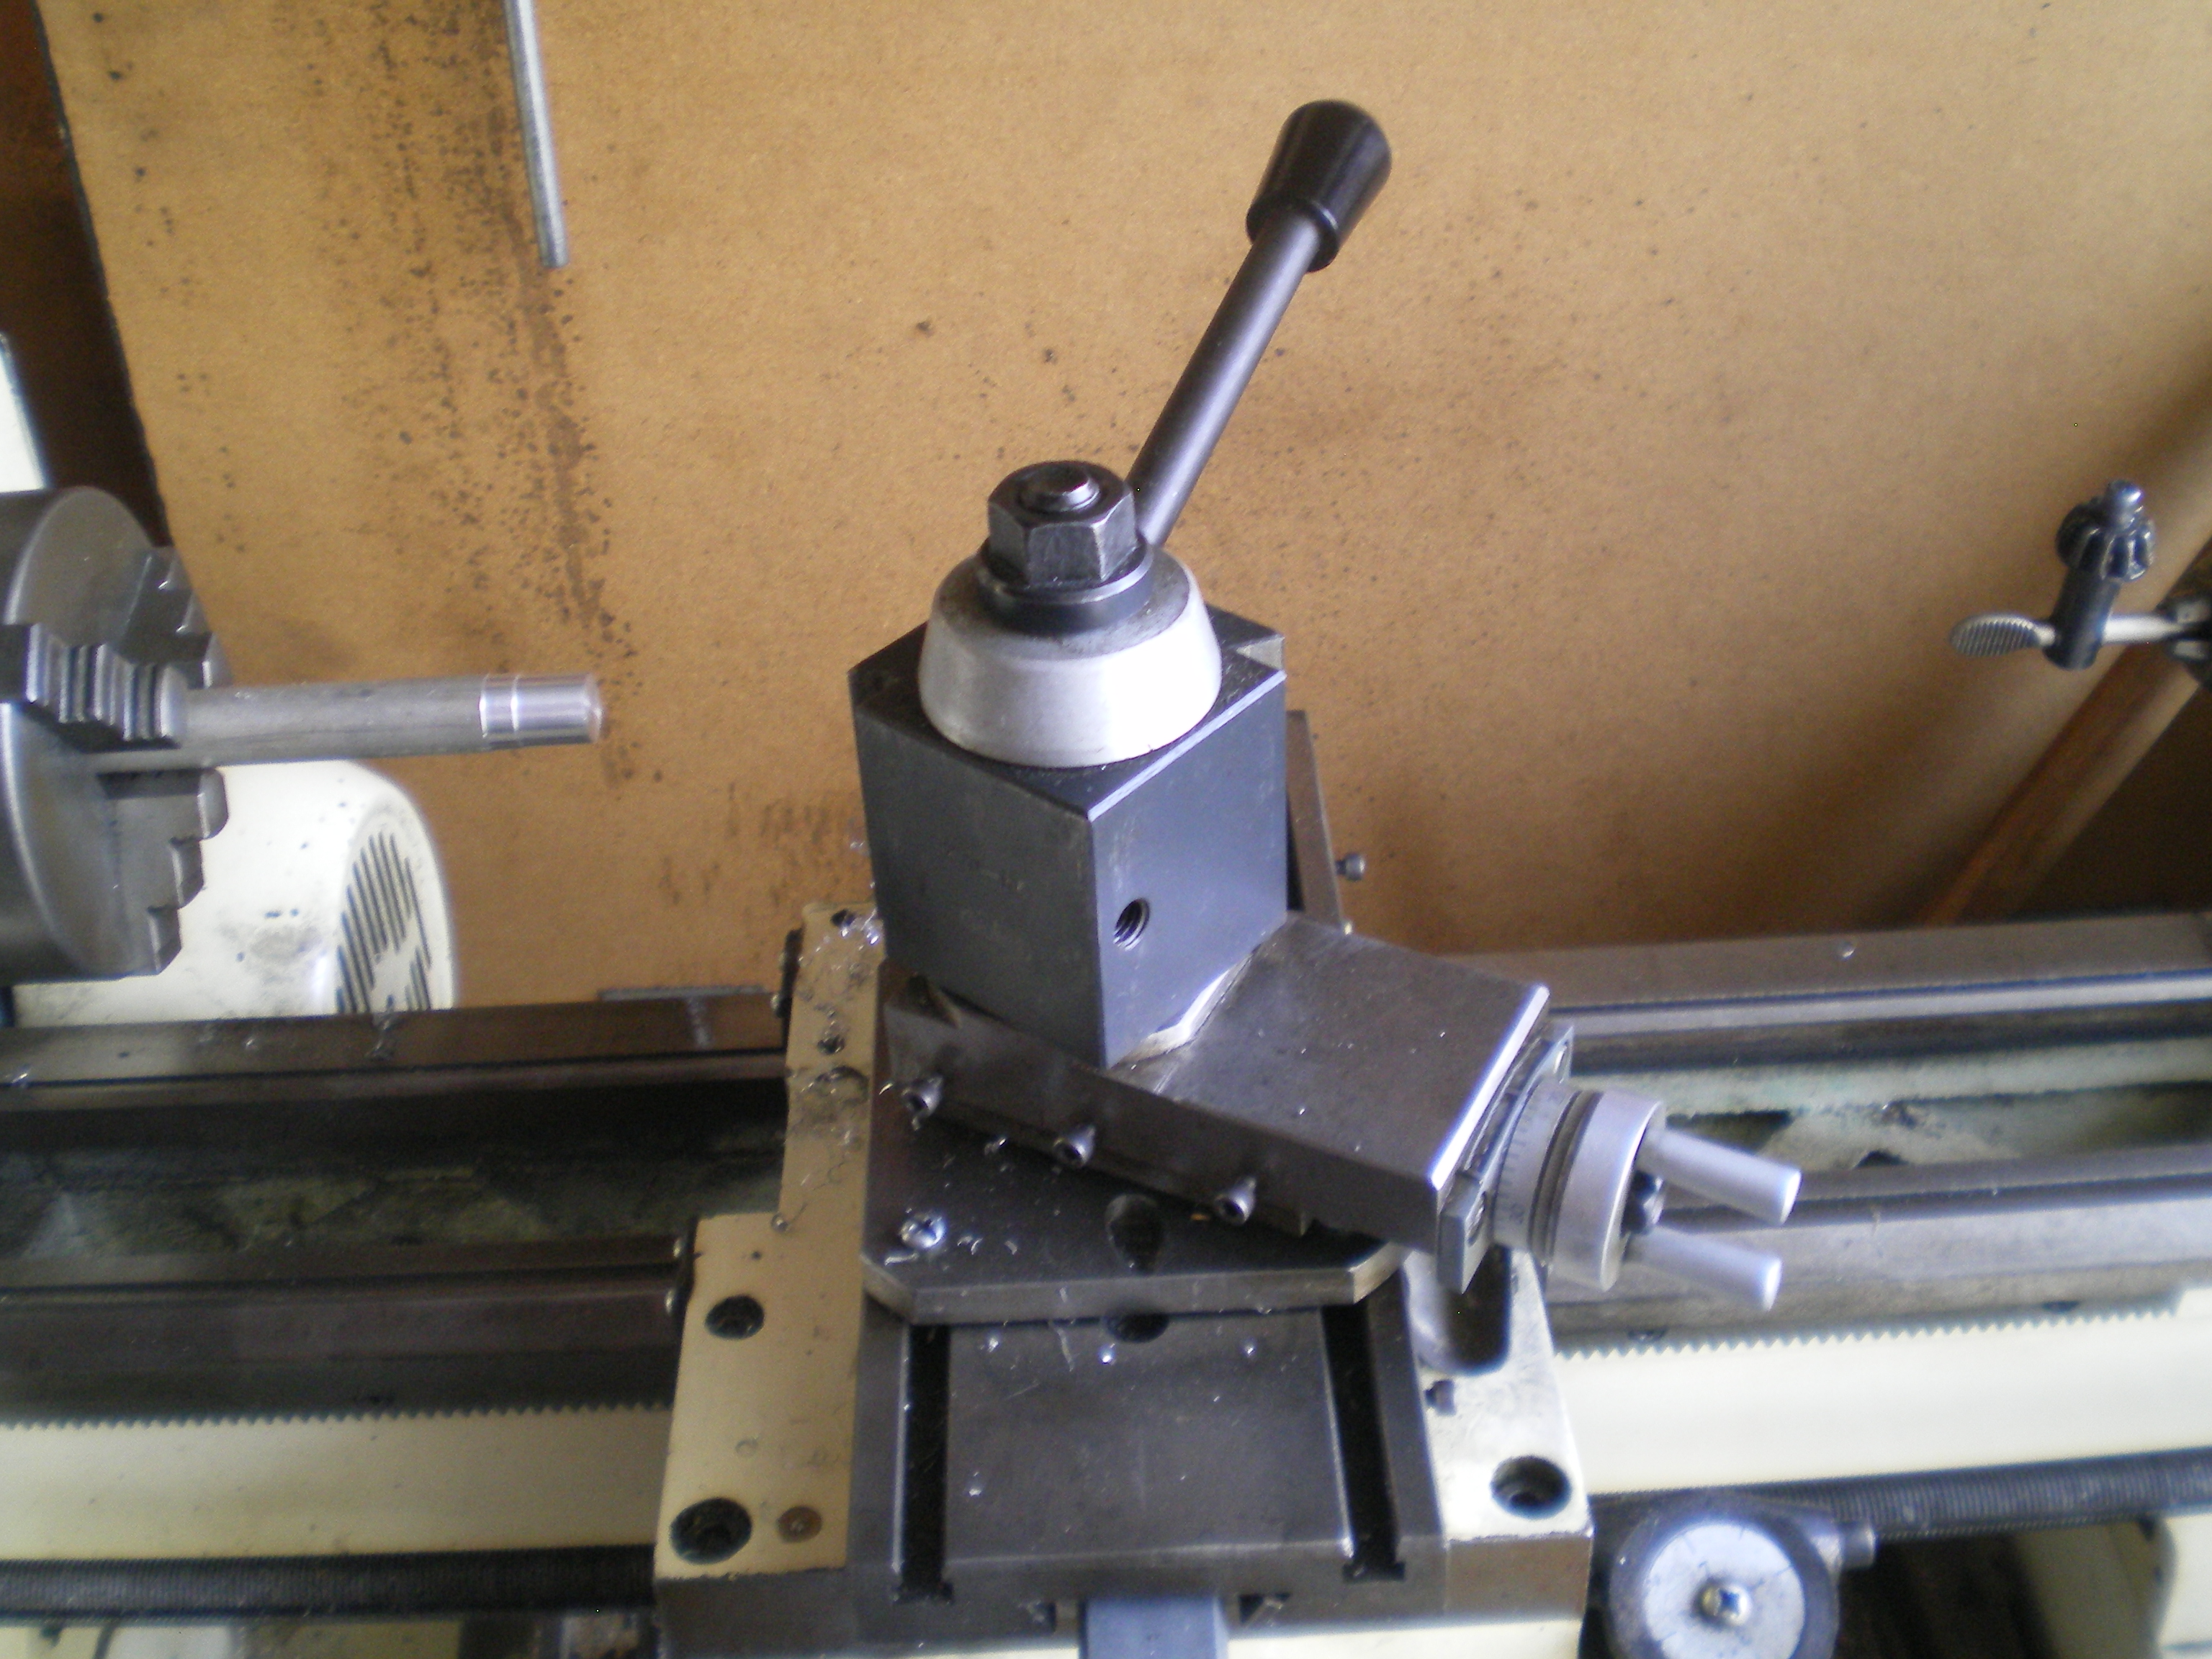

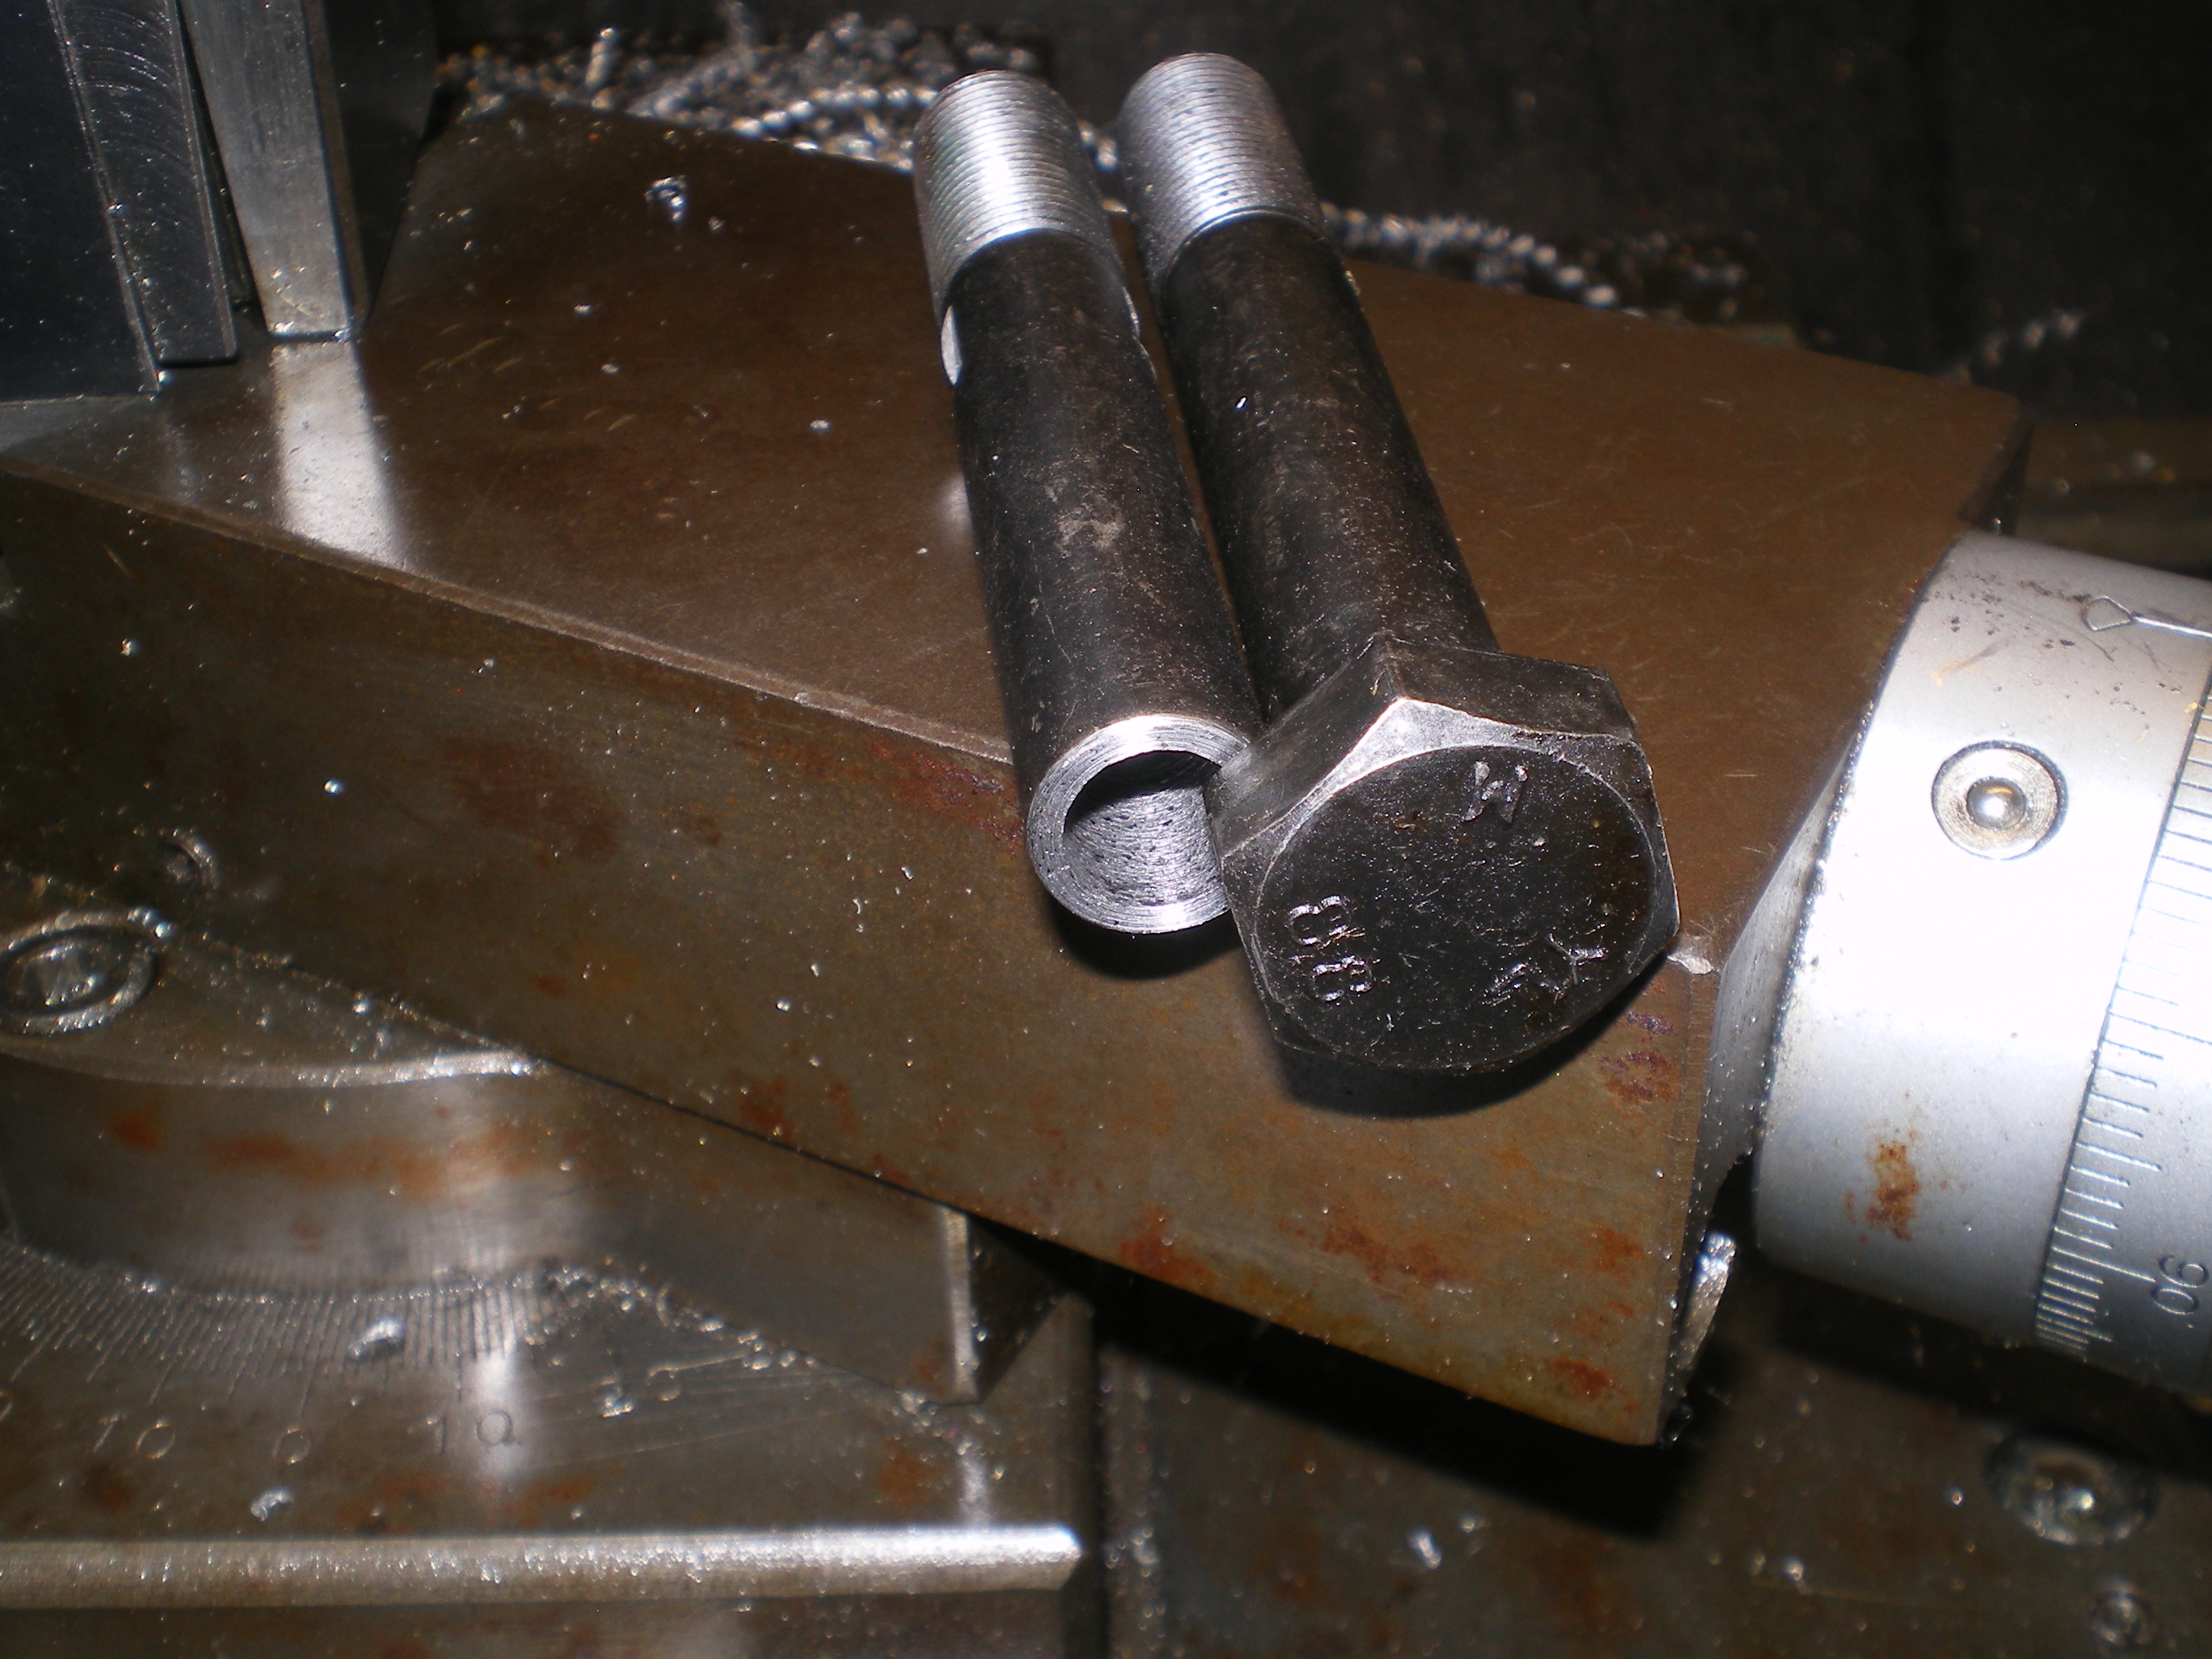
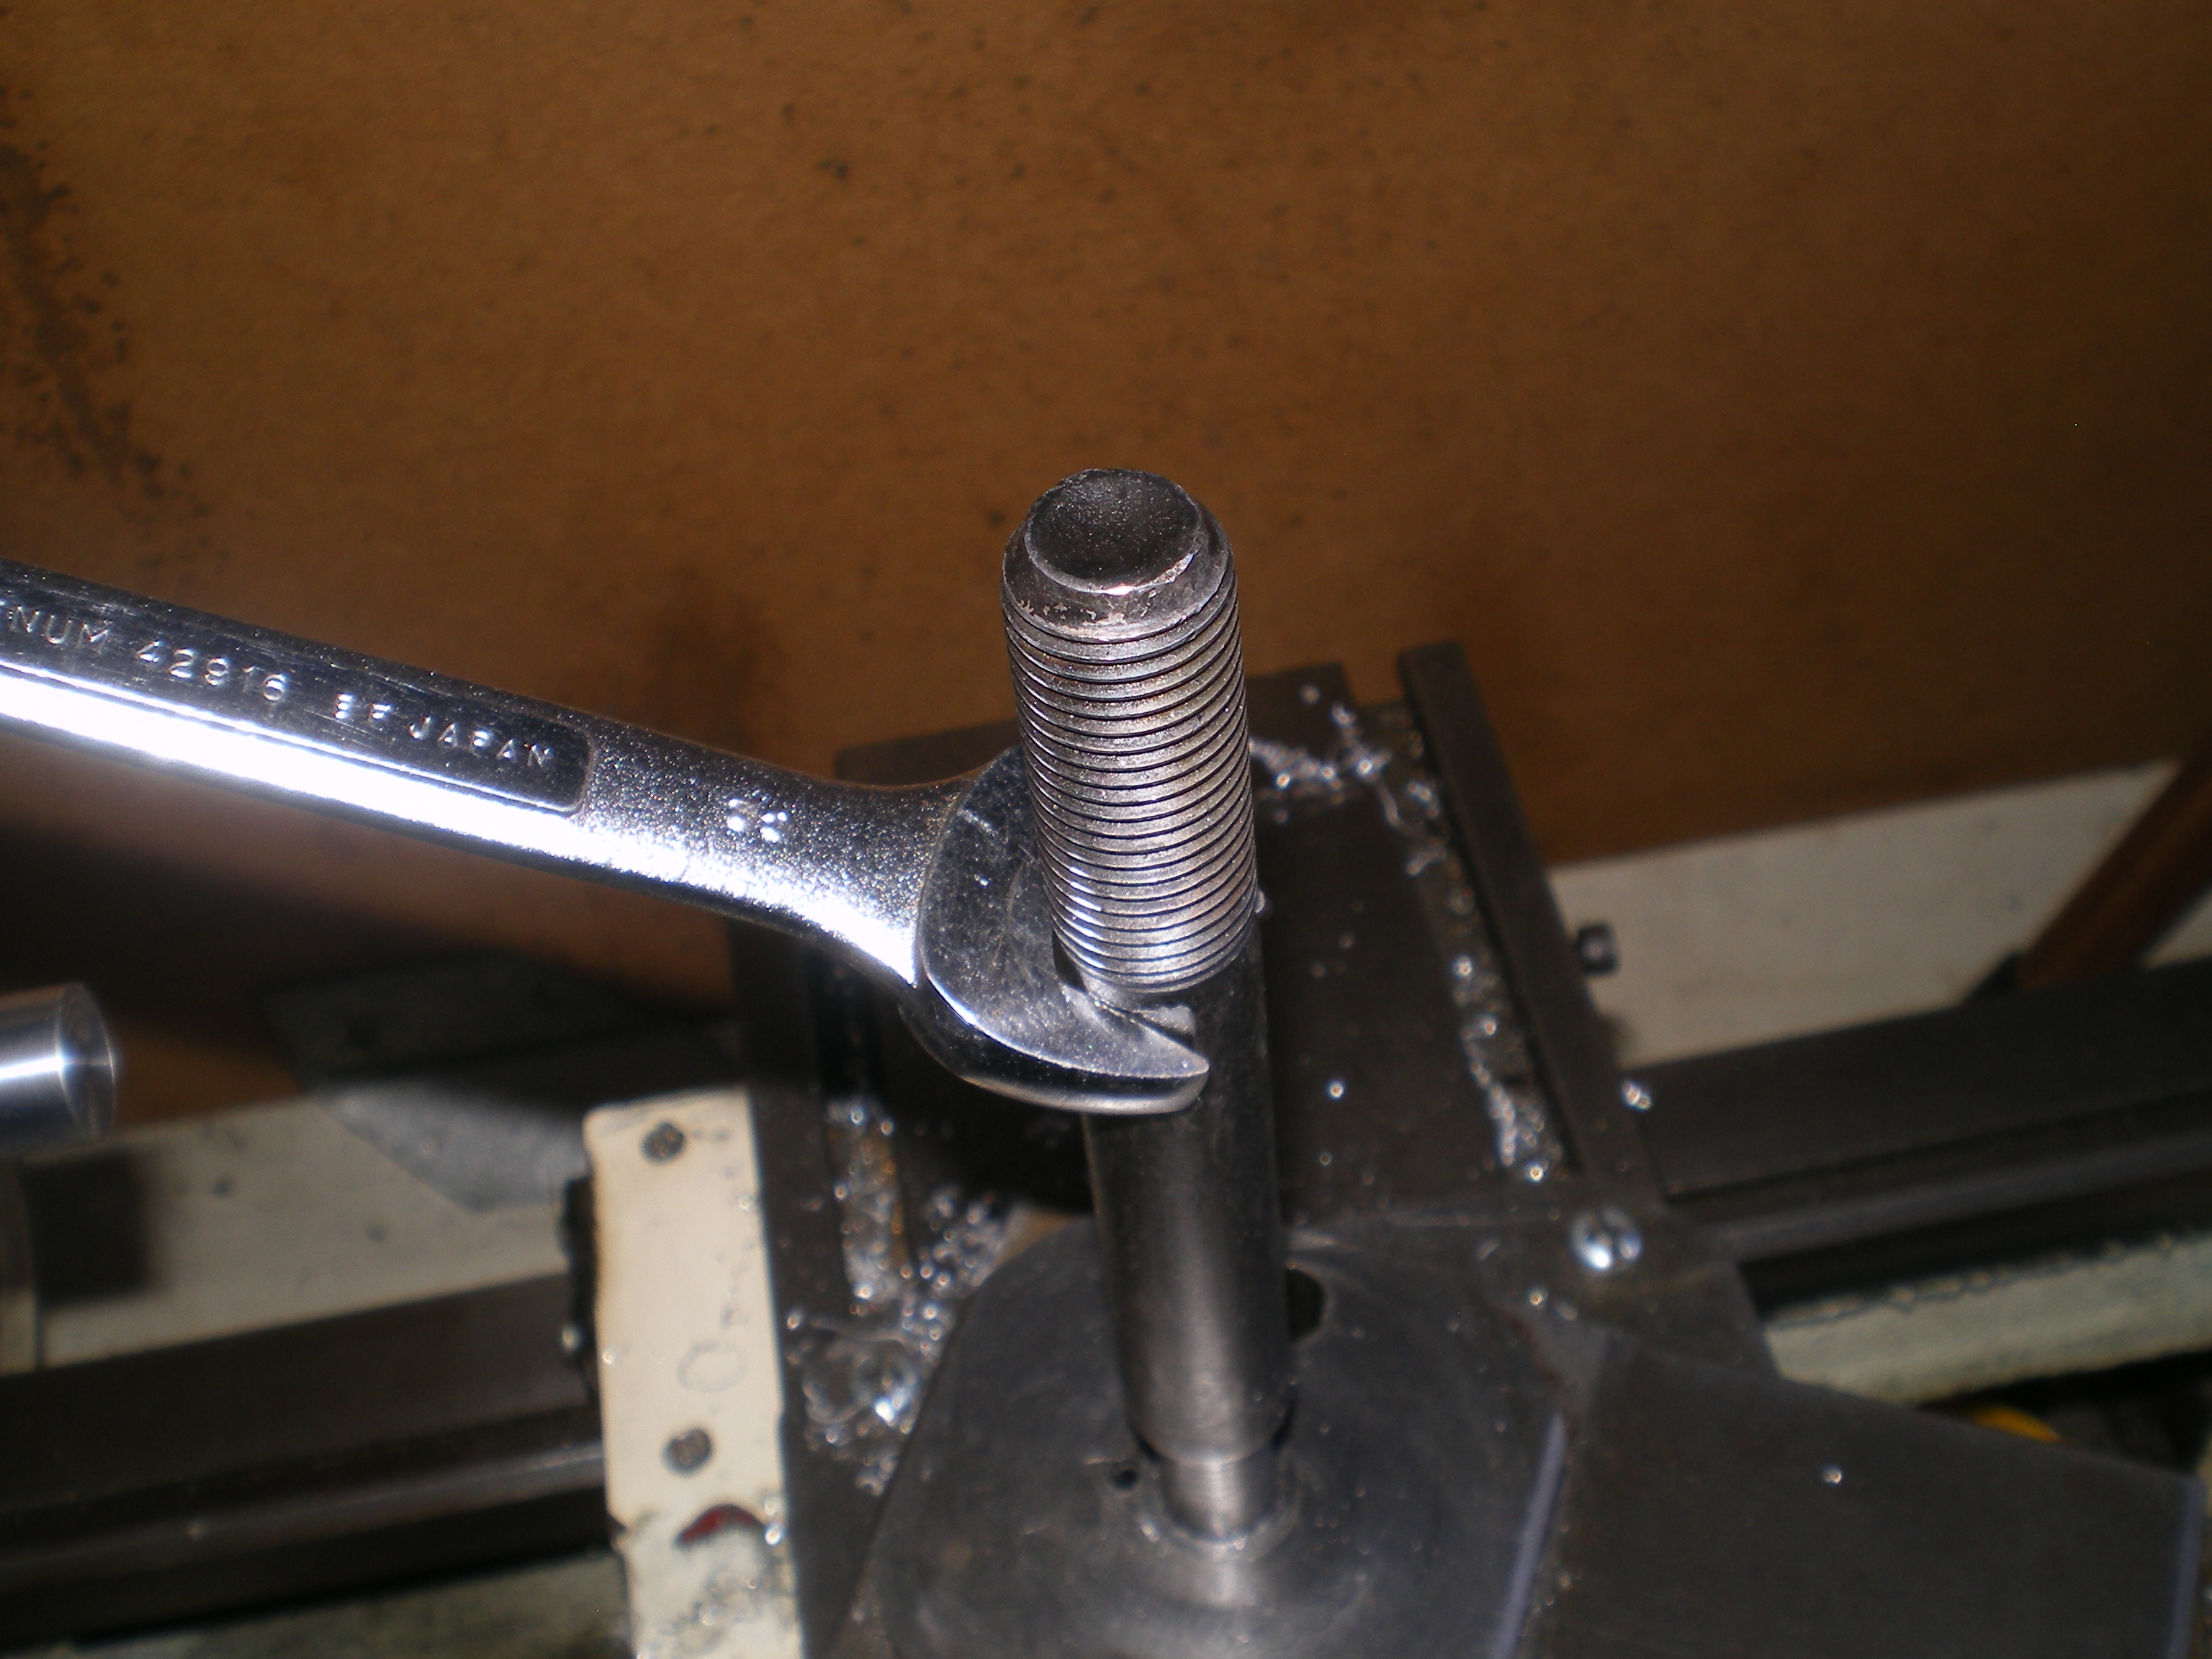
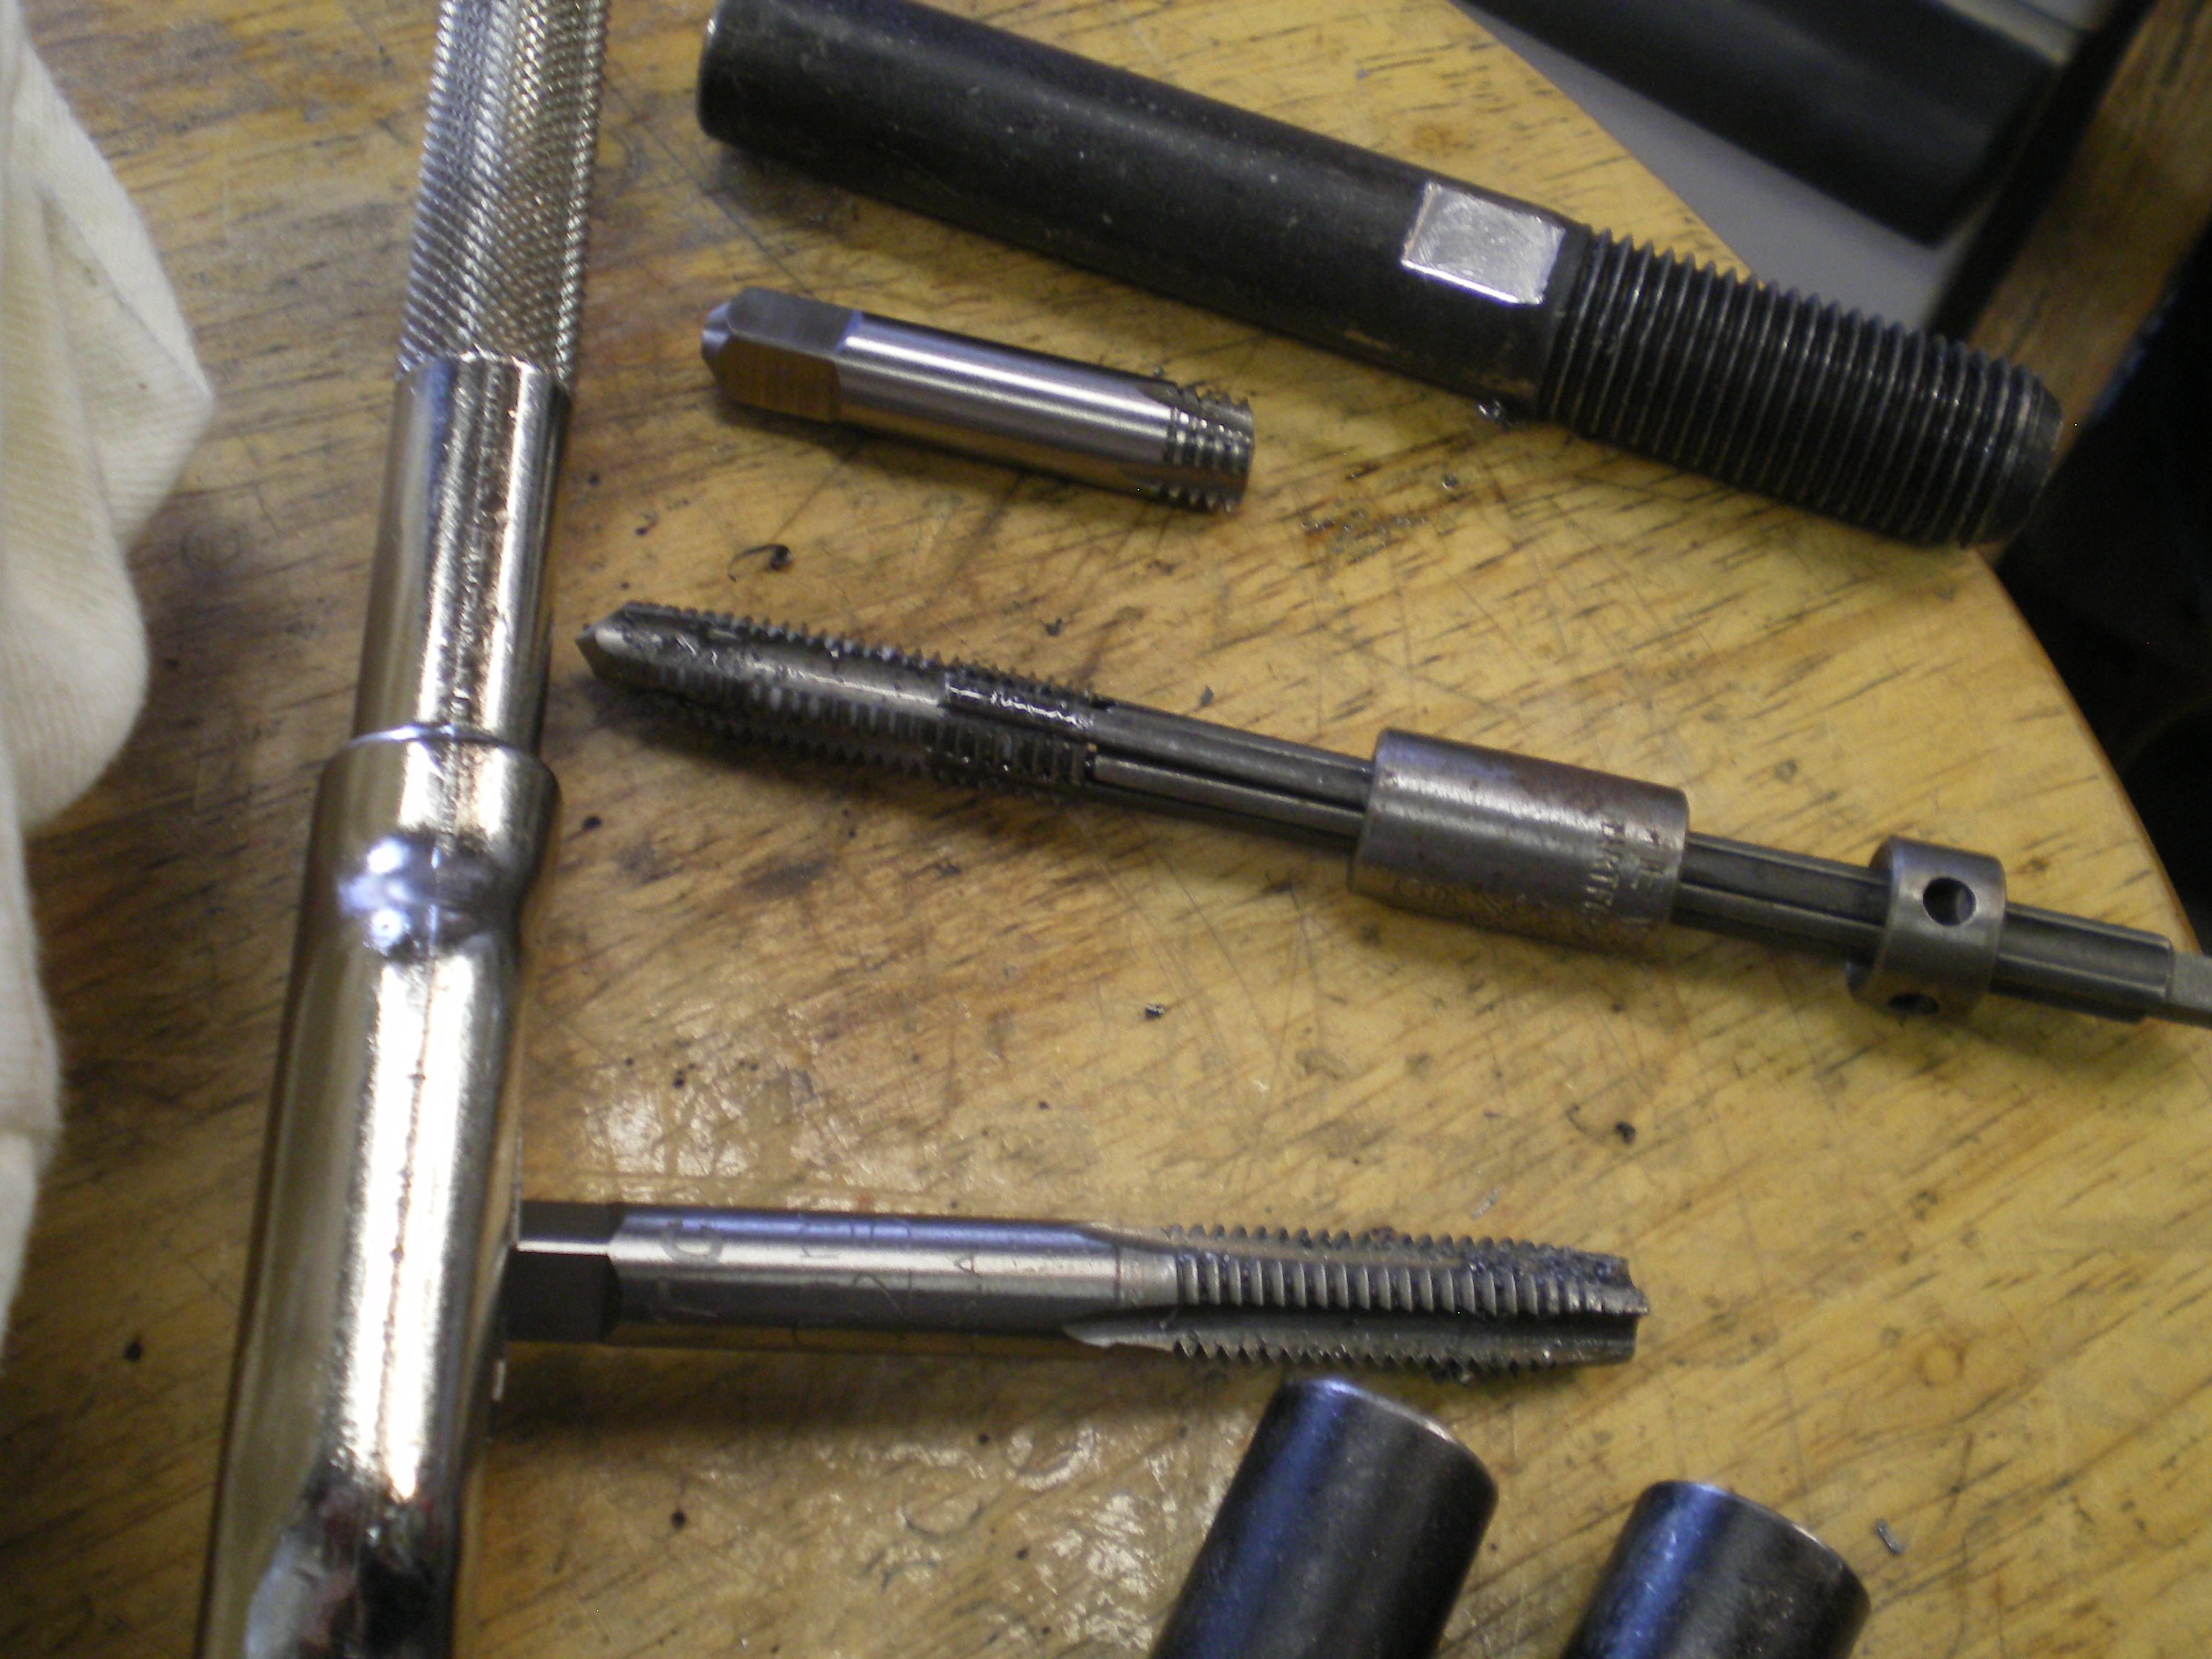
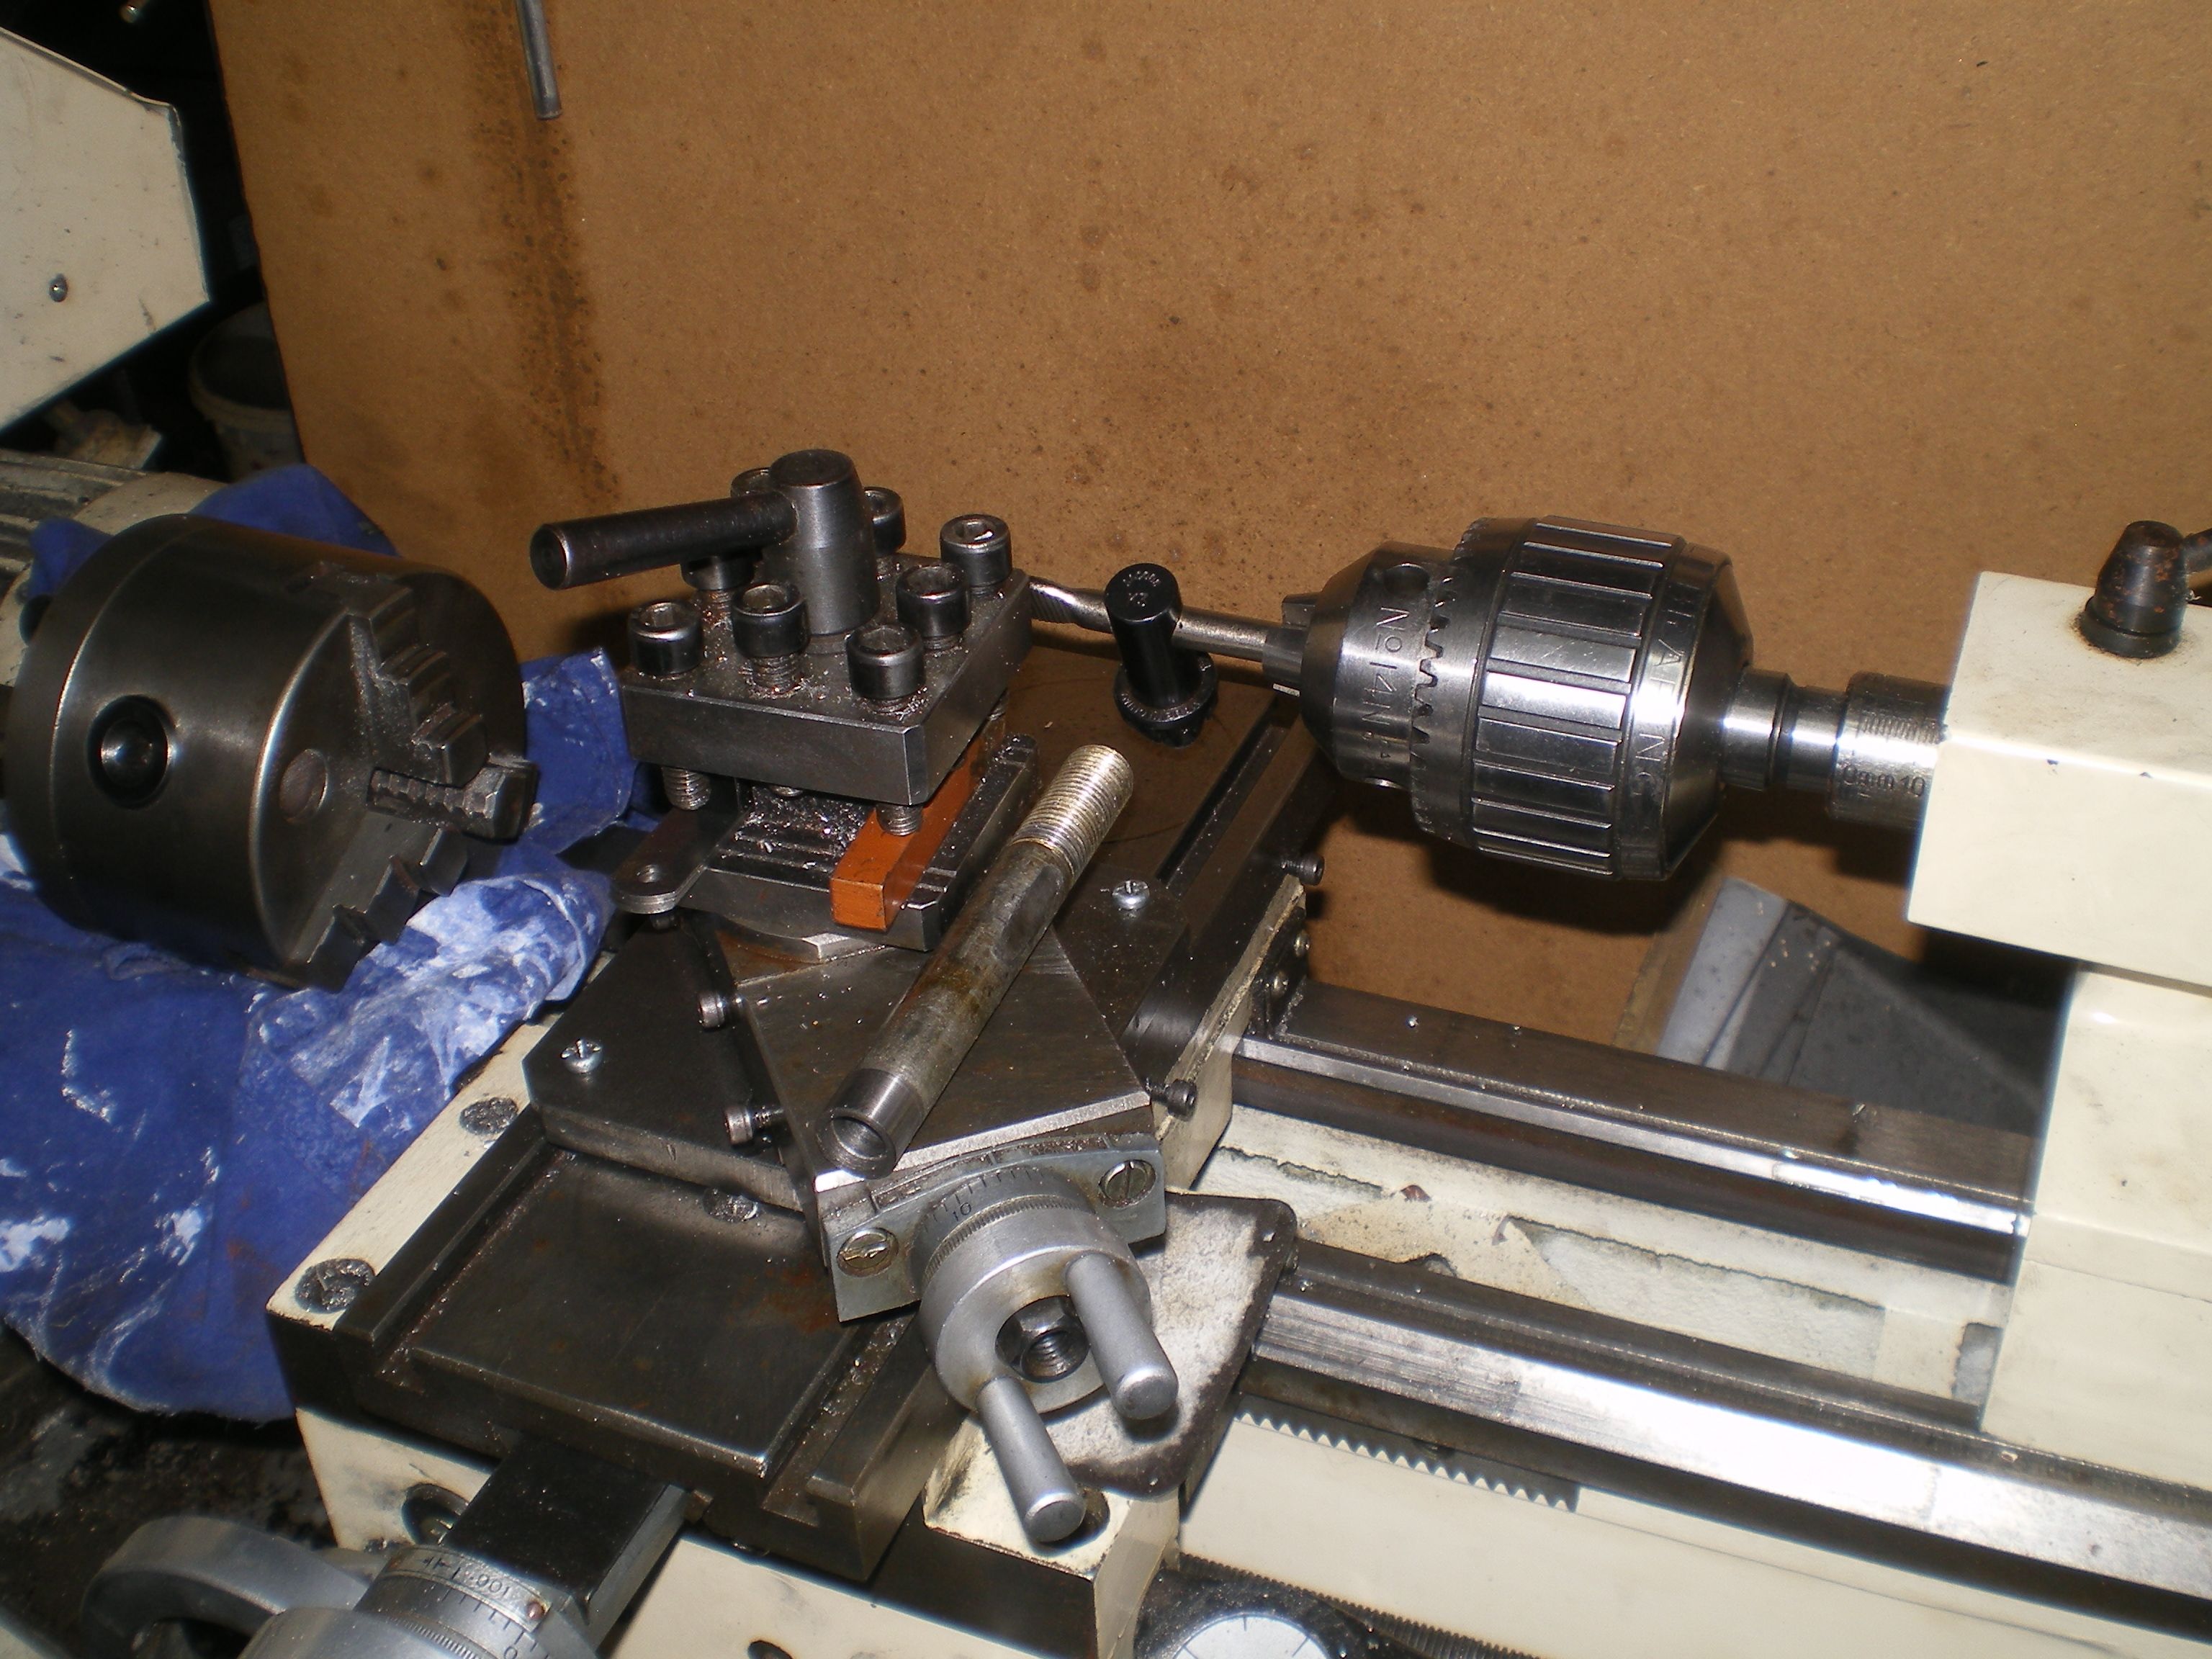
I had added a Quick Change toolpost at one point and thought it would be nice to add it to this section. The 1st picture shows how it is when finished. The 2nd picture shows how it is stock with the adapter sitting next to the OEM post (except with the corners rounded off the compound for tool holder clearance). 3rd is simply the 14mm-1.5 grade 8.8 bolt used to make the adapter. 4th is installation. Last is the only time I have ever successfully used a broken tap extractor. I contribute the success to the tap breaking because I dropped the part not because it was stuck.


12x36 Jet. (click for Manual)Whole different class than the 9x20. Not much was done to it but cleaning and adjustment. The stationary cranks on the hand wheels was replaced by home made rotating cranks. Much better! A 3/4 bake sheet fits right in the chip pan and makes general cleanup easier. just lift out and dump. I have a set of 5C collets and adaptor for the spindle and even have a draw bar to mod for a fit but that will have to wait for more time. It had been crashed a few times before getting better respected as the 4th picture shows.
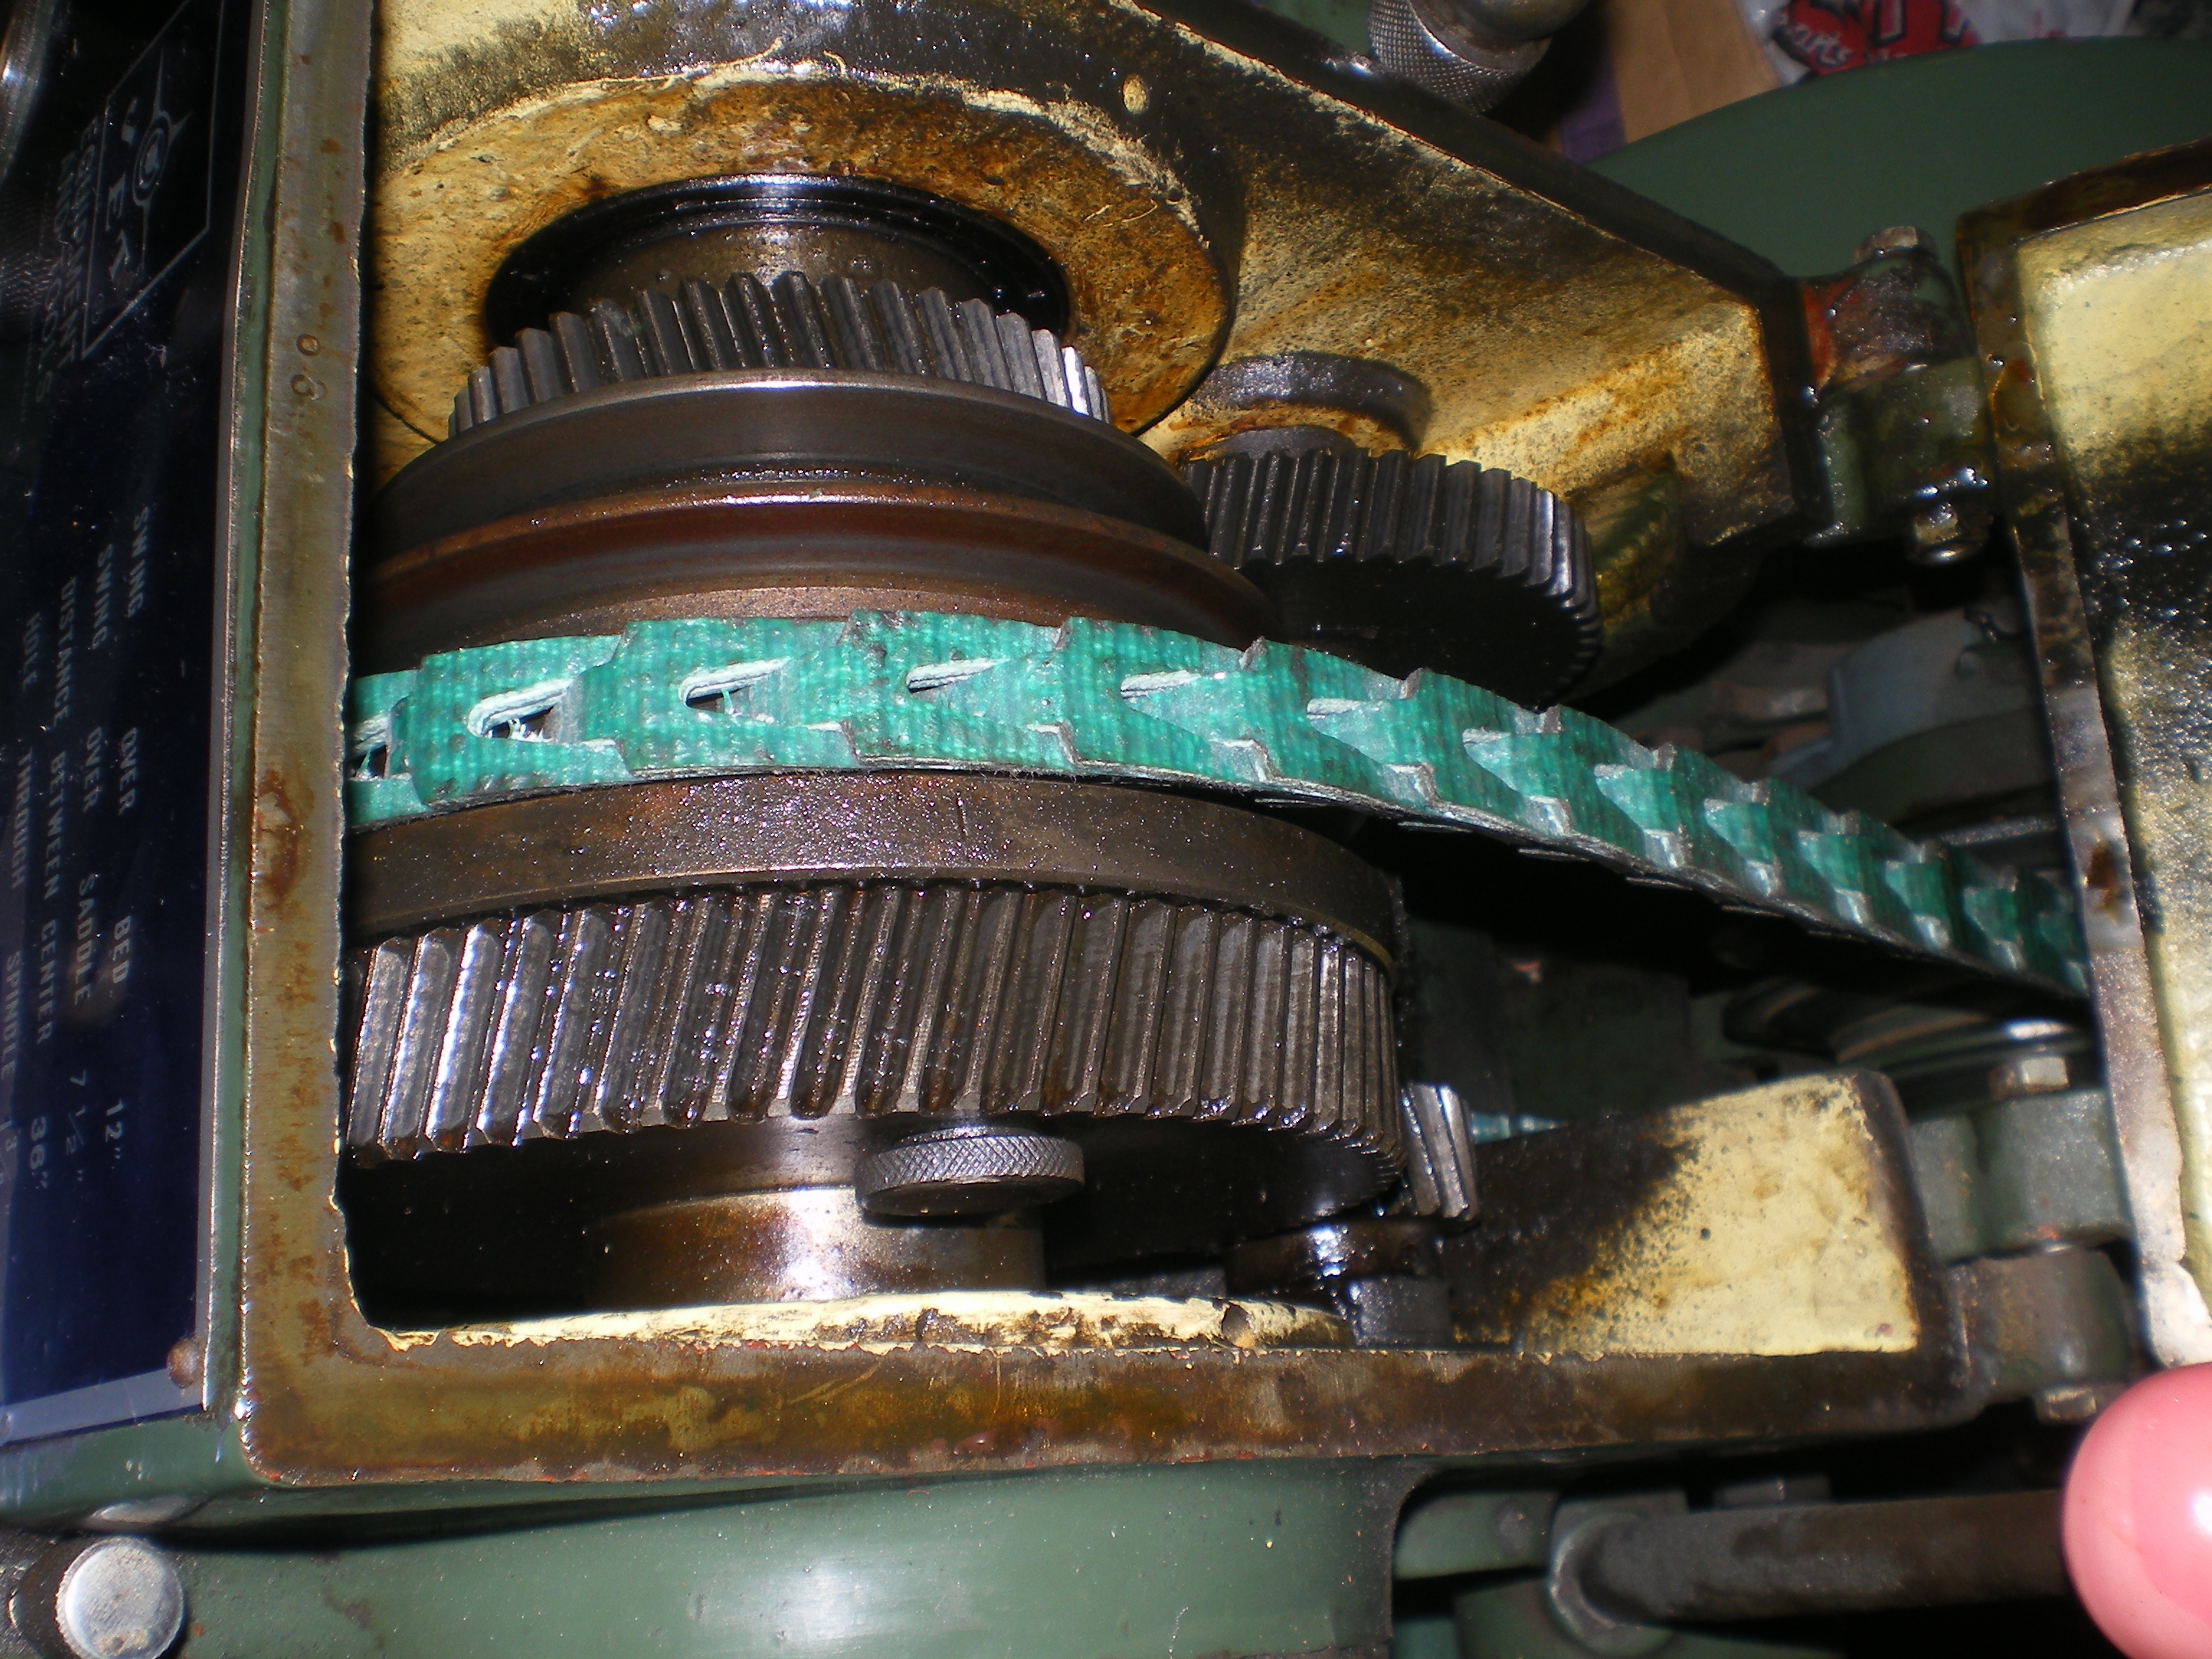
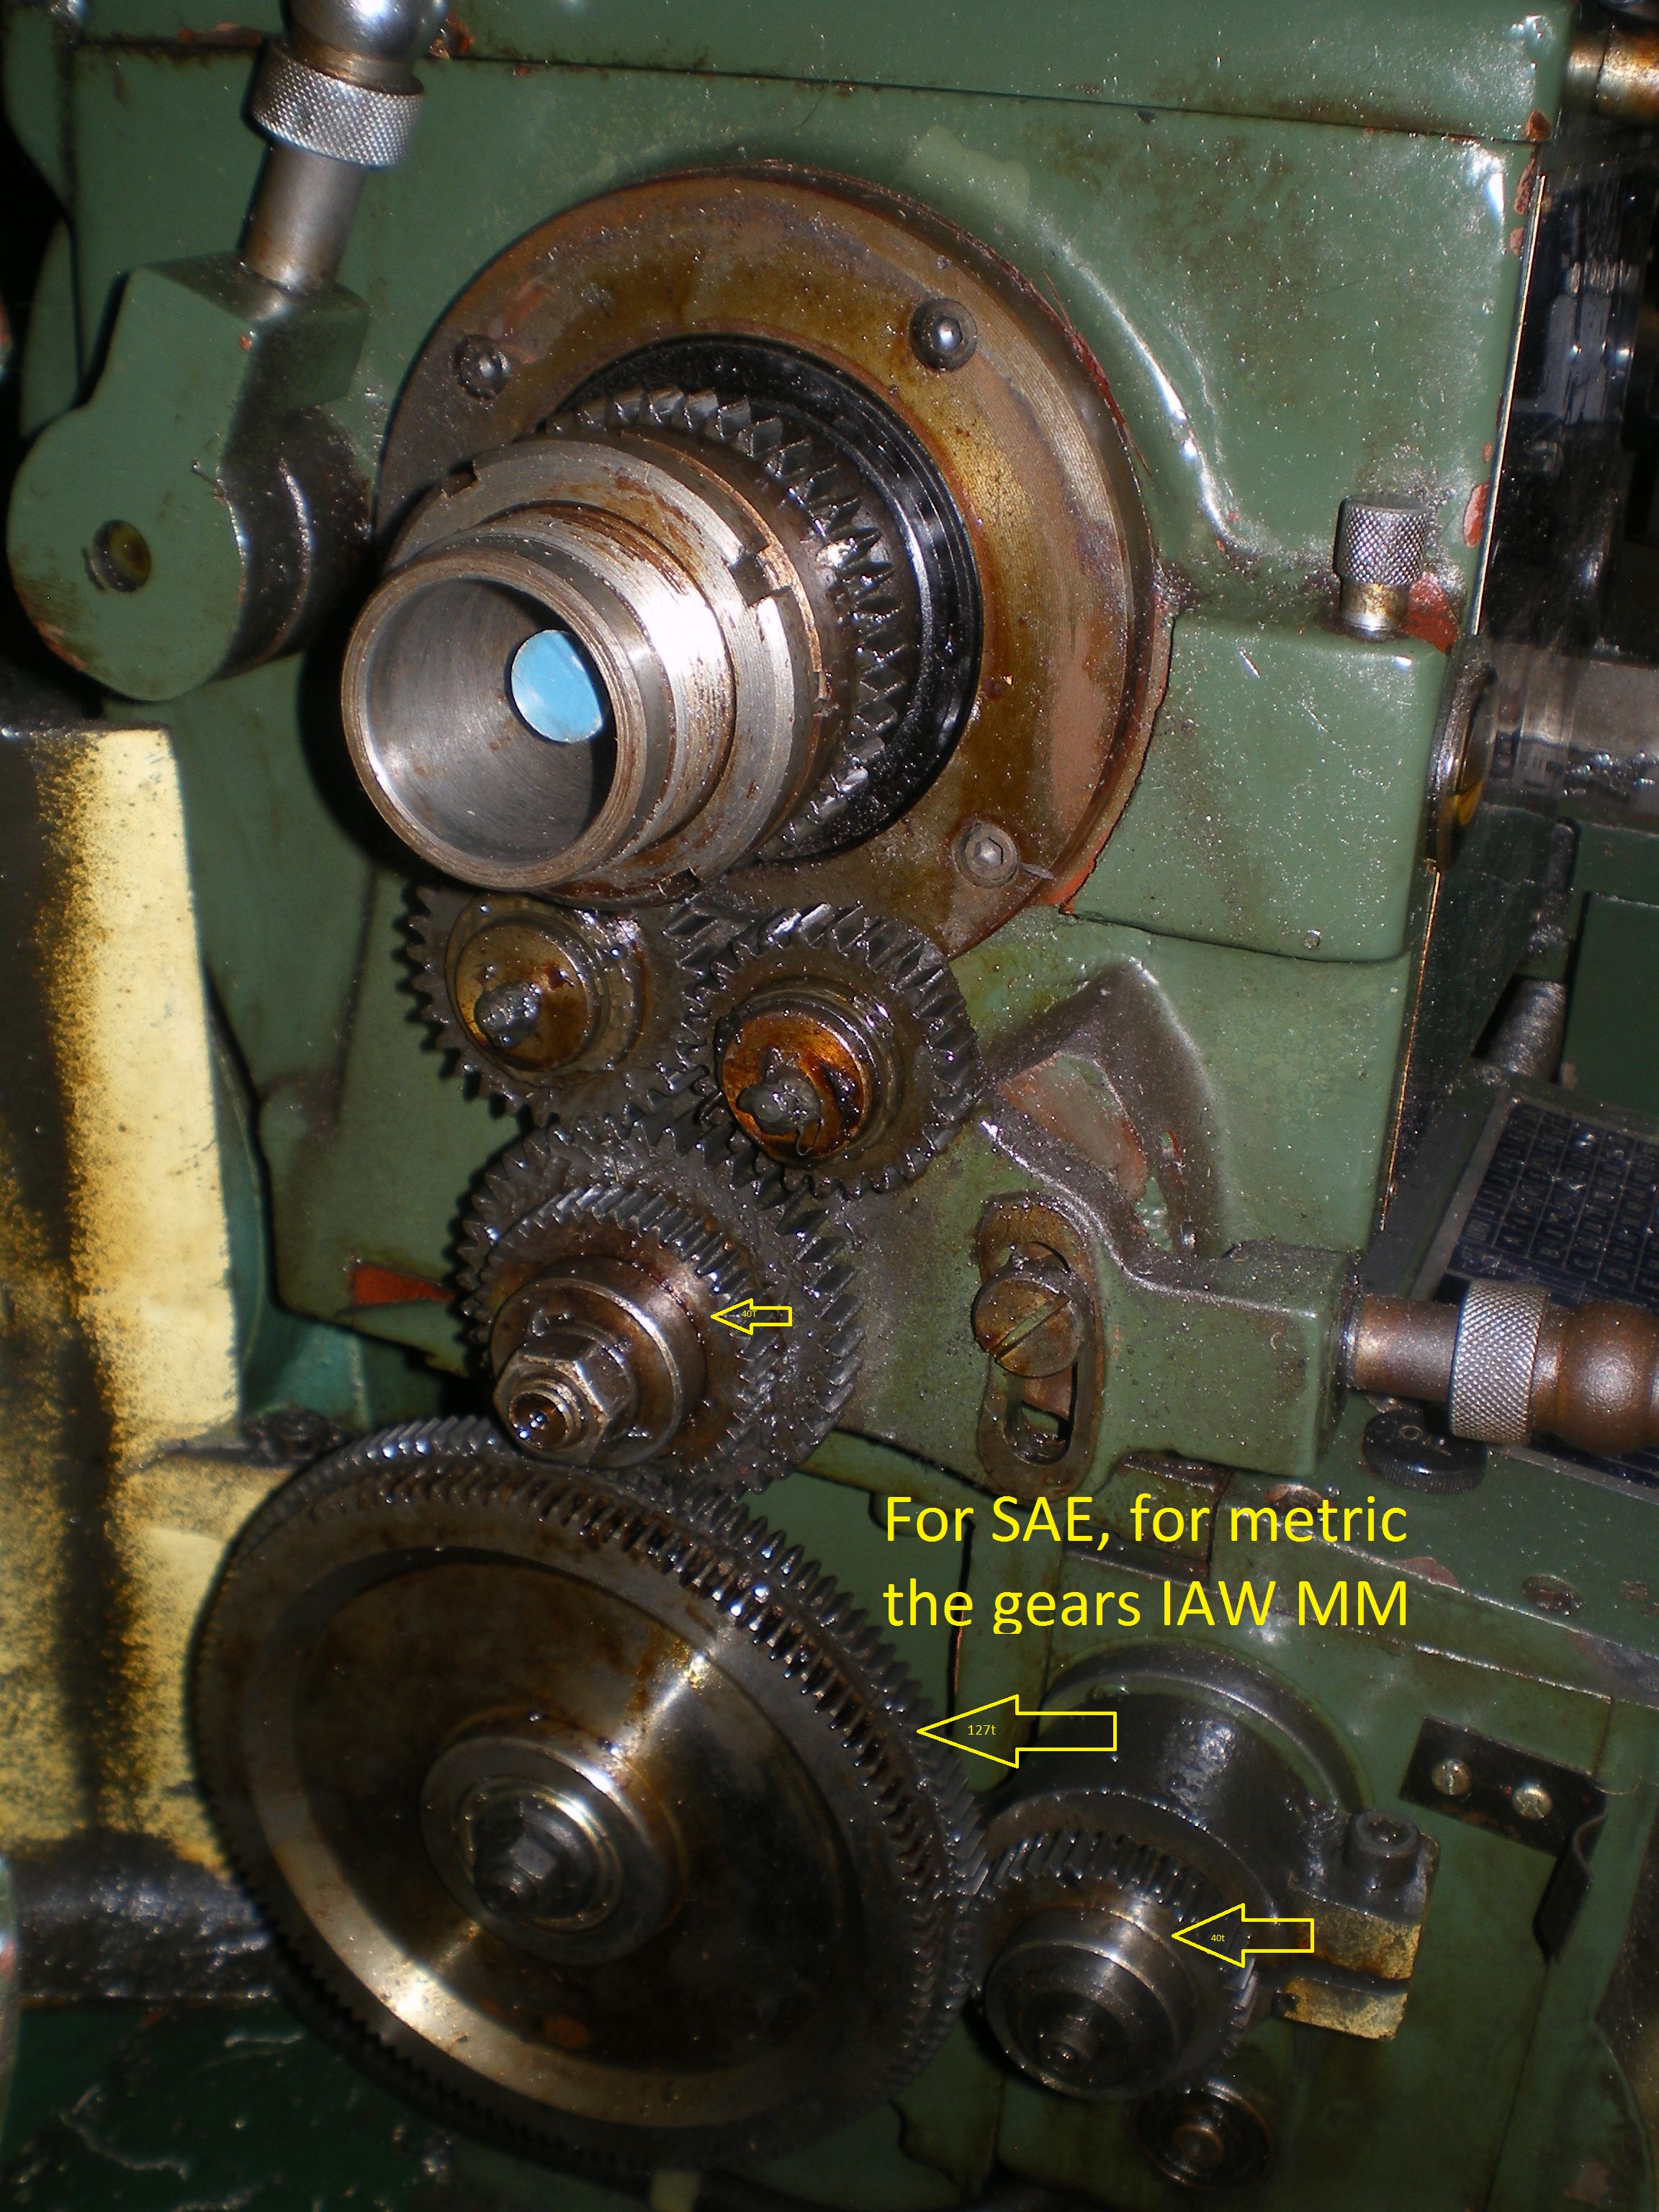
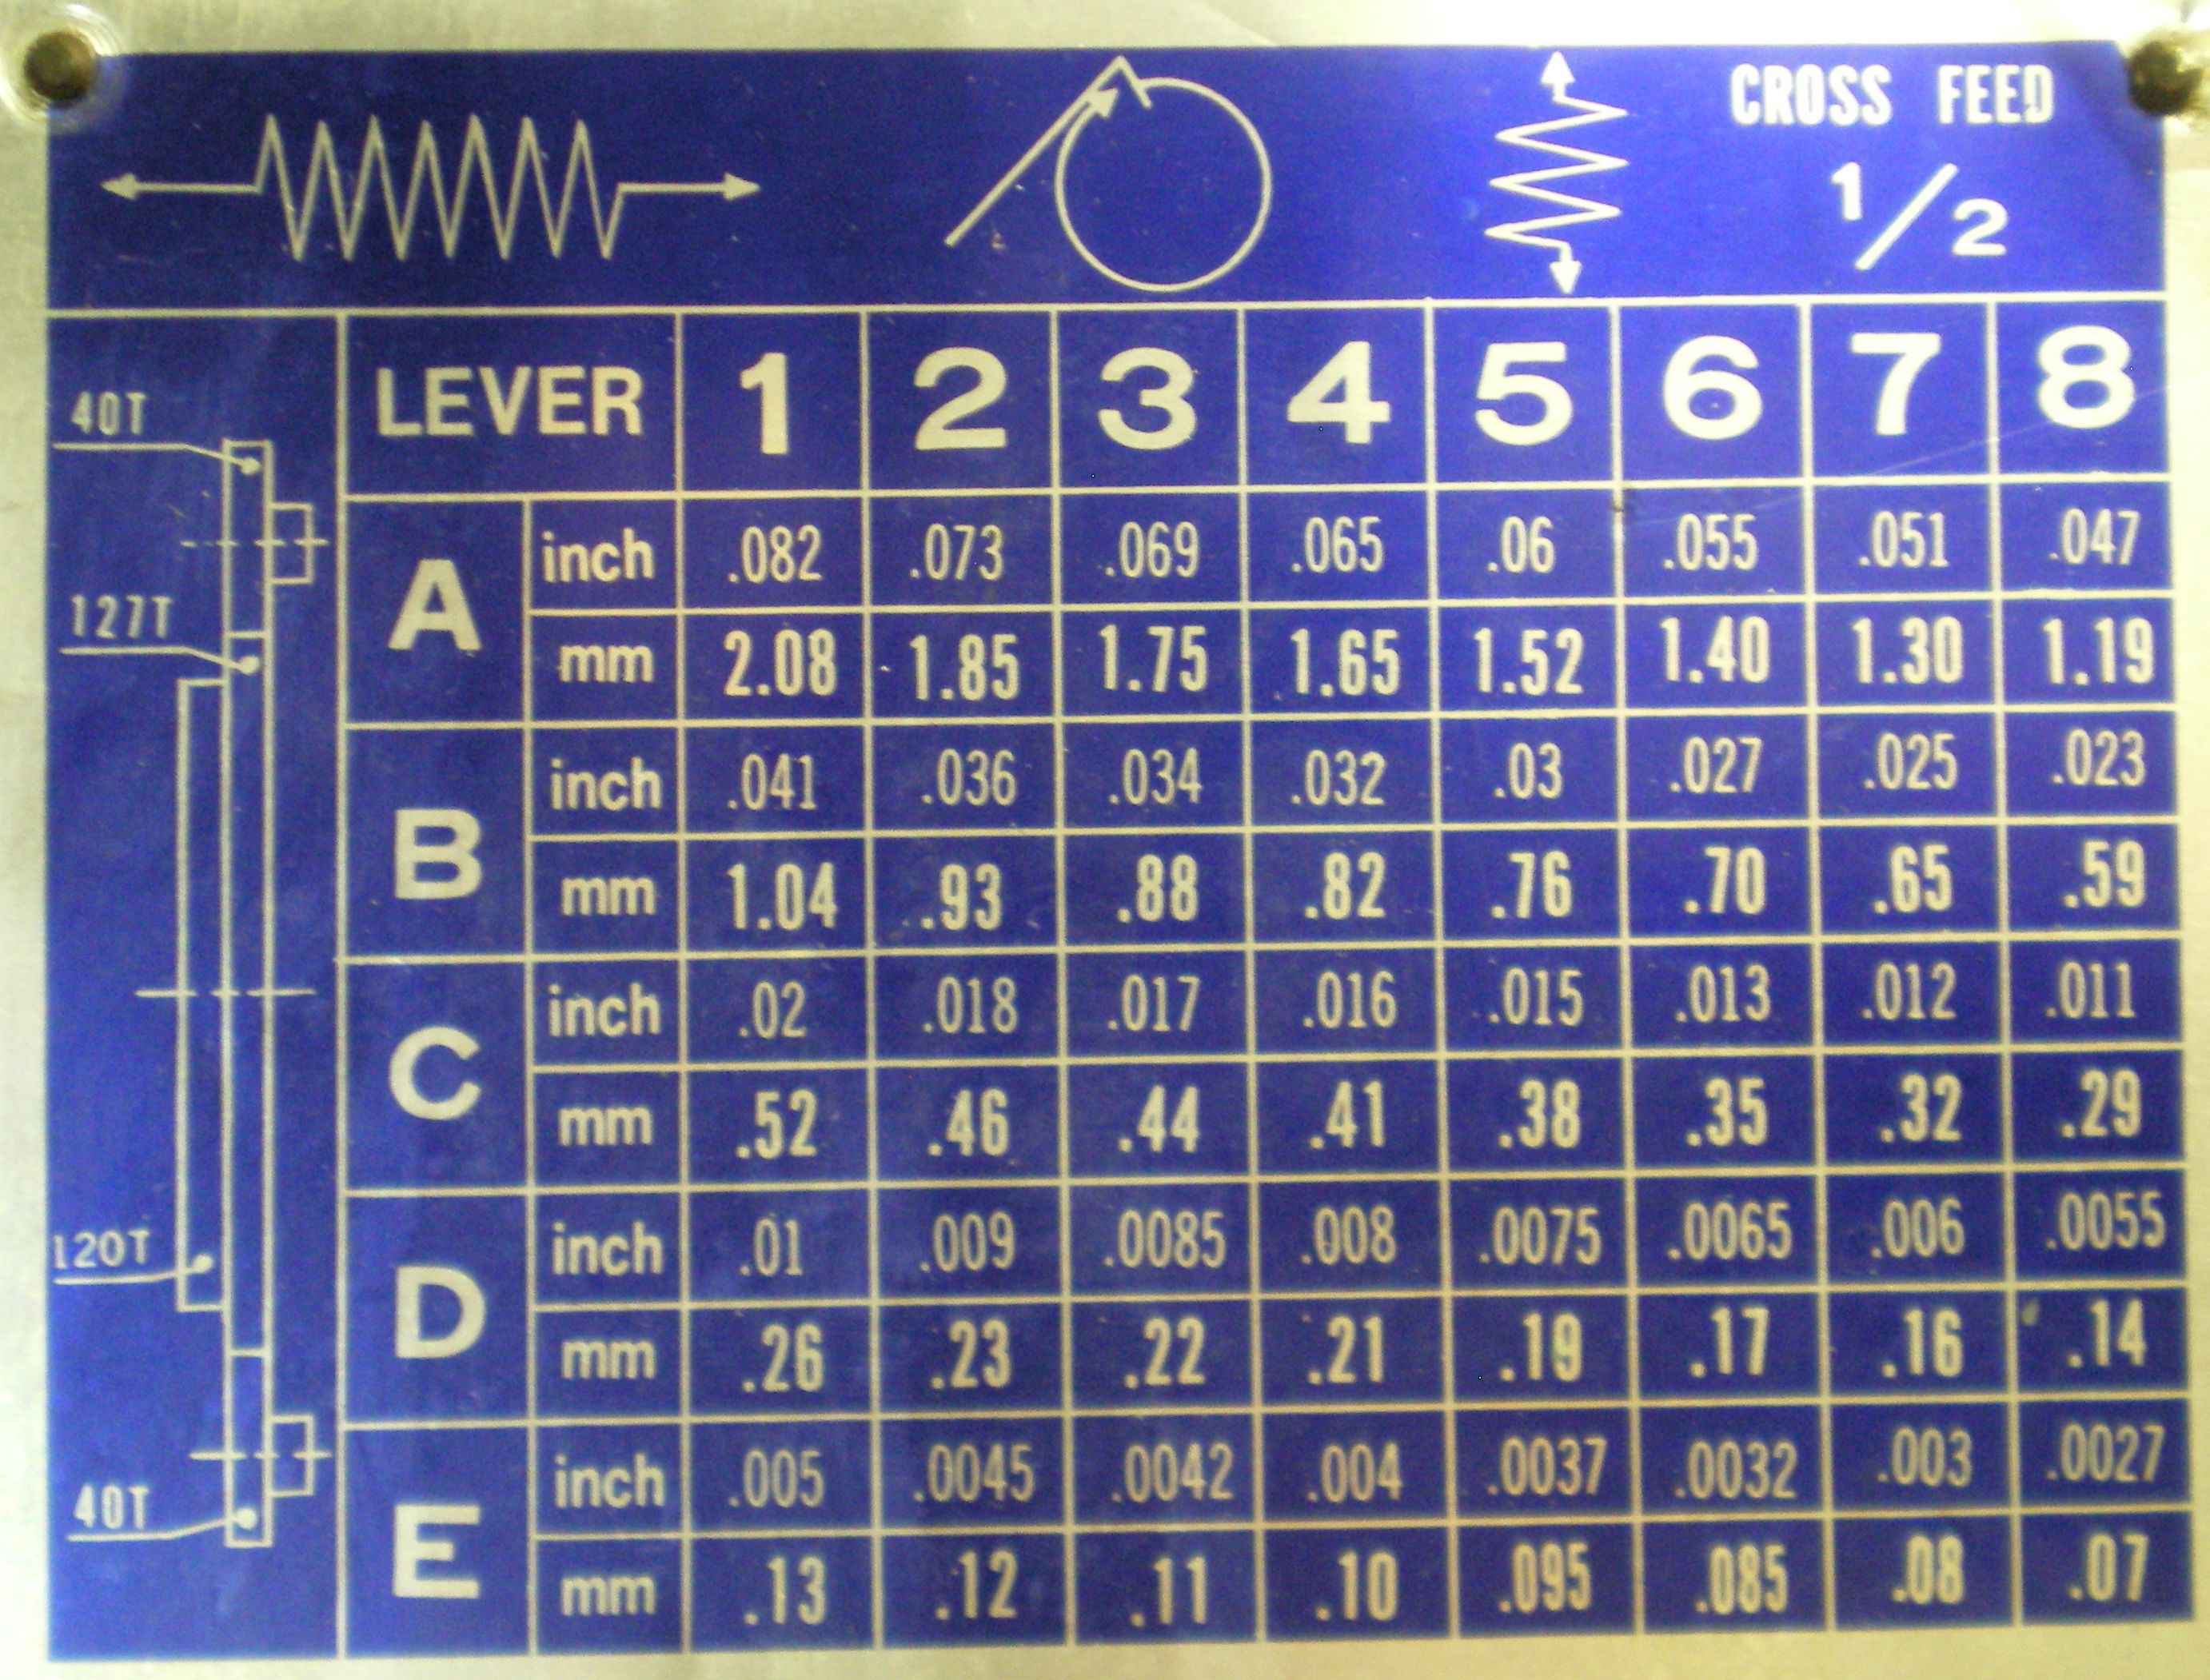
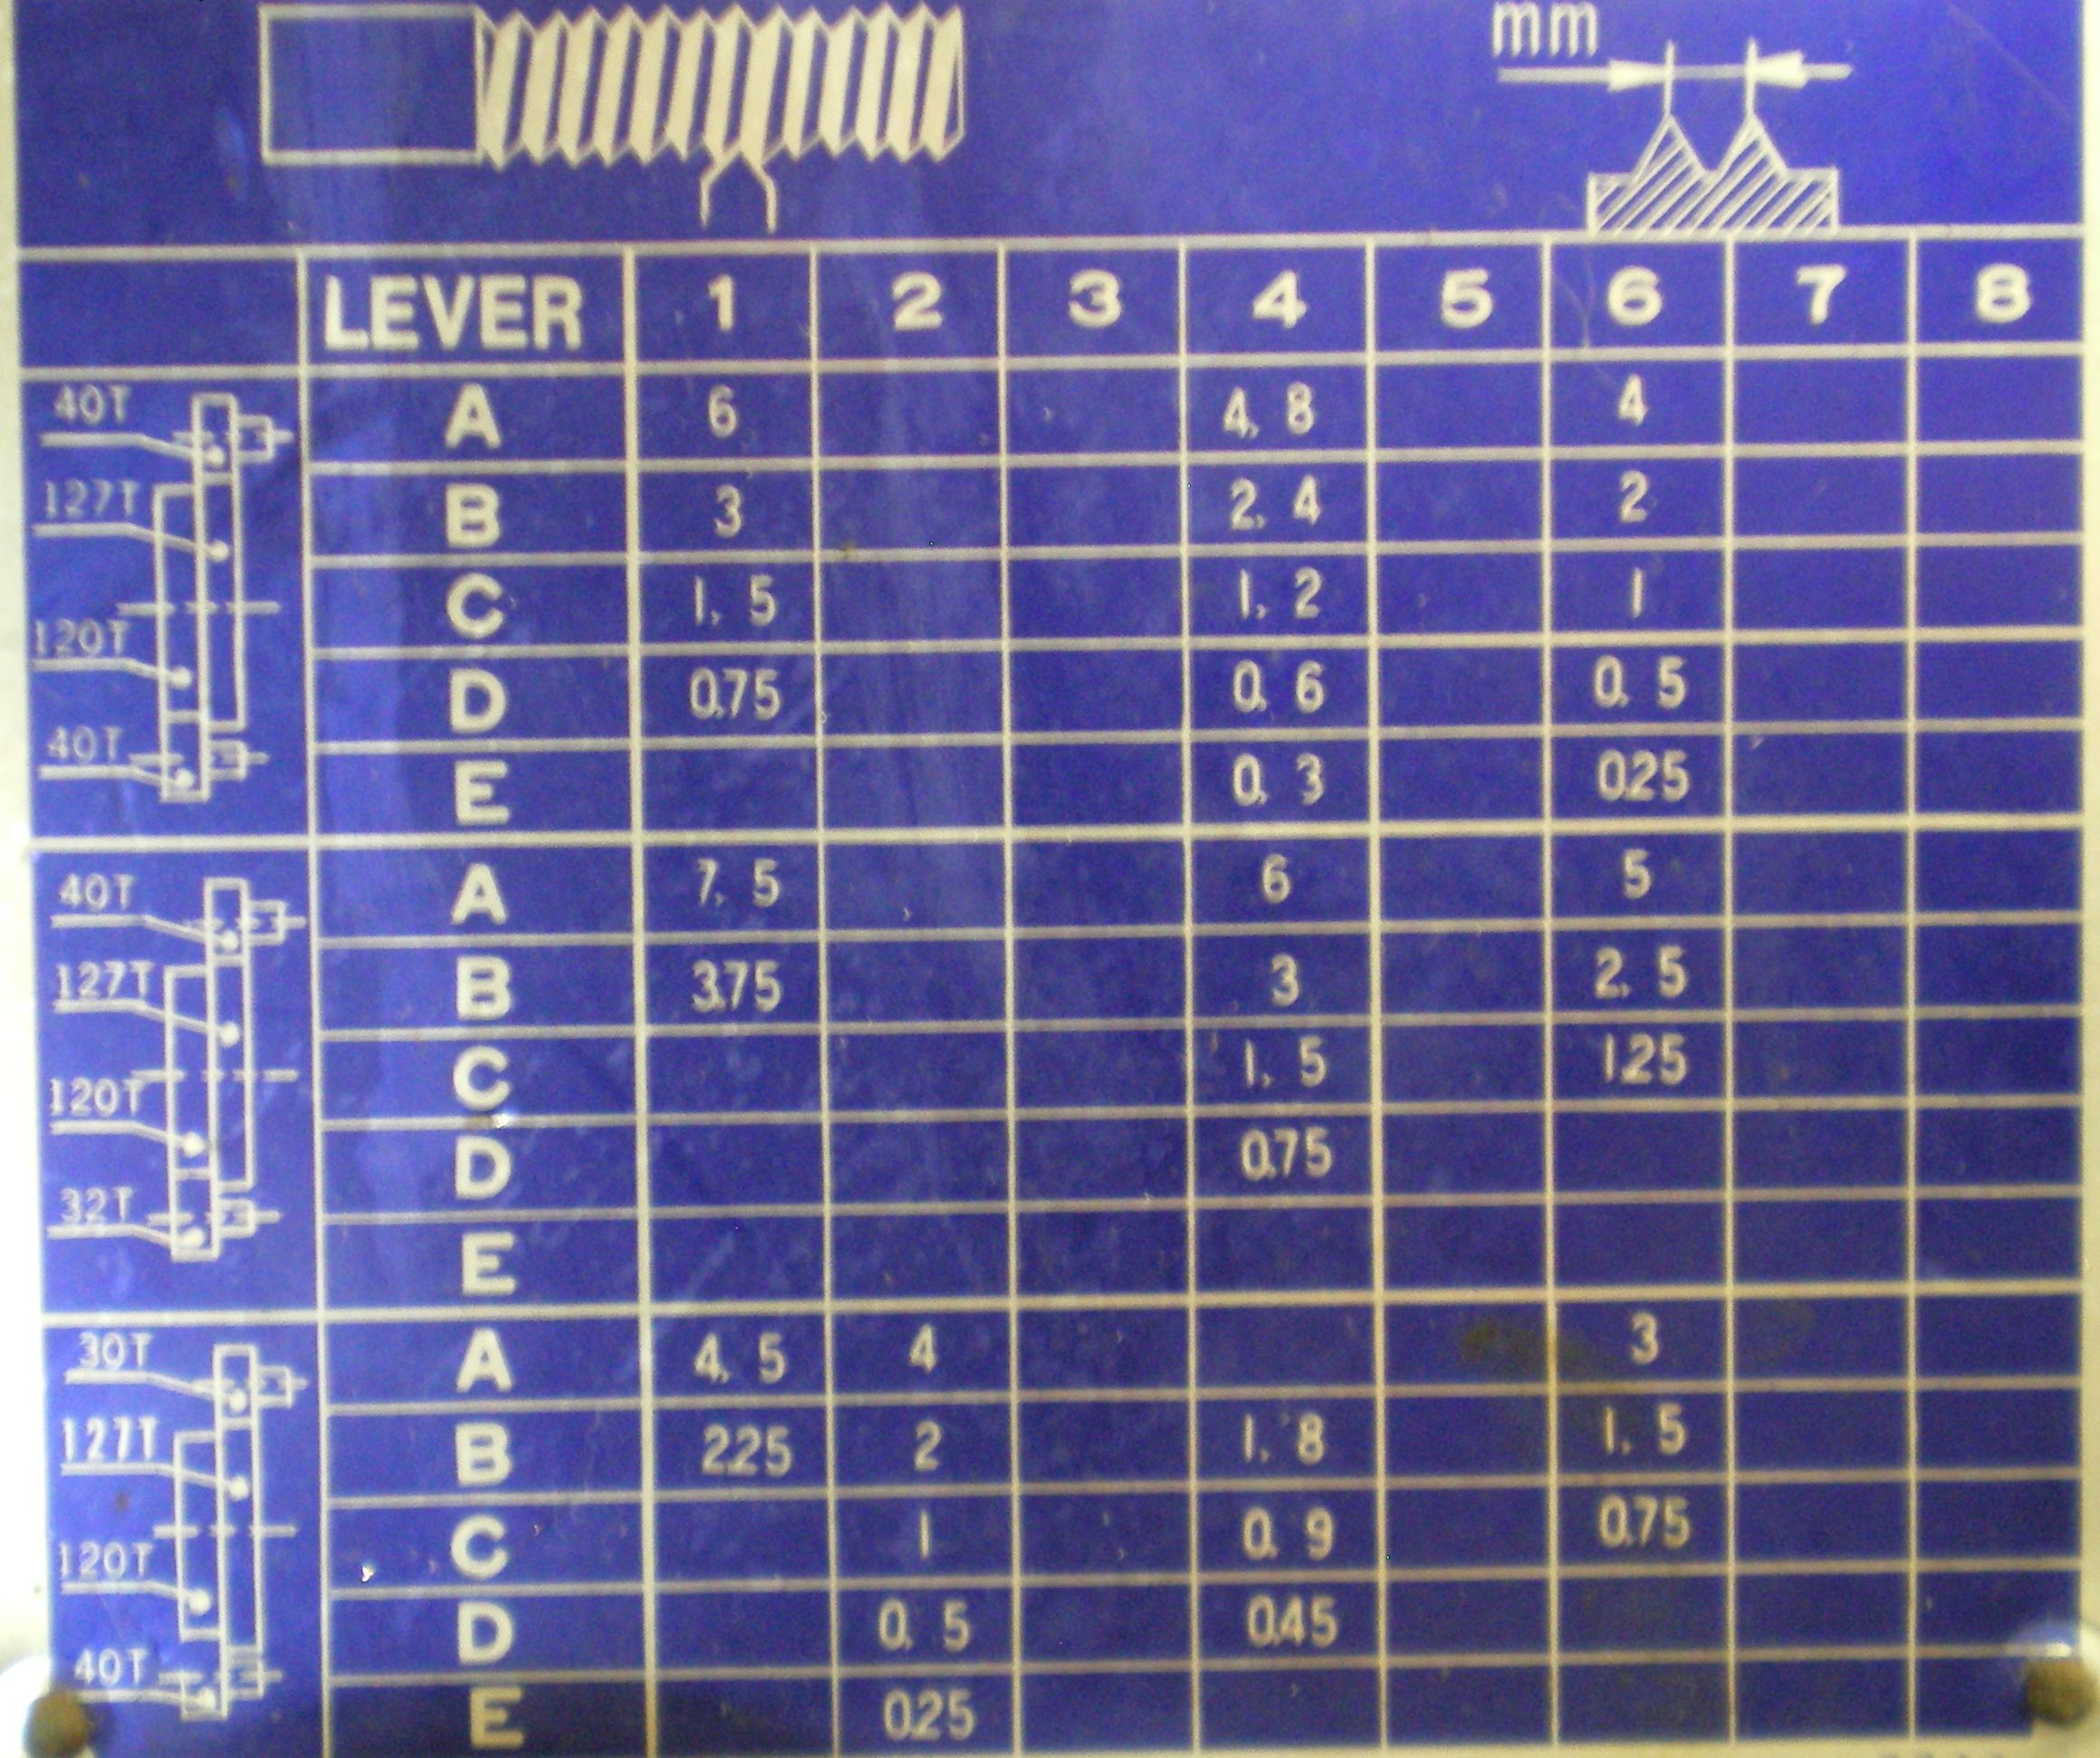
I have recently gotten a few questions about threading on this machine. If you click on the 6th picture you will see arrows pointing to the 127T gear and the 40T gears referenced on the SAE chart in picture 7. From there it shouldn't be too hard to figure out how to set the gears for the various metric pitches in picture #8. You will have to flip the gears over to get them to align with the correct large gear (120T/127T) then adjust the banjo (gear carrier) to get them to engage.
A long postponed project for the 12x36 was getting the collets lined out for it. I have a fair good set of 5C collets (all of good brands) and a really nice ball thrusted drawbar Paul gave me. The only problem is it was for a lathe that has about a .2" smaller spindle in ID and OD so the bushing is a sloppy fit. It would work but needs a new bushing.


So I drew it up. I cut the piece out of some 1018 and it fit very well. 2nd picture is the old smaller bushing sitting on the hand wheel backwards in the spindle. 3rd is the backside view of the bushing and spindle. 4th is a piece of linear bearing rod to check the run out. I was a bit disappointed to find .01 run out until I rotated the rod 90° and the run out followed the rod. I think it's a fairly accurate setup just a bent rod.
Next is the adapter to the really nice set of W25 collets I have in 1/64ths
Well I still haven't got around to that but I did manage to break the 12x36. During a cut the feed lever would not disengage and I crashed it, breaking a gear. I called Jettools.com (Walter Meir Inc.) and we looked up the gear only too be told it was obsolete. He seemed shocked that I didn't go off on him. "I'll just have to make it" says I. Click Here for the repair.
Mill/Drill
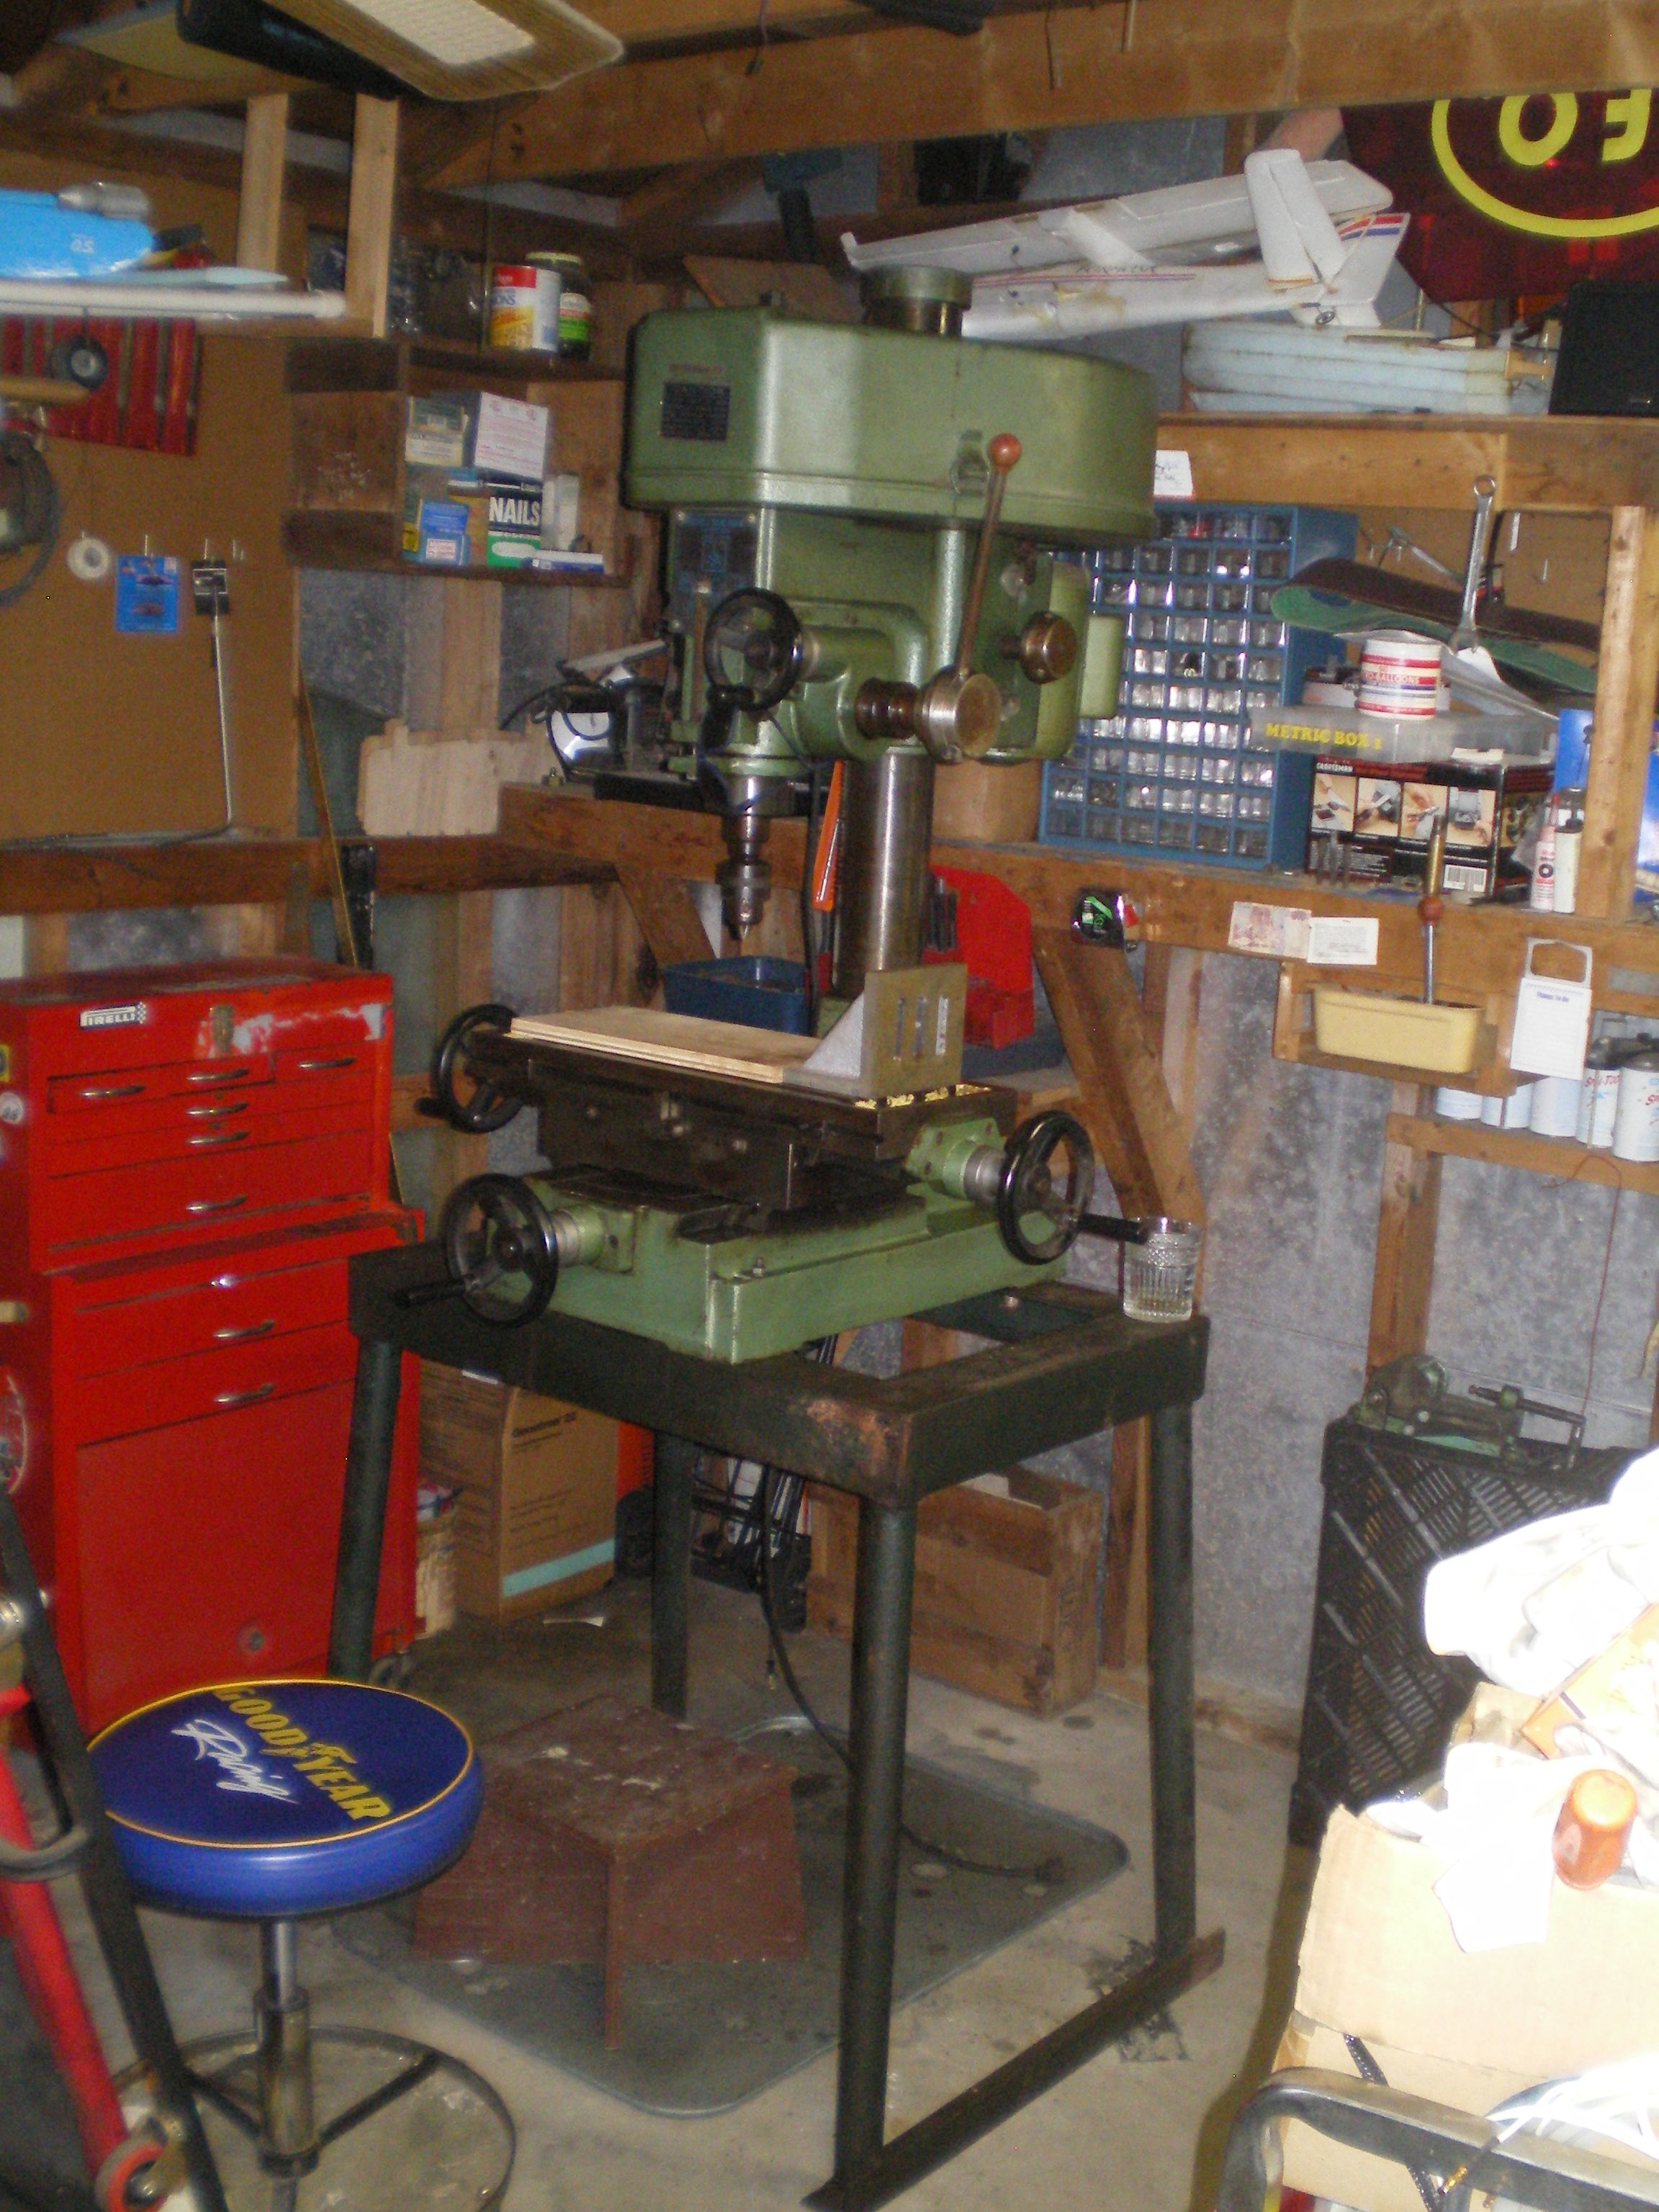

Jet 16 mill/drill. 9" ROTAB and 6" 4 jaw has been handling our milling needs.
The chuck was dialed in on the lathe and the throat trued up. So installation on the ROTAB is as simple as dropping it on a plug and bolting it down with 4 bolts.
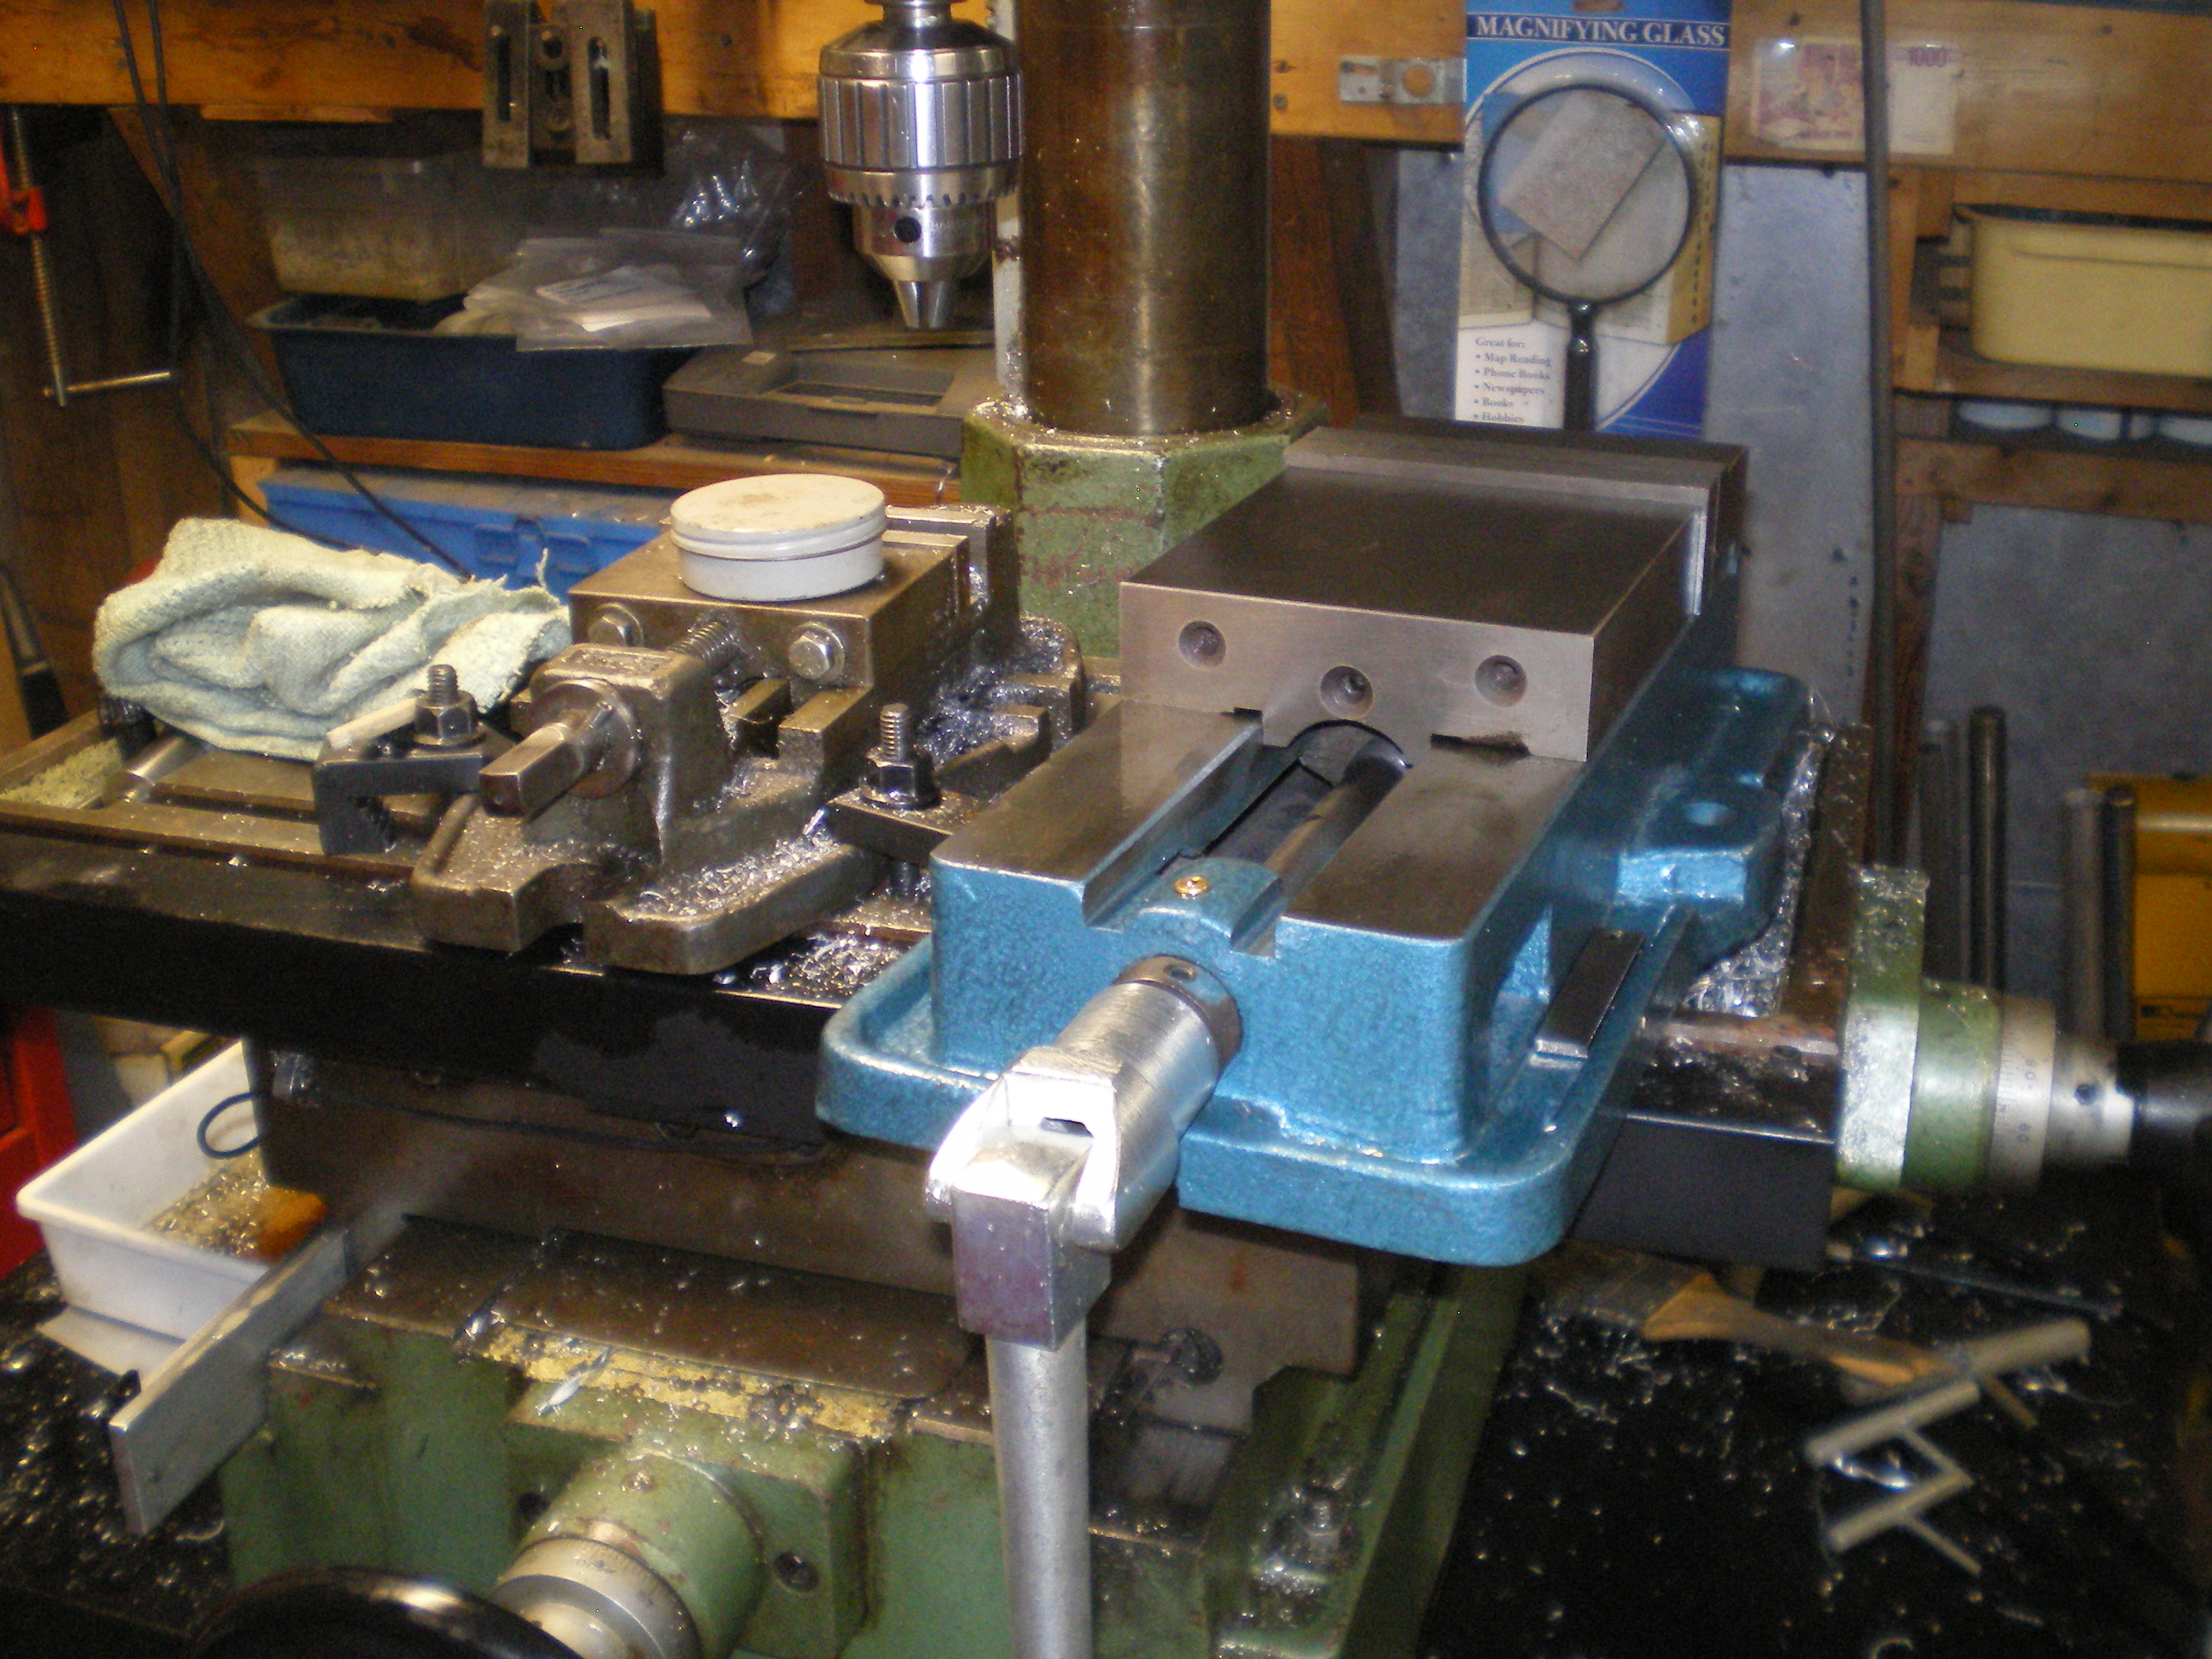
Enco sold Joe a 5" Kurt clone at a nice price and free shipping. It seems to be a very good value and passes all our testing. It is shown on the table next to what we have been using.
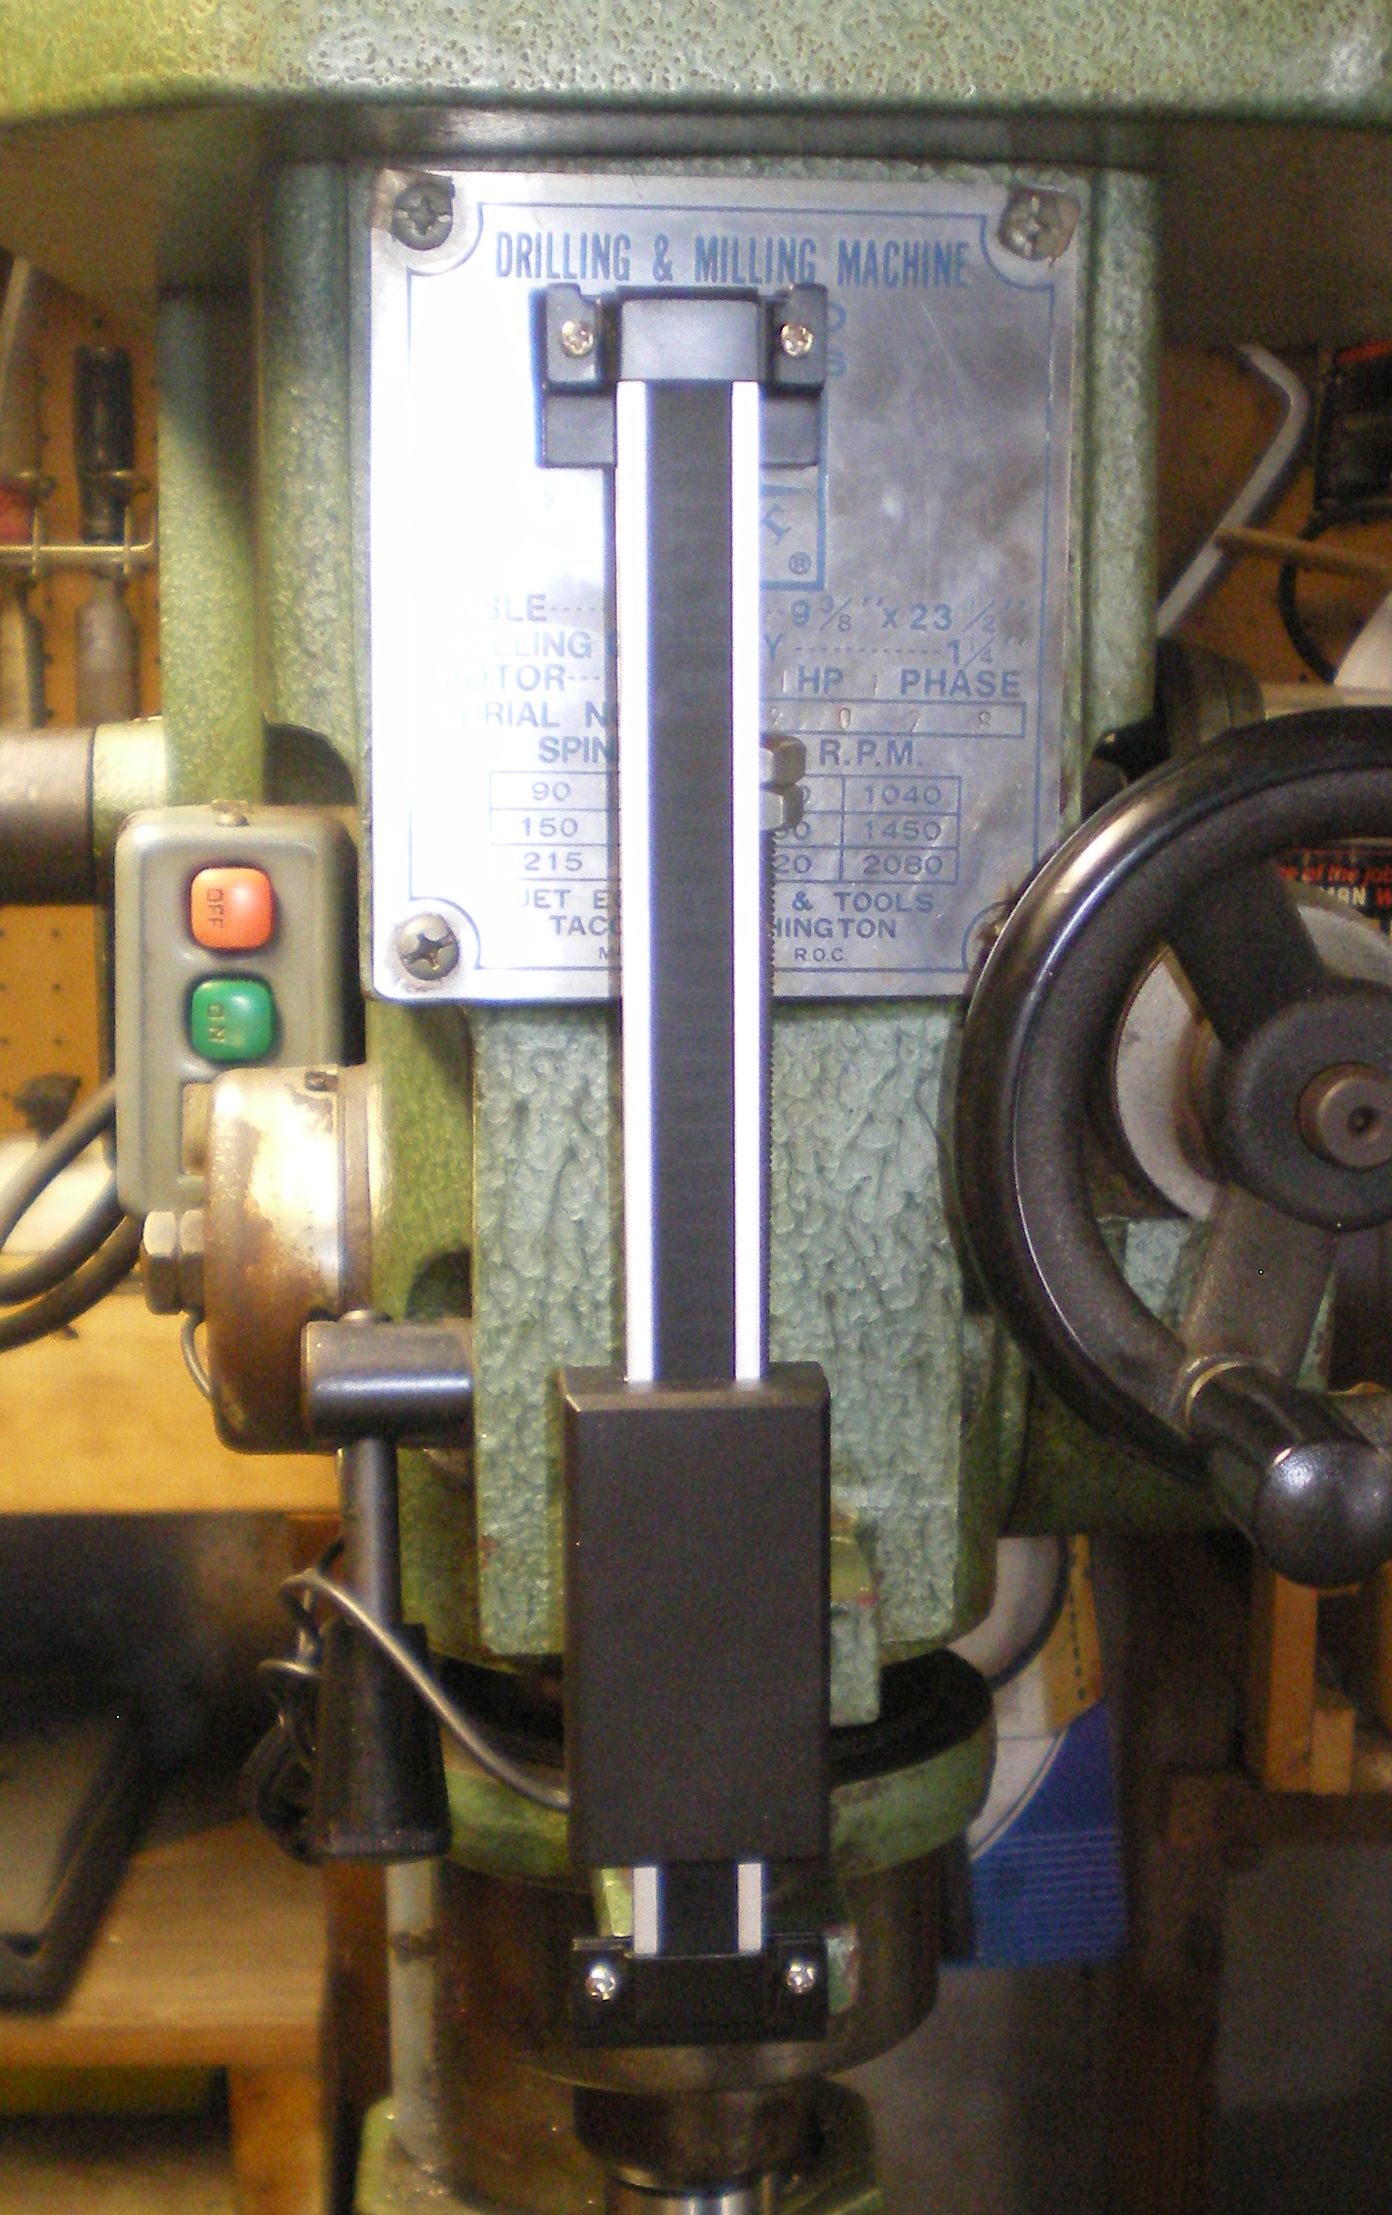
Mill/Drill DRO
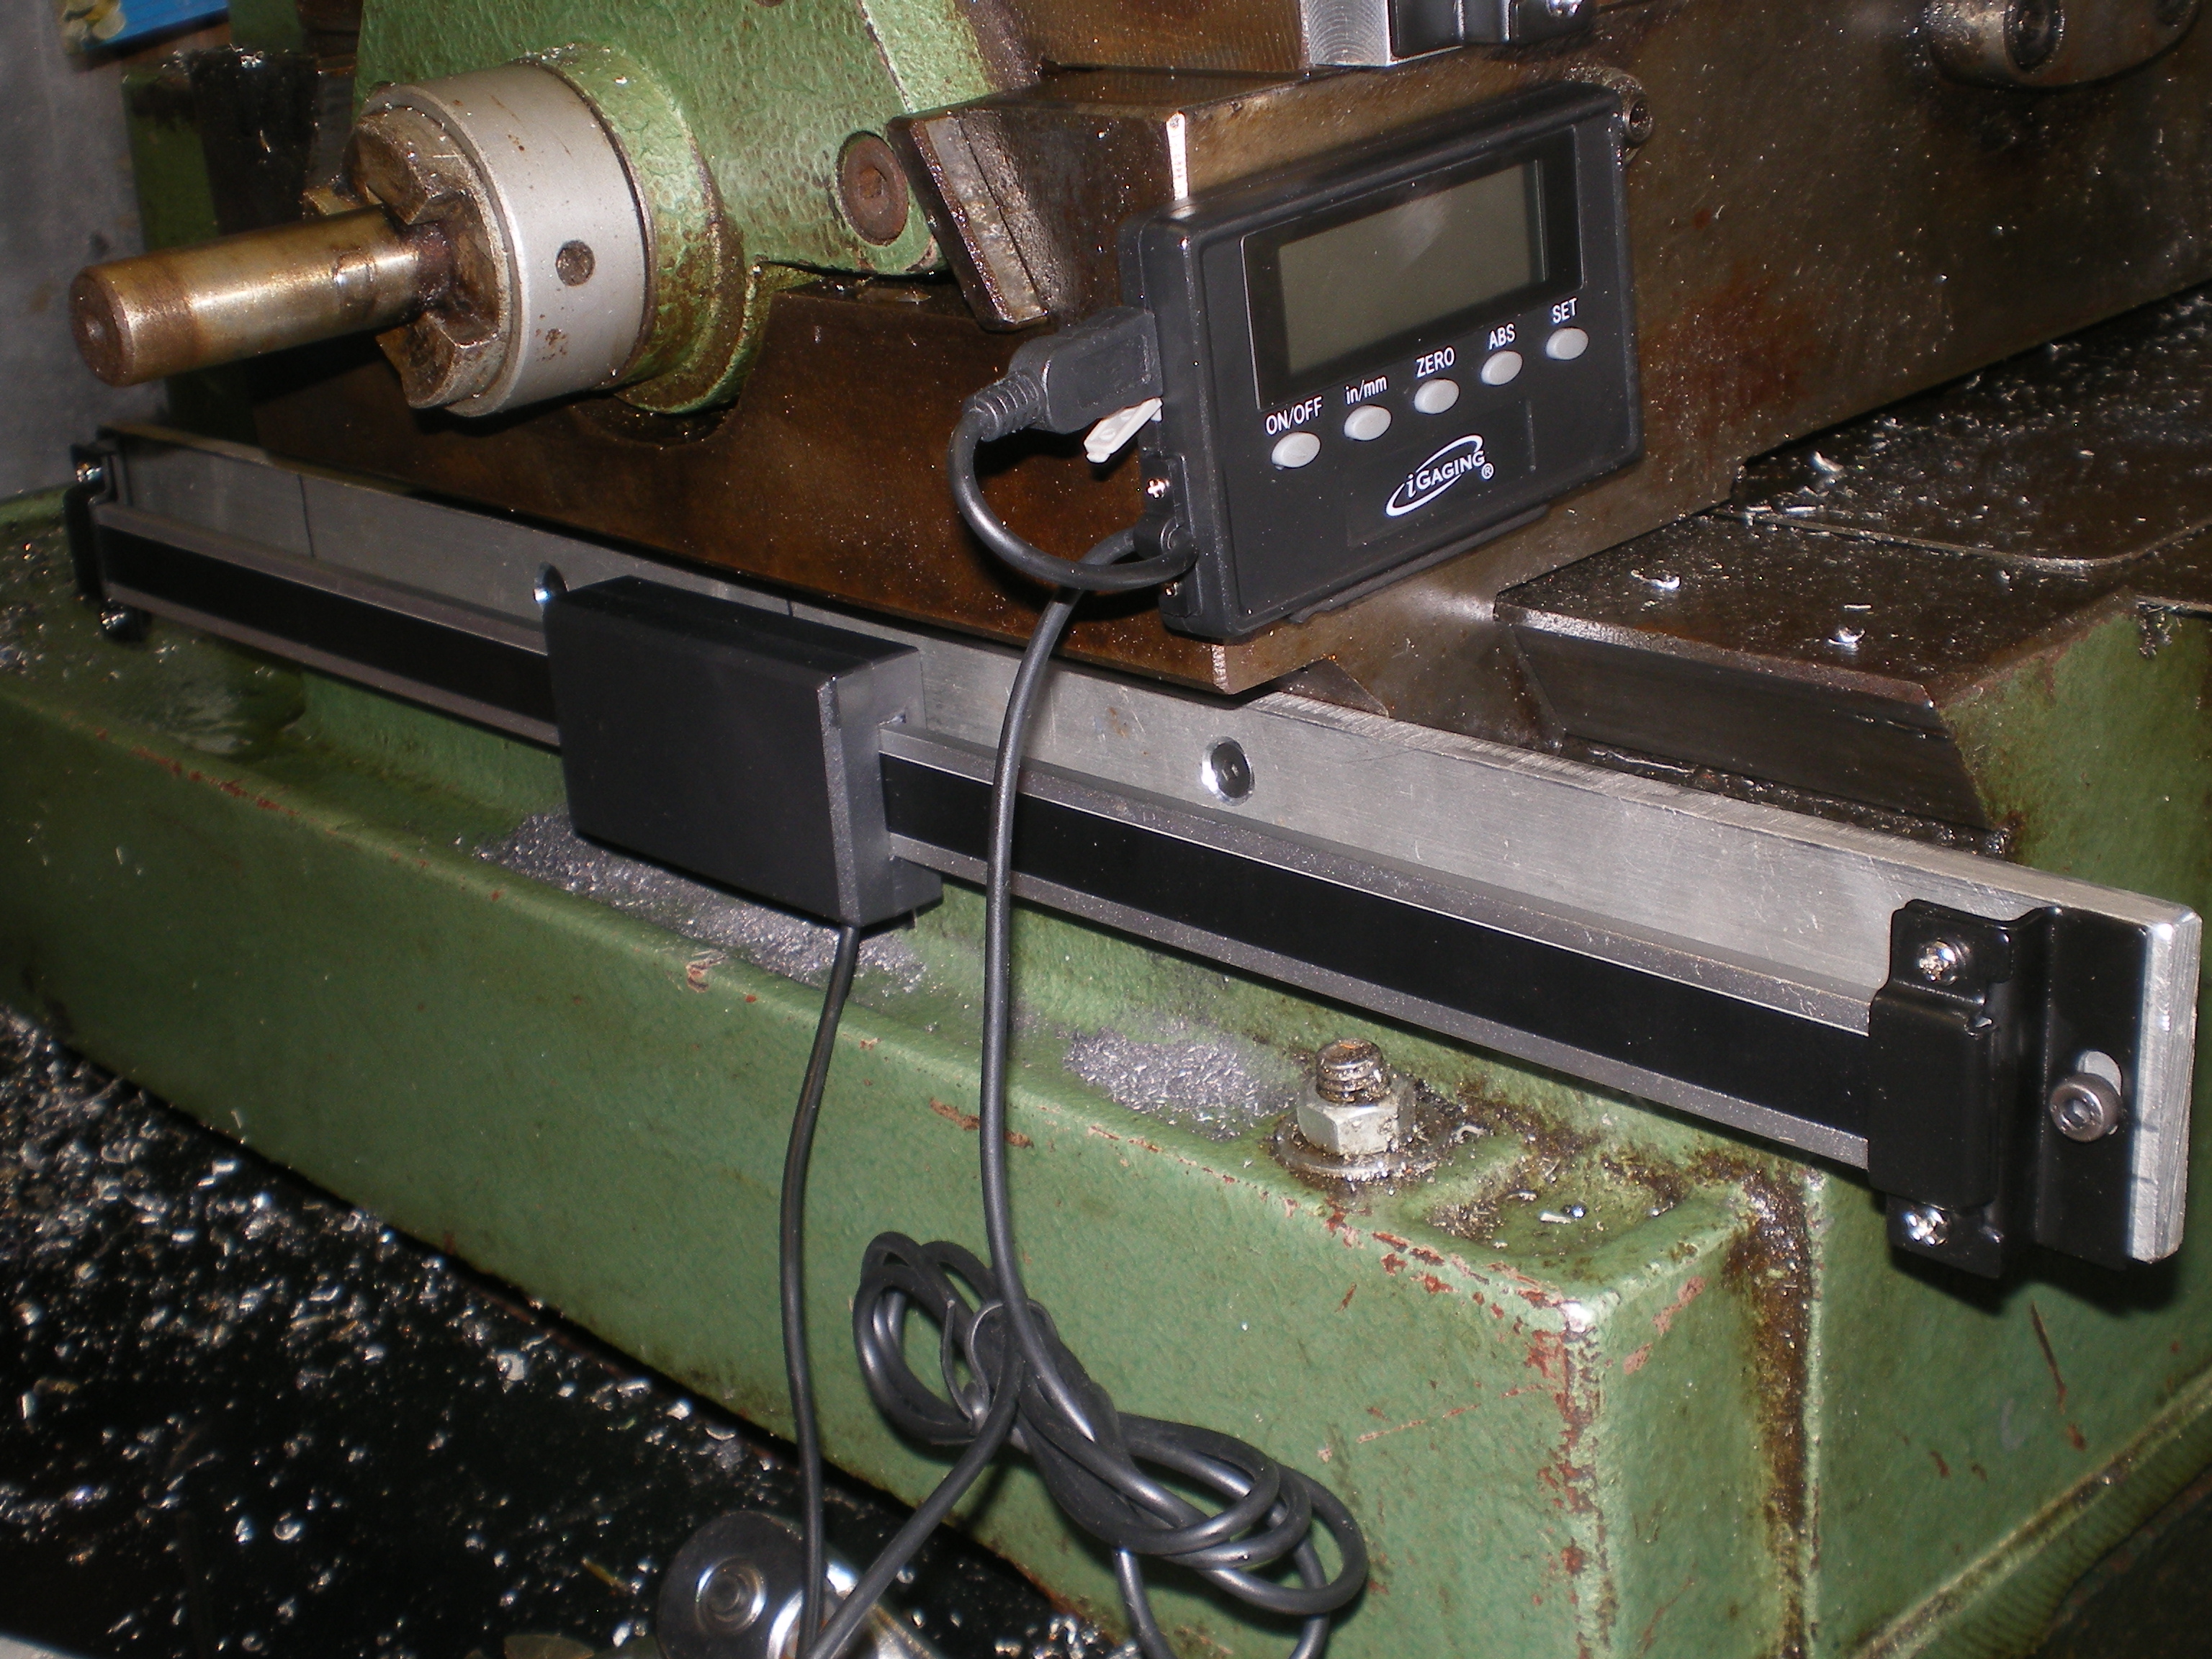
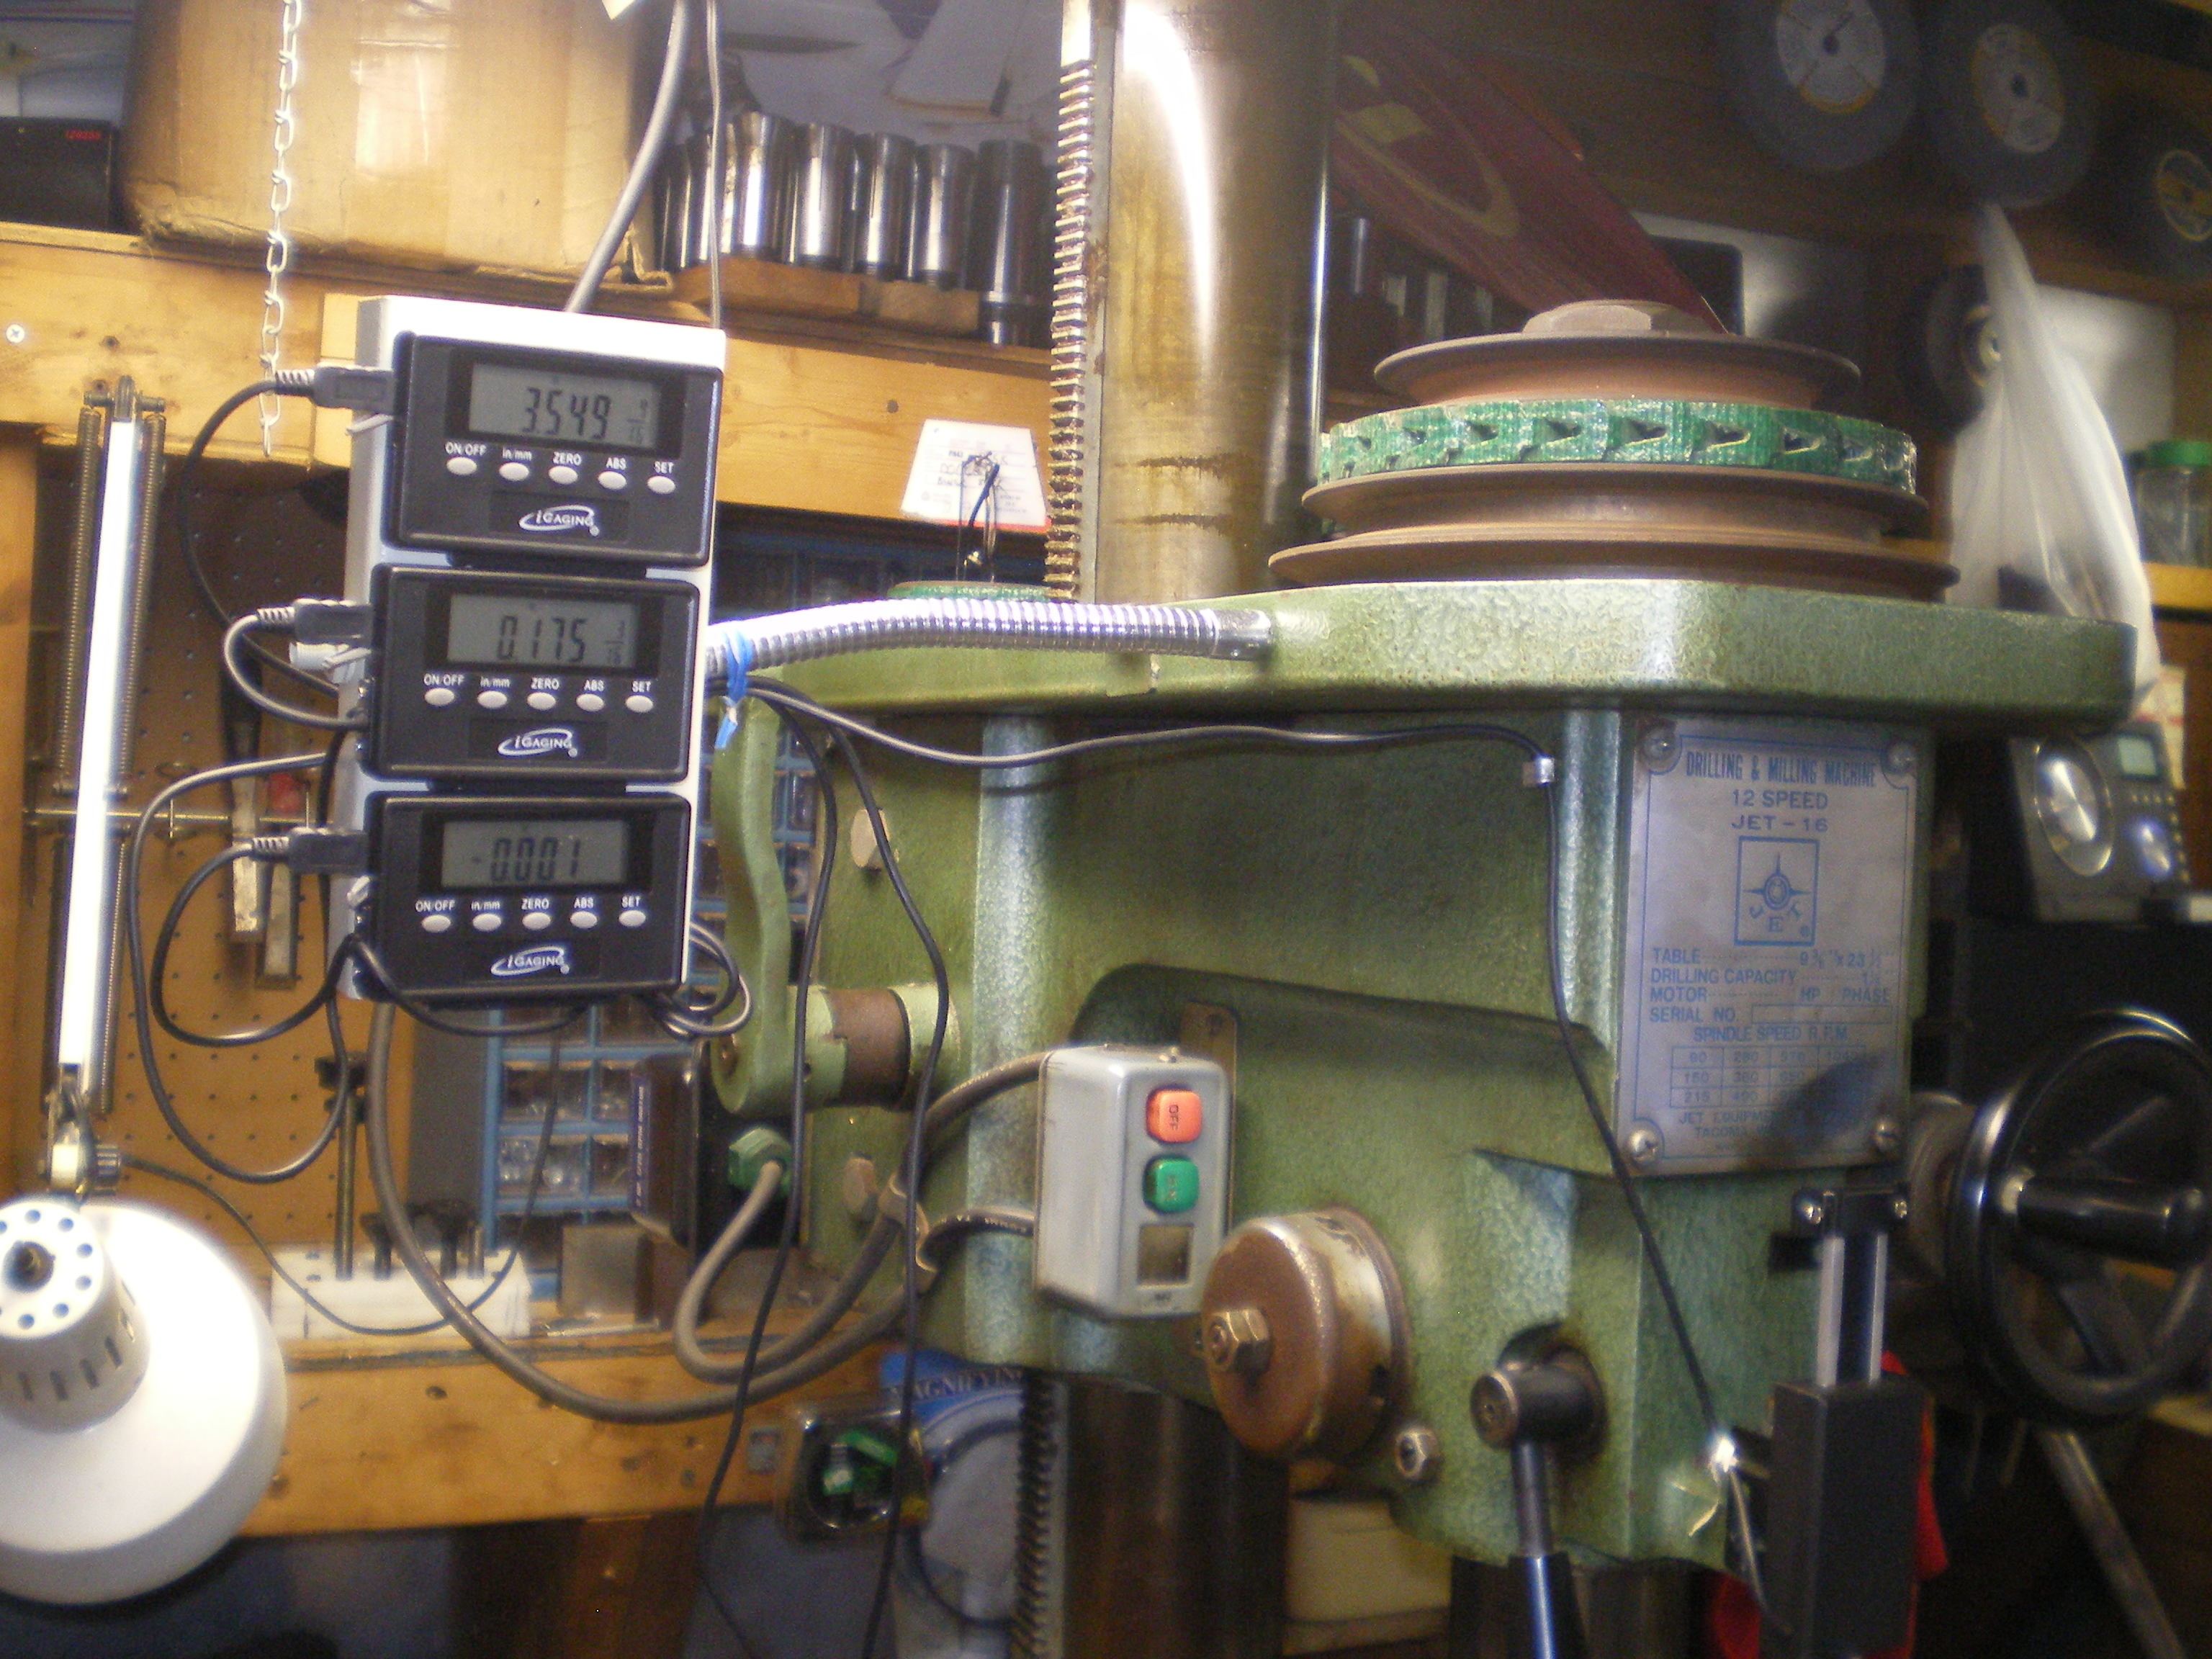
The venerable mill drill is moving up a few decades with Digital Read Out (DRO). Joe has a great grasp on how the mill works and I'll just muddle along as always. The DRO is nothing fancy but about the same as the Chinese digital calipers. Sold under the name of Igaging. I have no input at this time wether it was a waste or not. I'm mostly finished installing it on the Jet-16 Mill/Drill. Still need to control the wires and mount the panels.
Not much to say about that. It was a no brainer and the included brackets fit. Drill/tap a couple holes Whoot de'Poot!

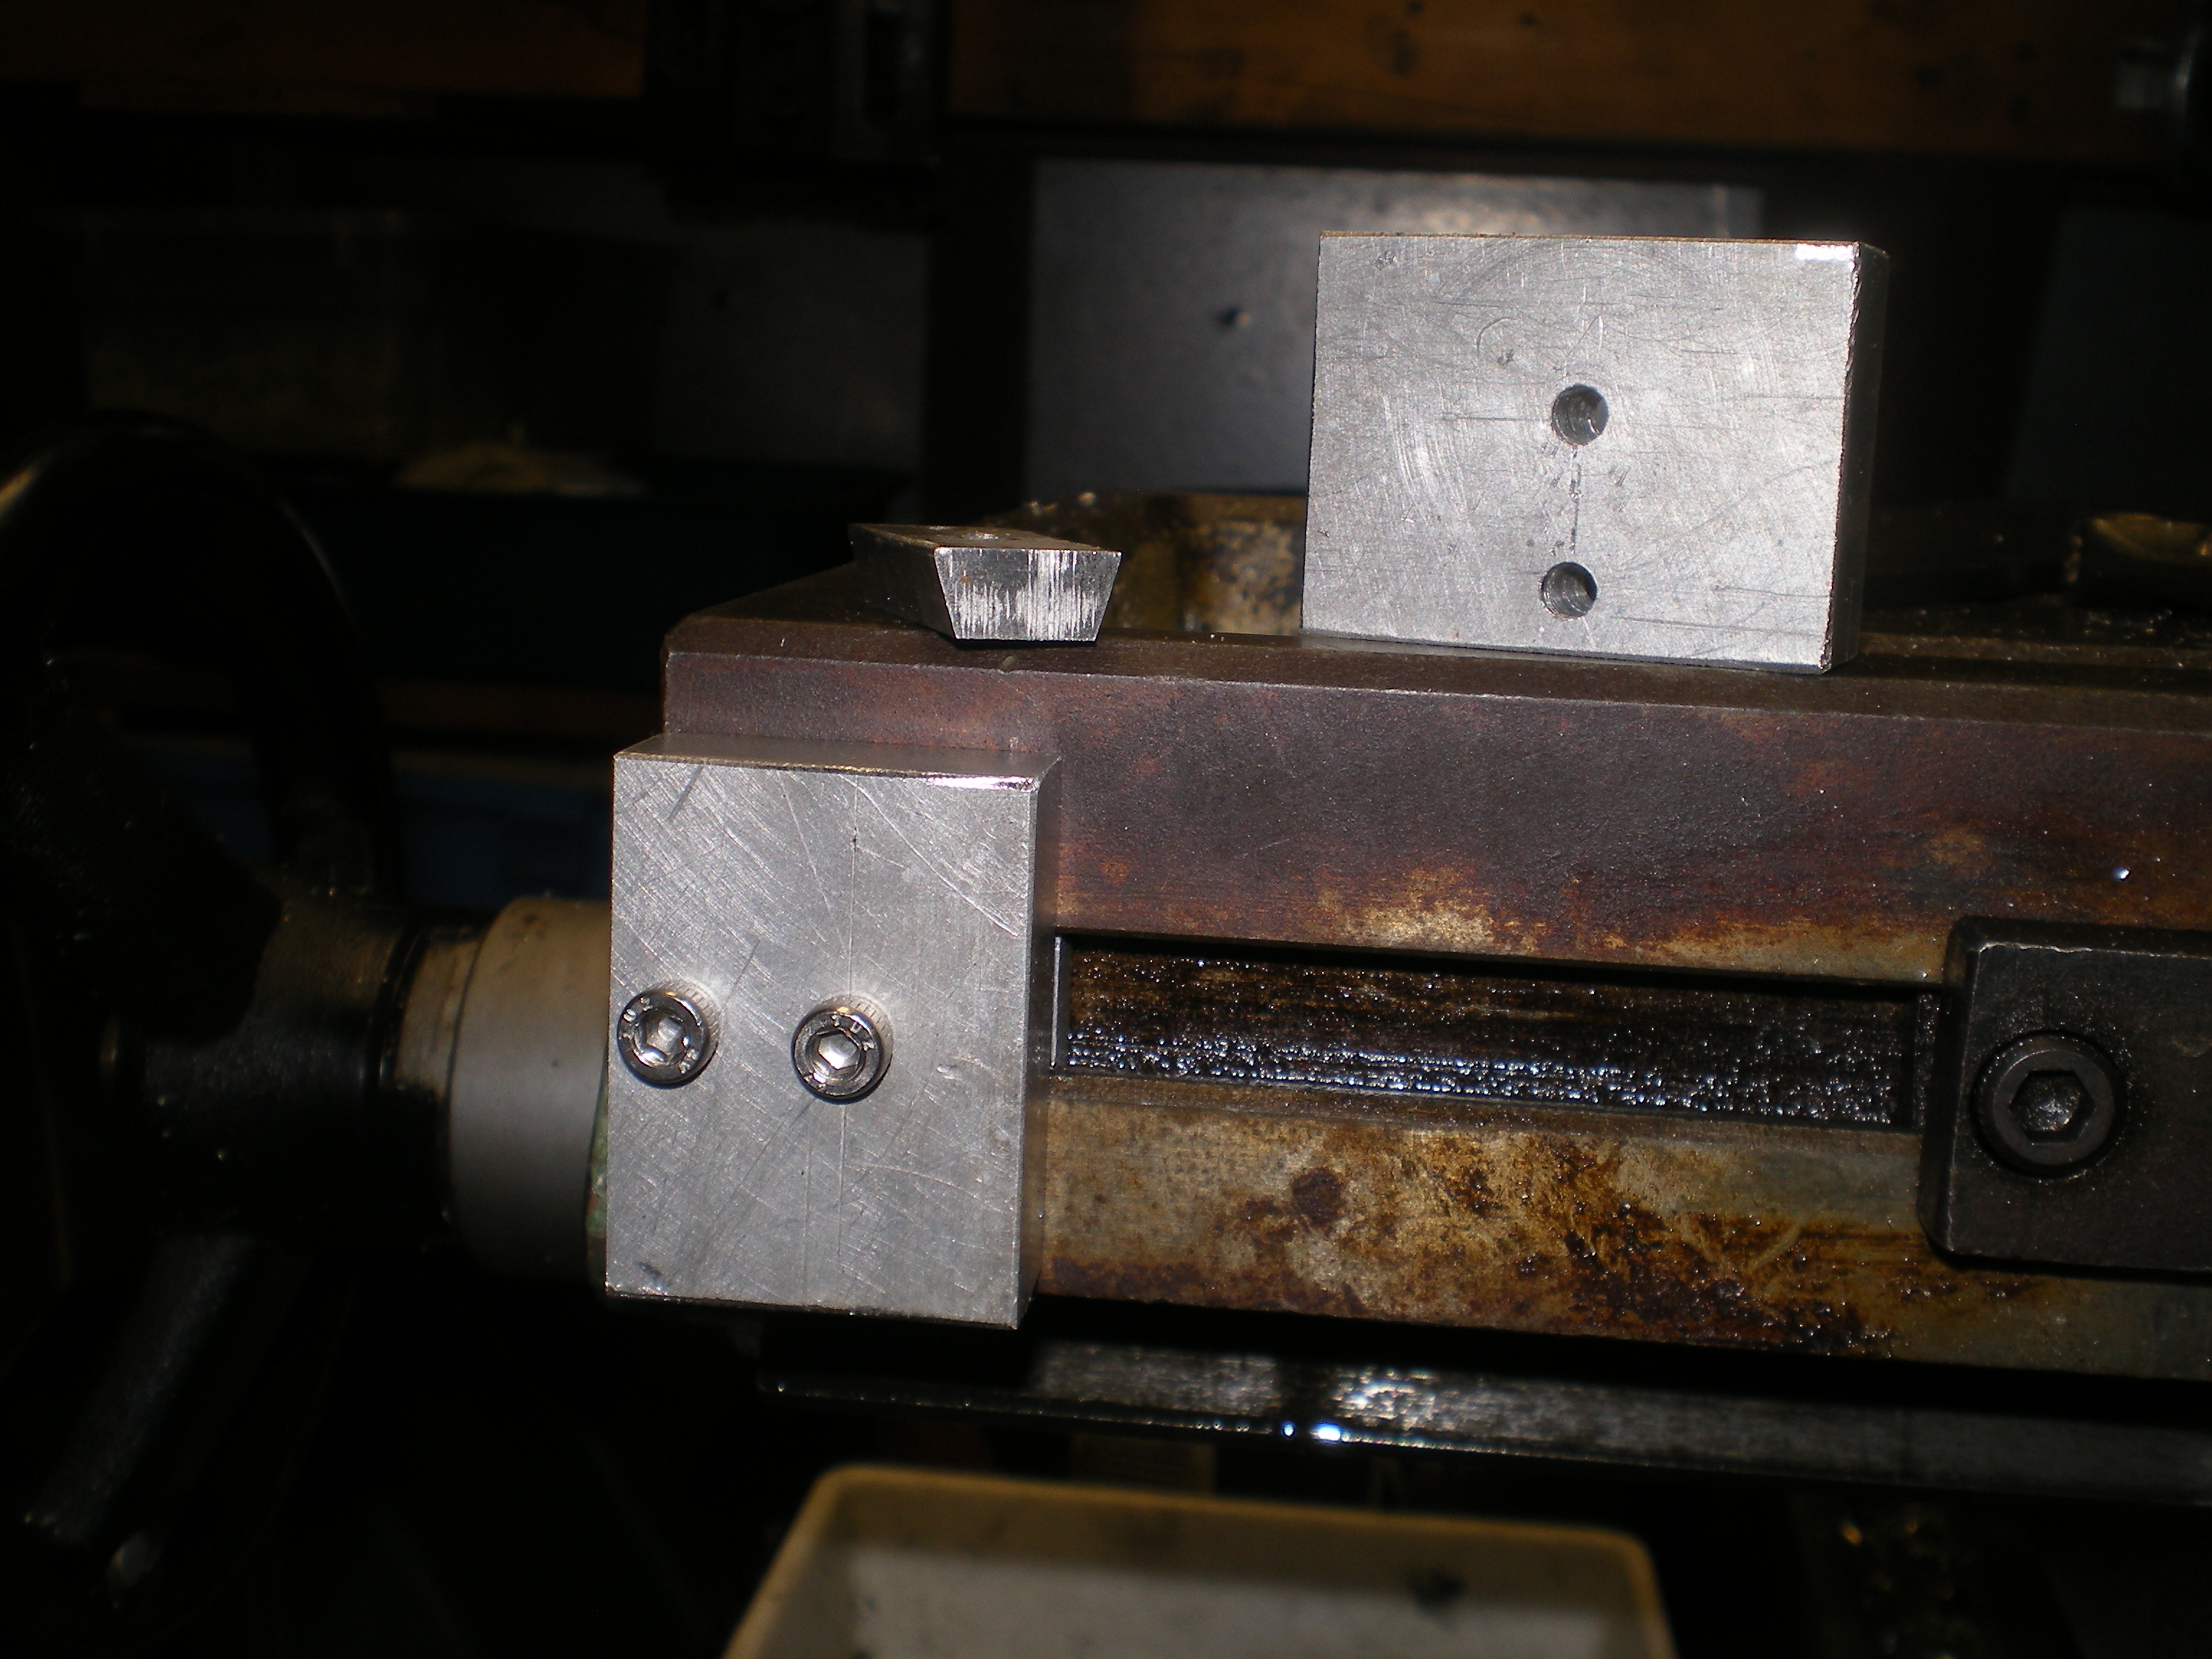
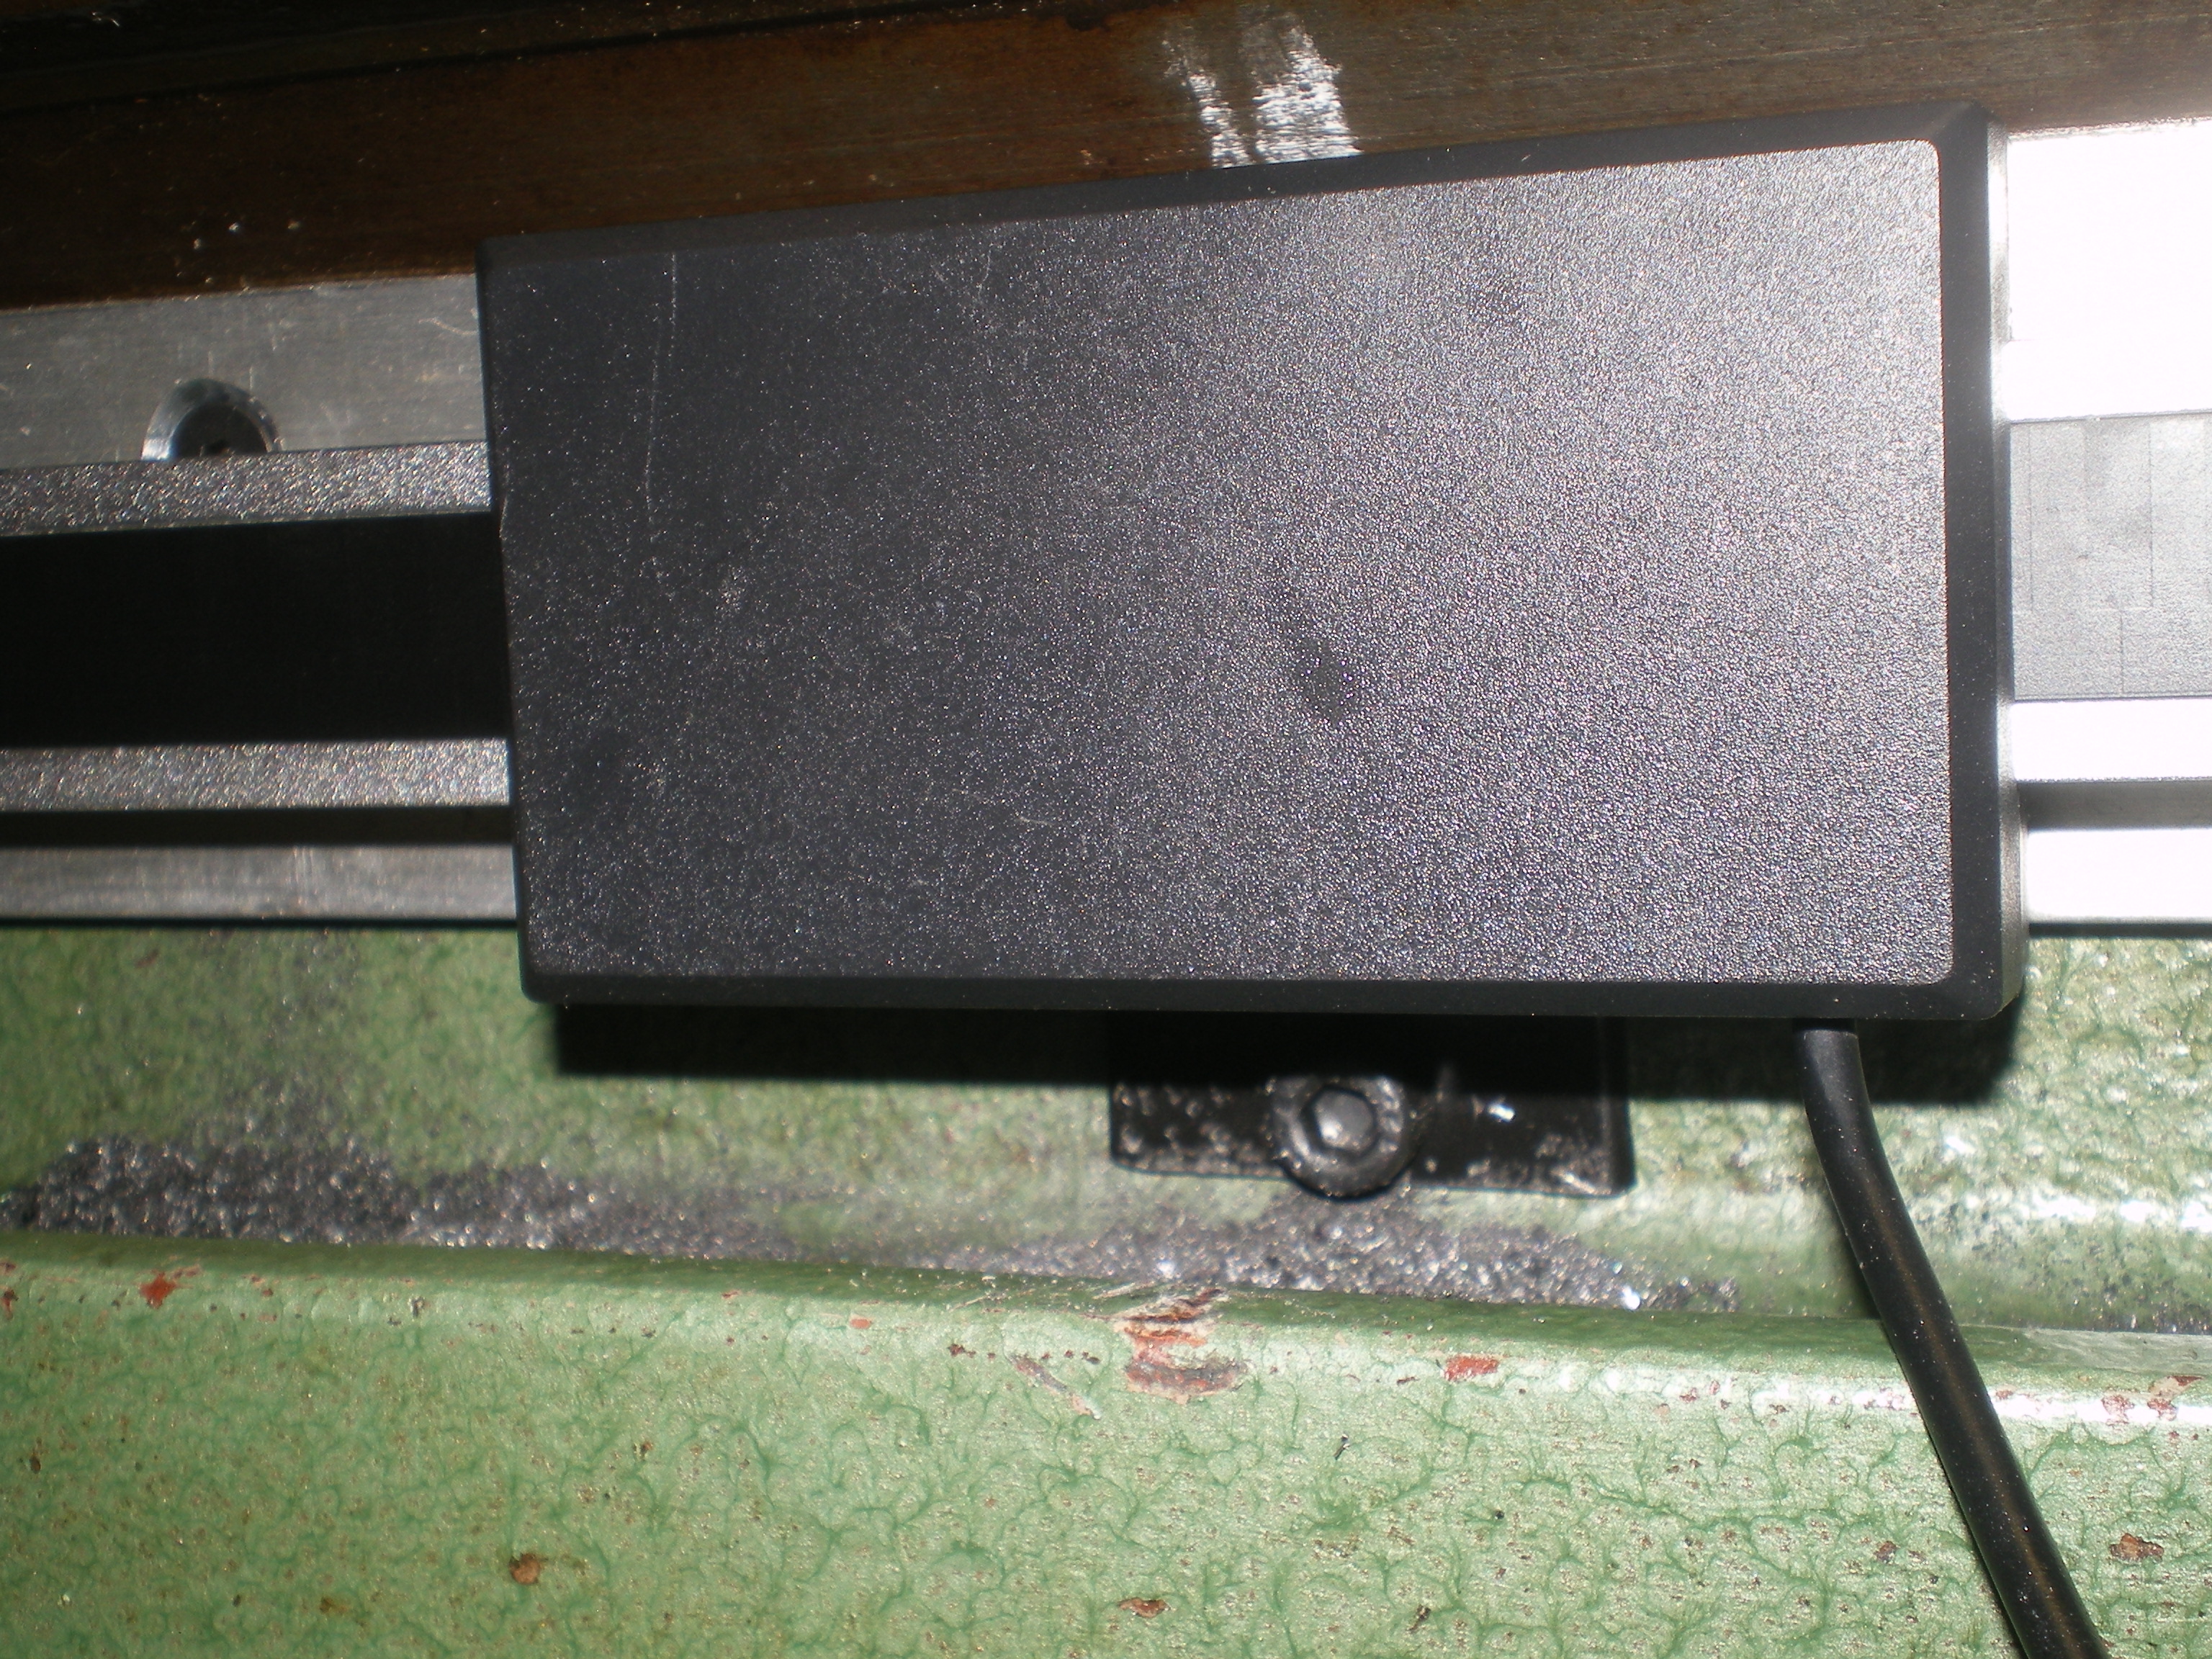
Next I did the X axis because I thought it was going to be the worst. Turned out to be simple. 1st picture mill out a dovetail to fit the table stop slots. Then just mill and drill a mounting block of 1/2" AL this gives room for mounting shielding later. Doot te doot doot doot de doot. satisfying!
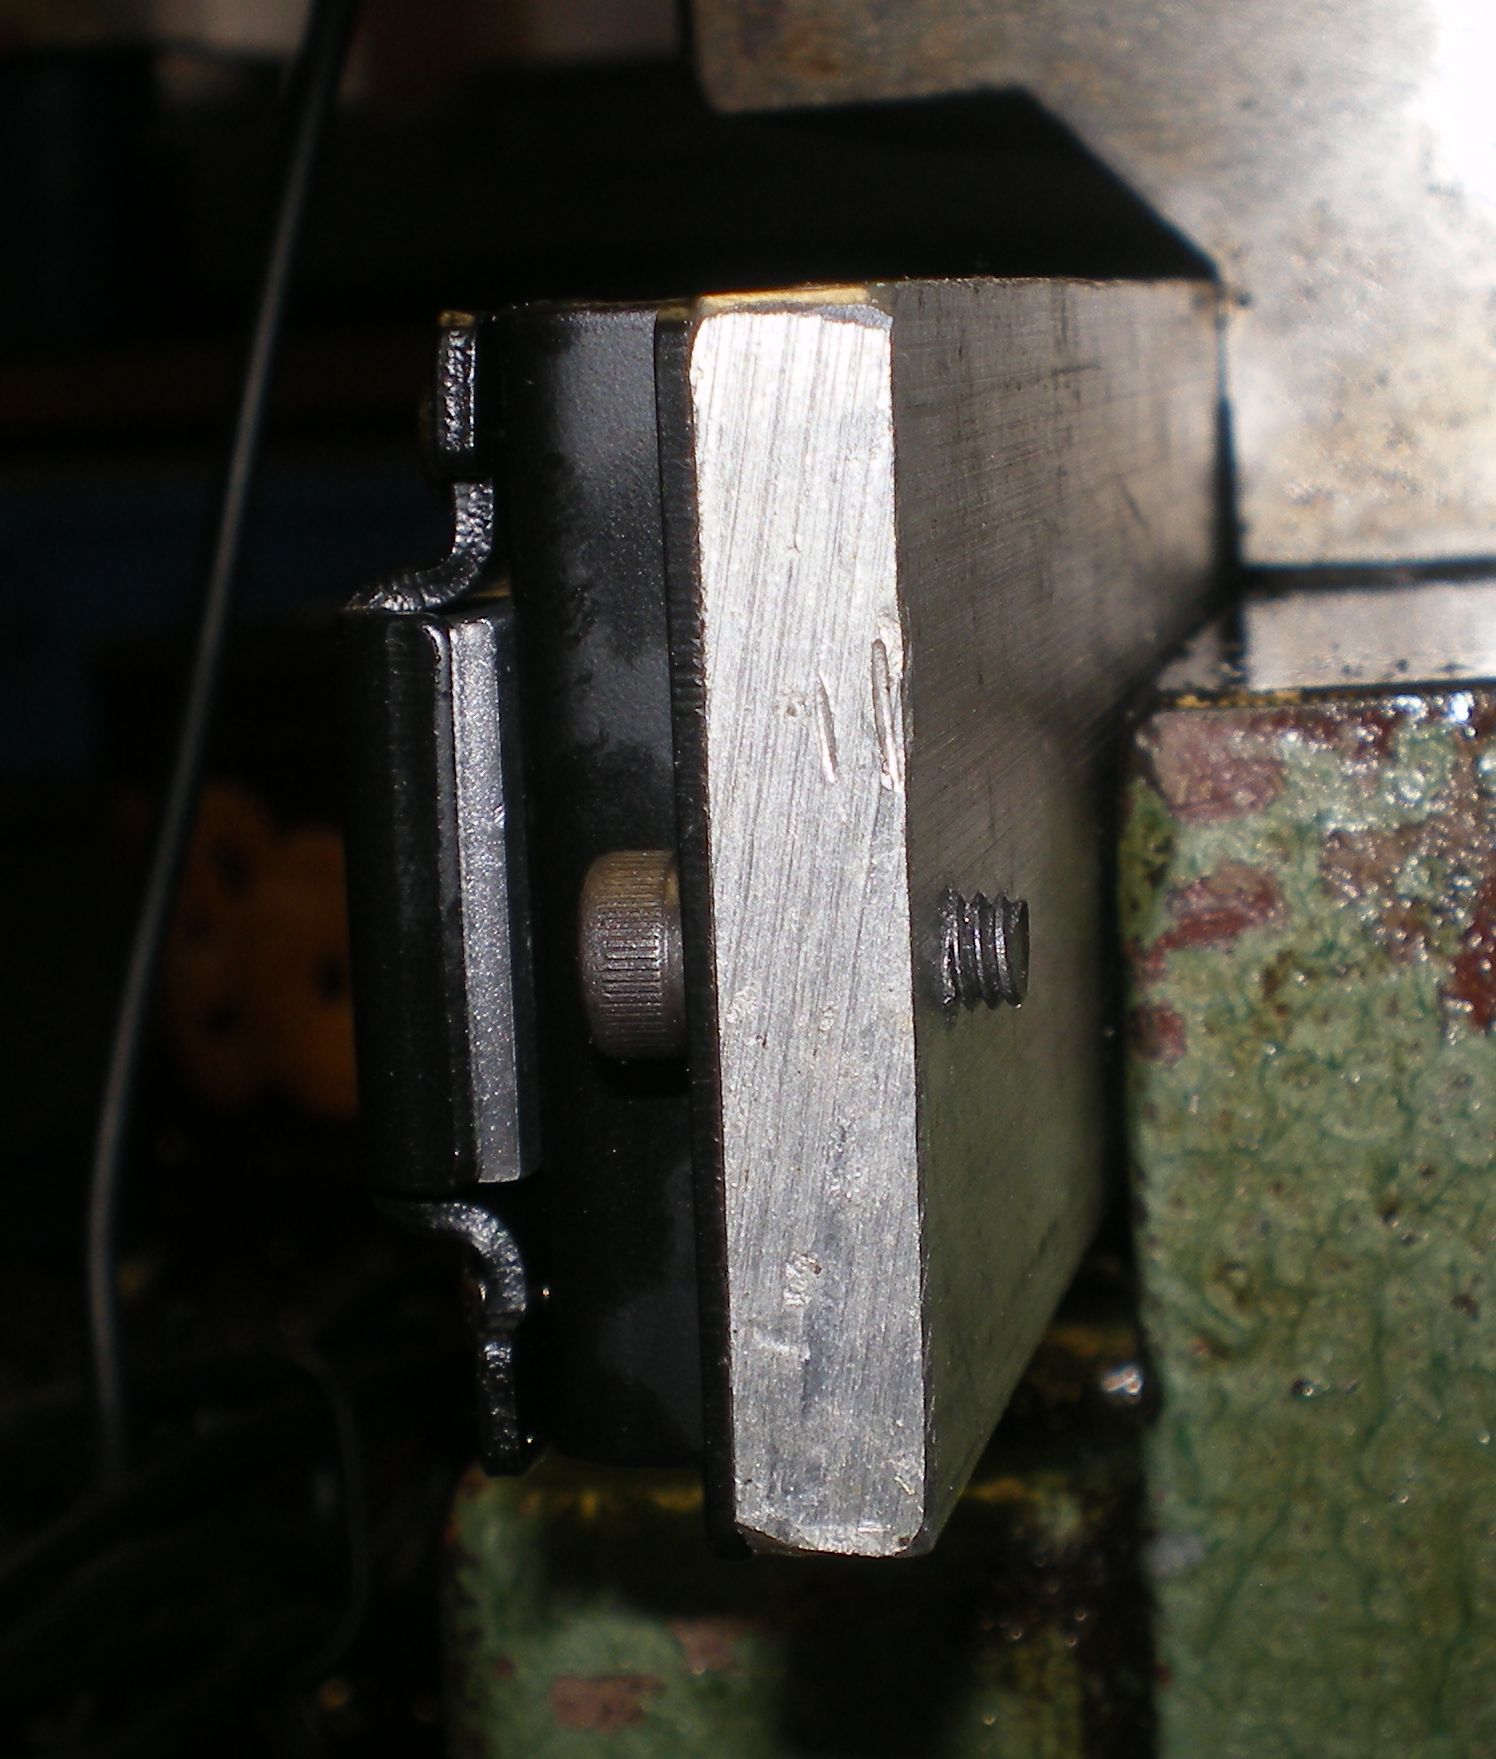
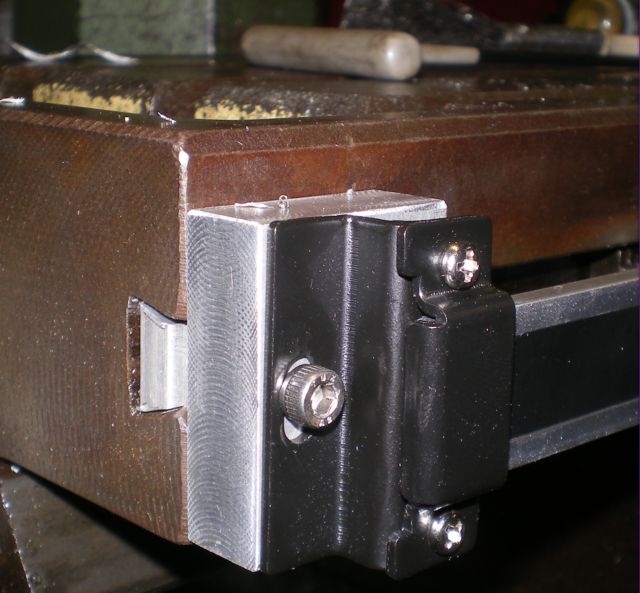
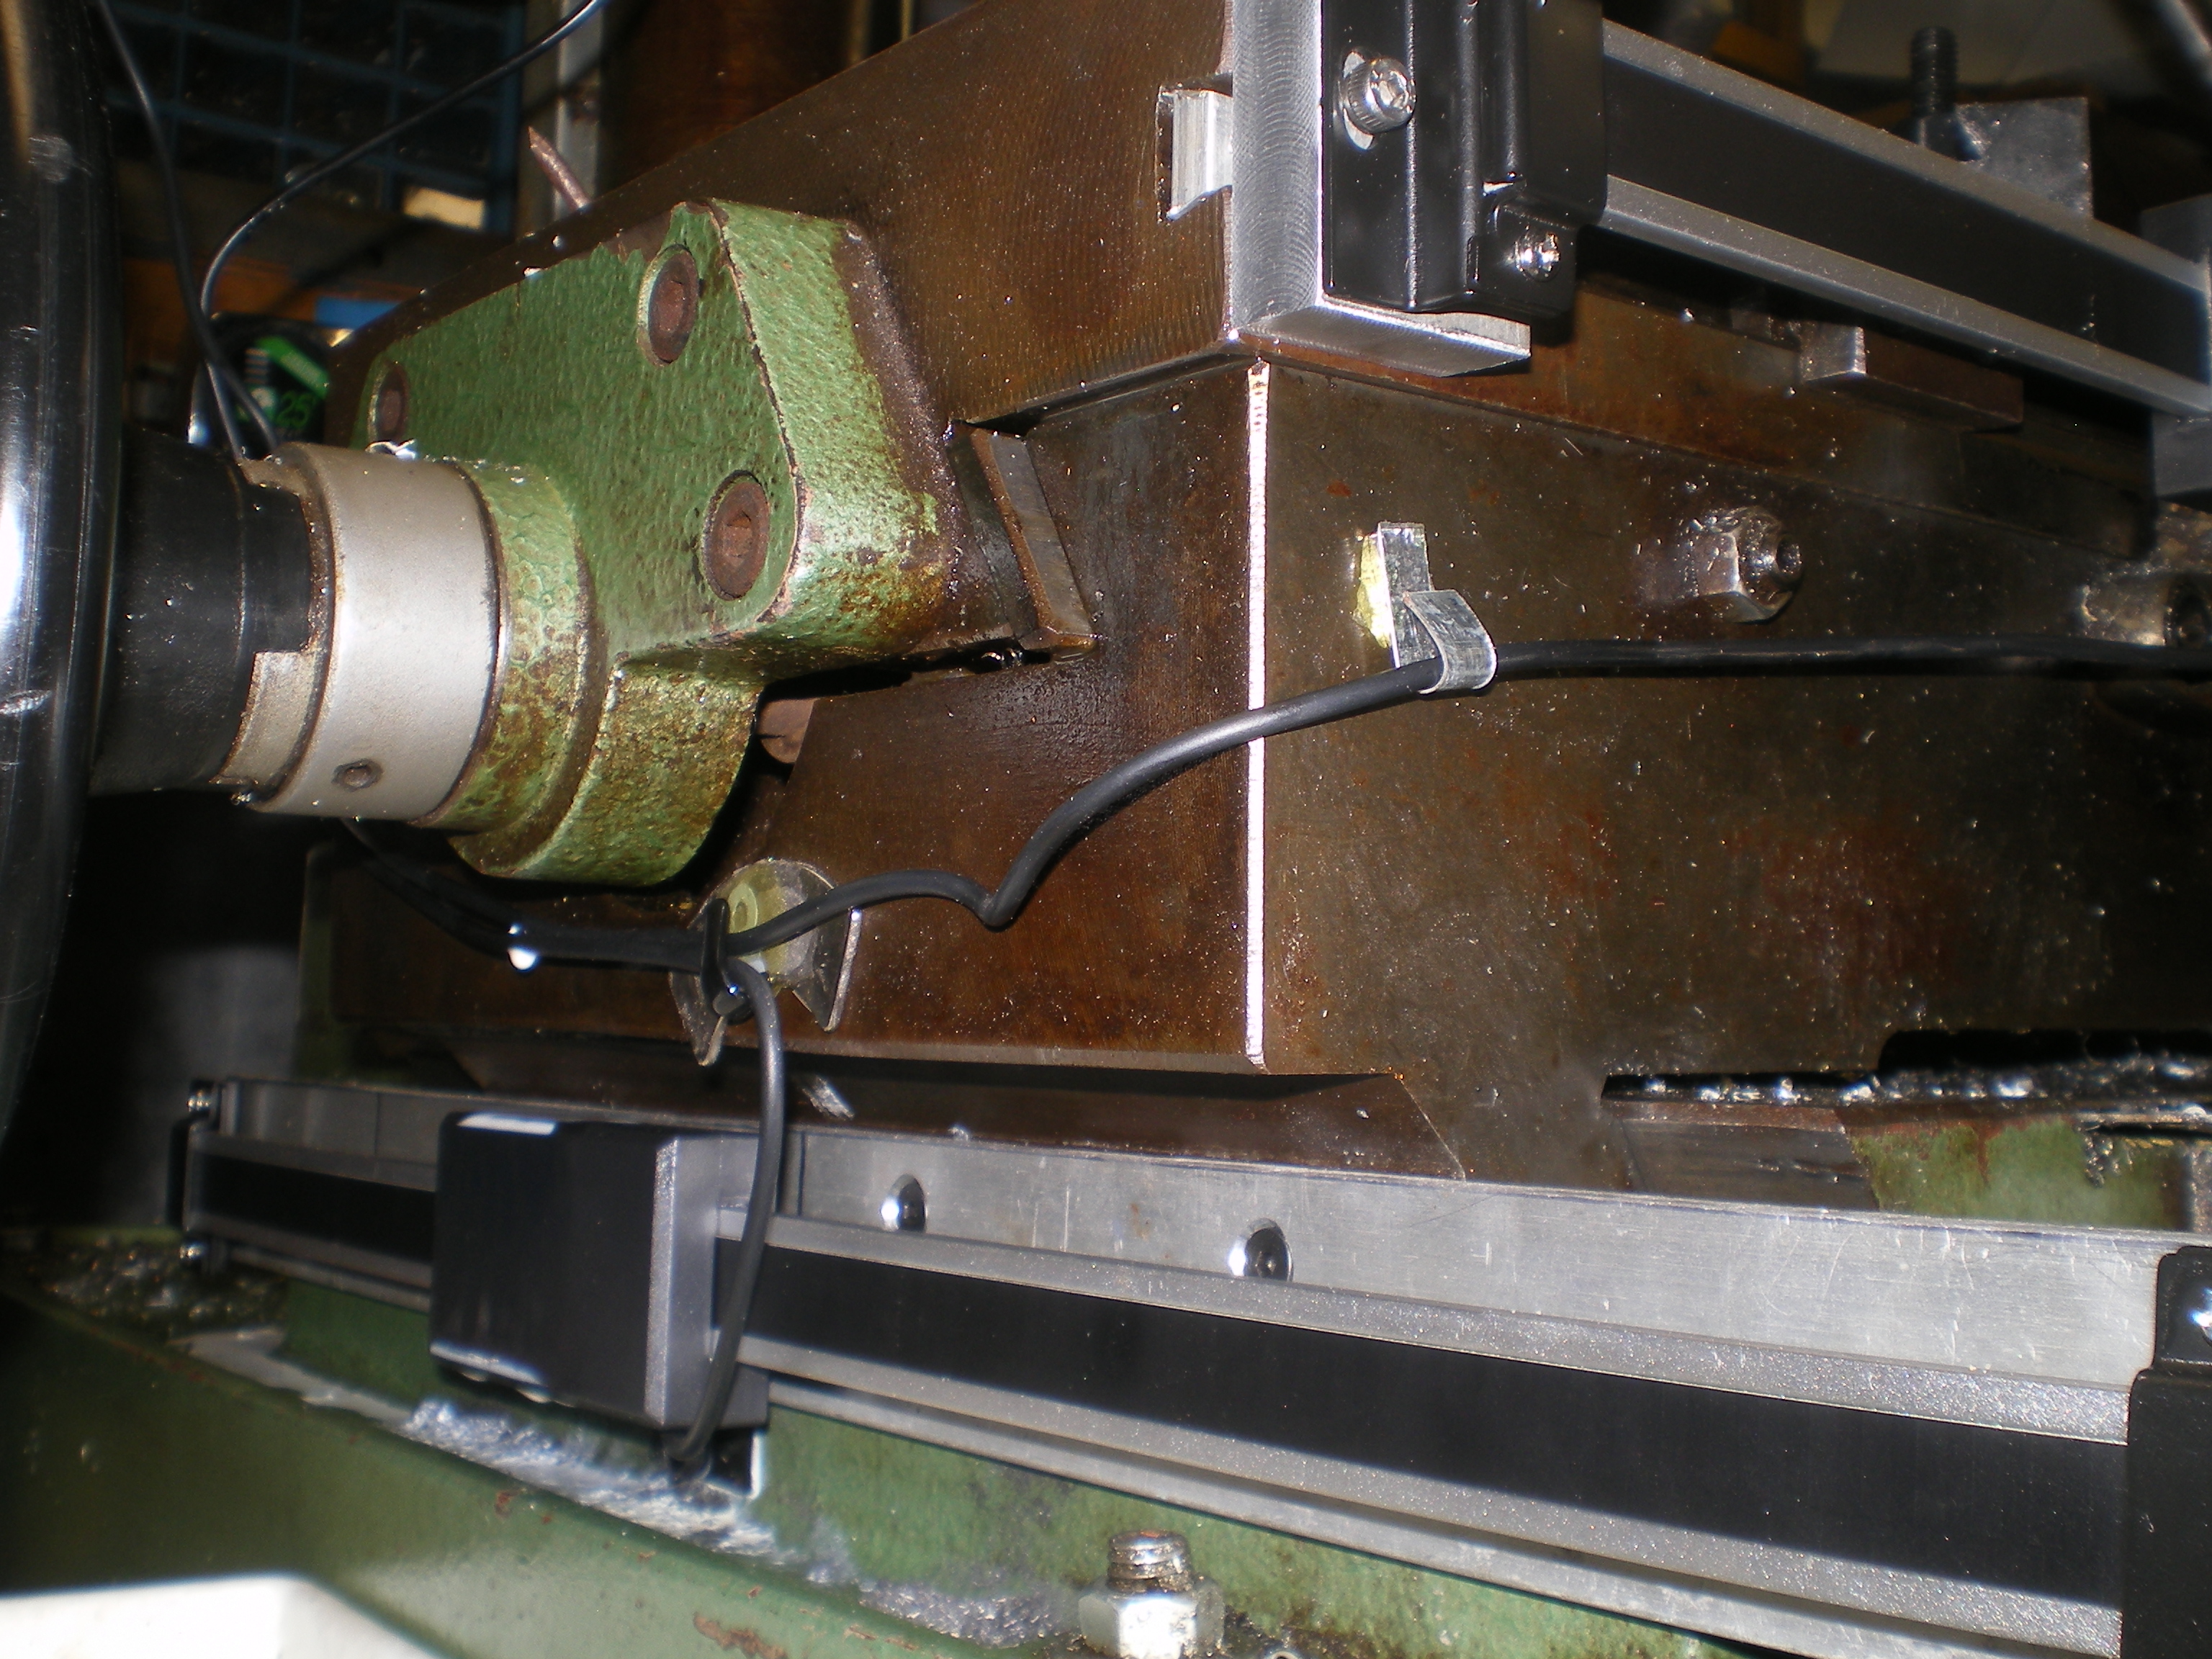
Ah the Y axis looked so easy, then I realized that to keep the pickup stationary...NOT SO EASY!! I cheated and looked at the way others had done it ('tis what Al Gore's Inet is about right?), Man I was amazed at what some would do to install a Y axis on a mill/drill. I pondered it and came up with the picture above. It's of .25 6061 T6. The sensor mount is made from a supplied bracket.
I did the wire management with twist ties, and scrap flashing epoxied to super magnets. I was really getting tired of drilling and tapping holes so magnets allow me to adjust. No worries about holding power some of these magnets they'll keep the wires out of harms way. I may revisit this but for now it is working.
Grinders etc
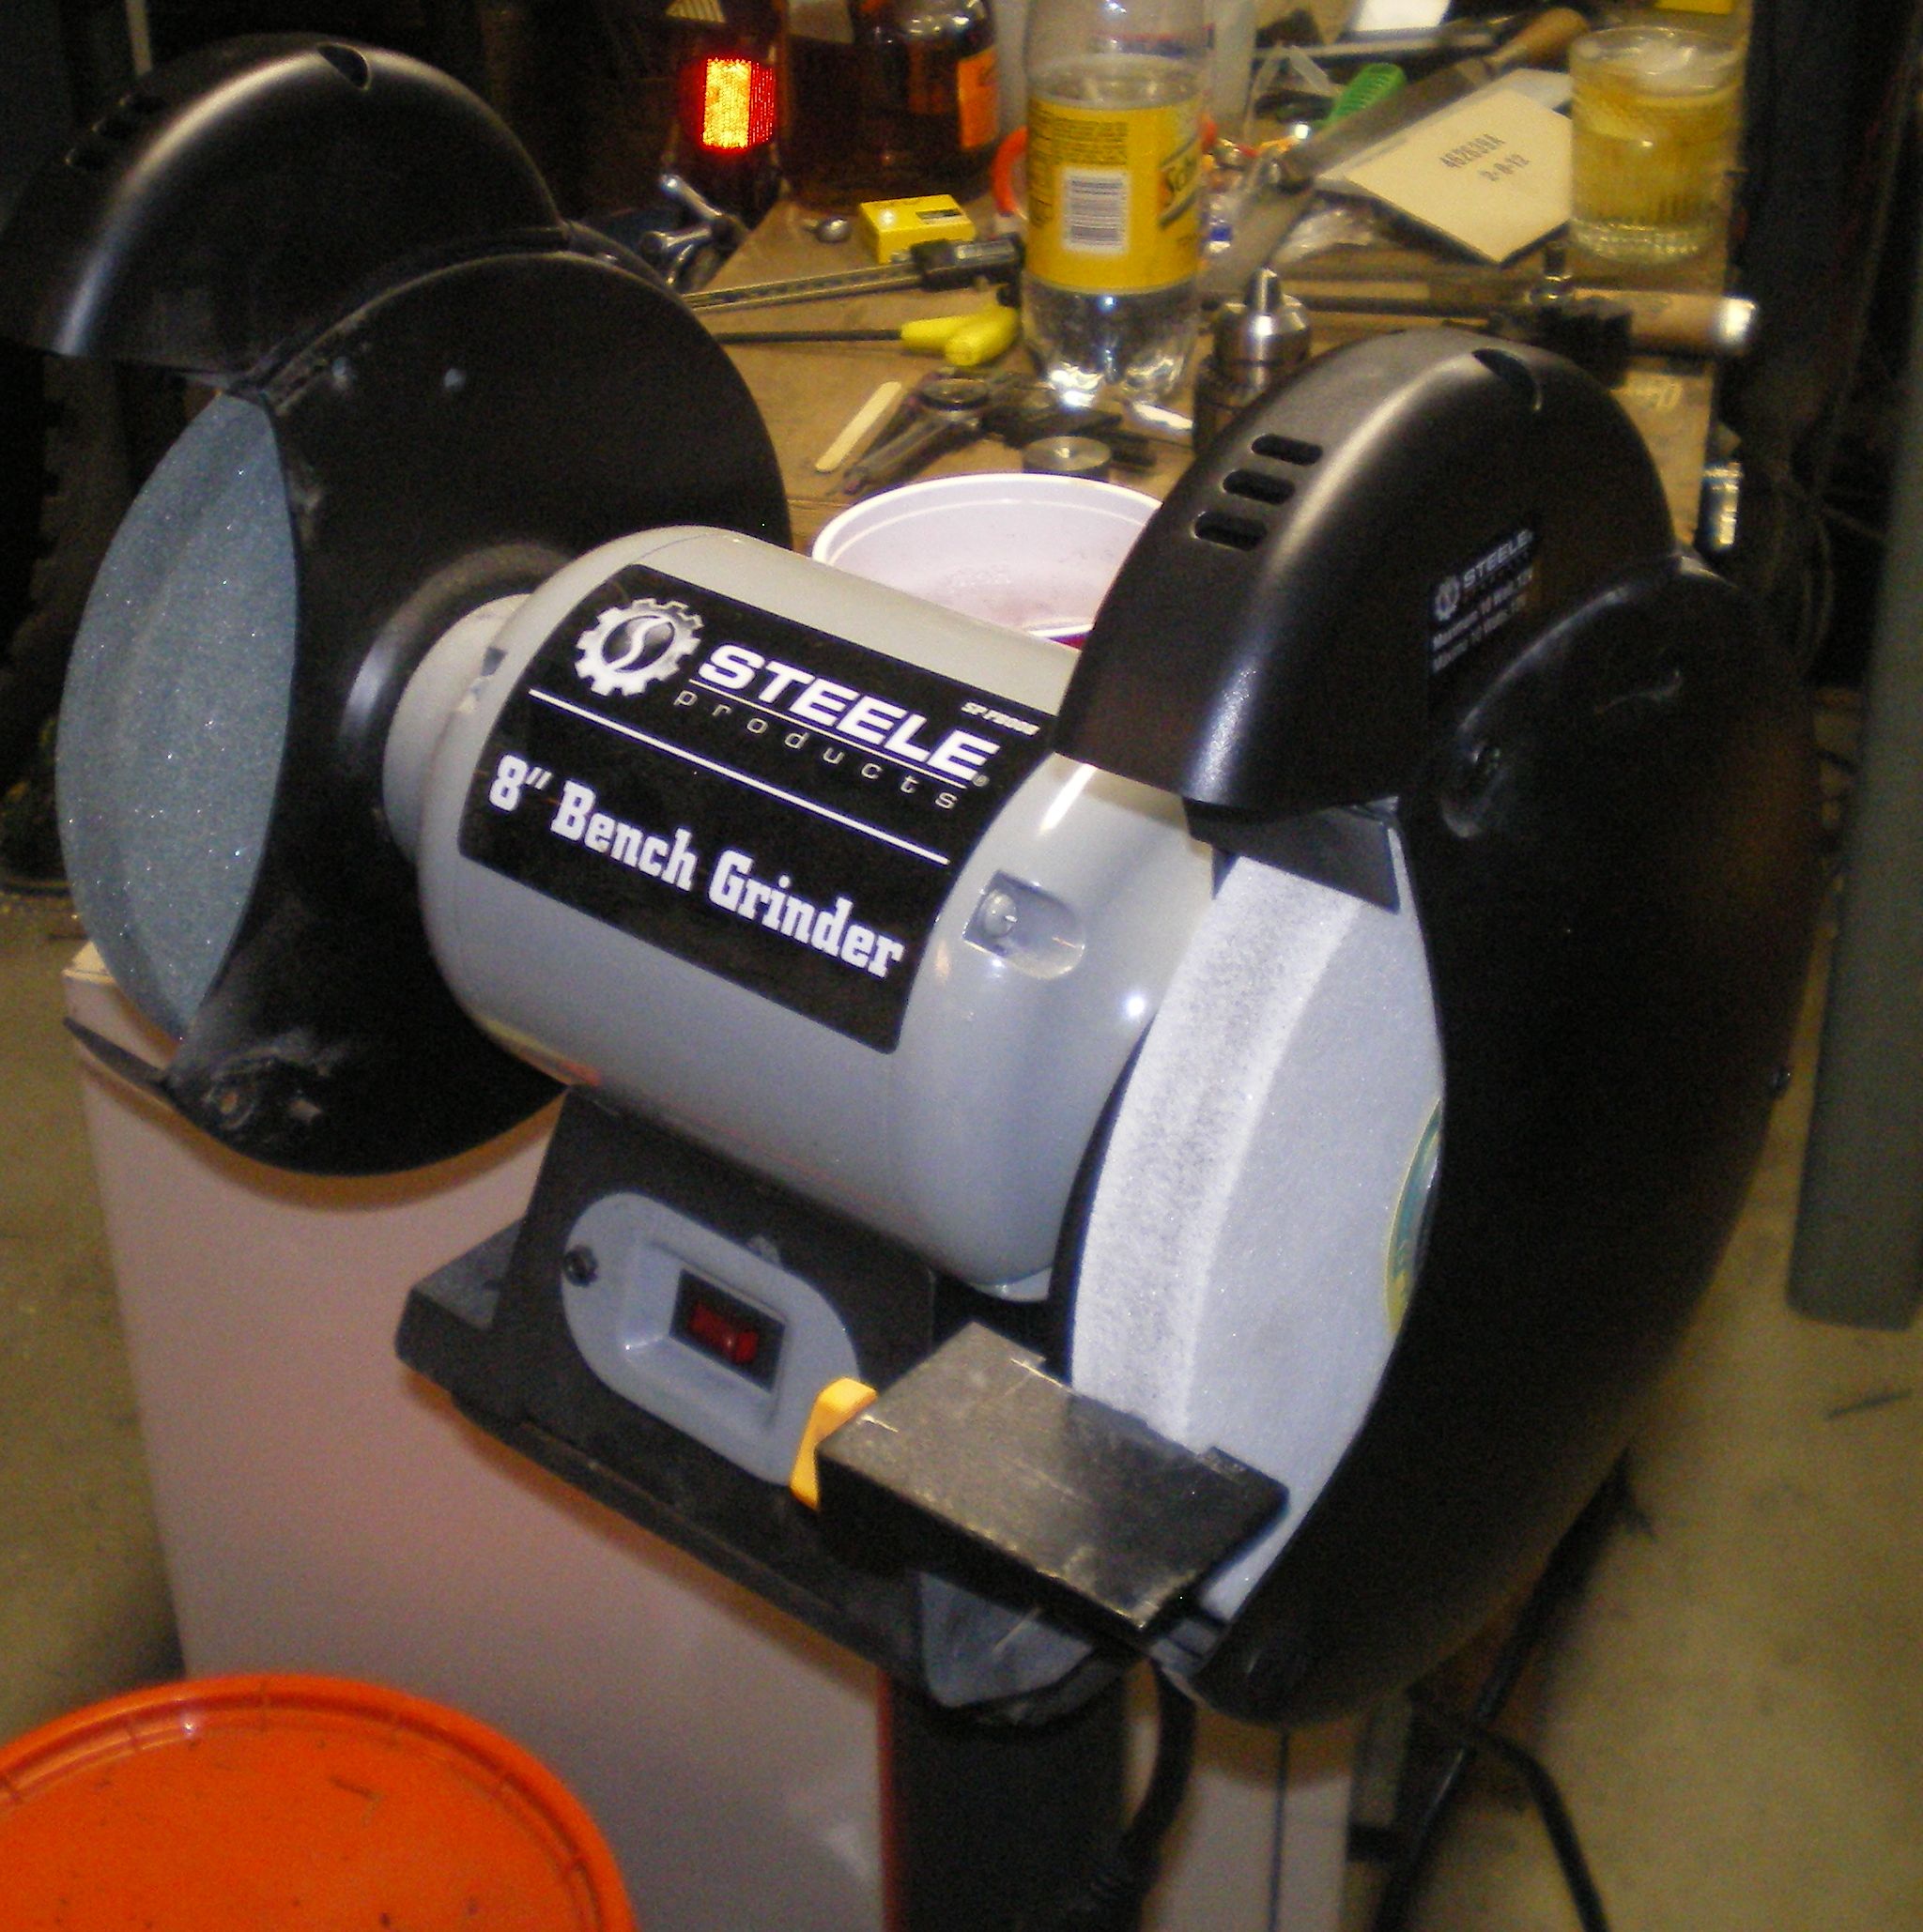
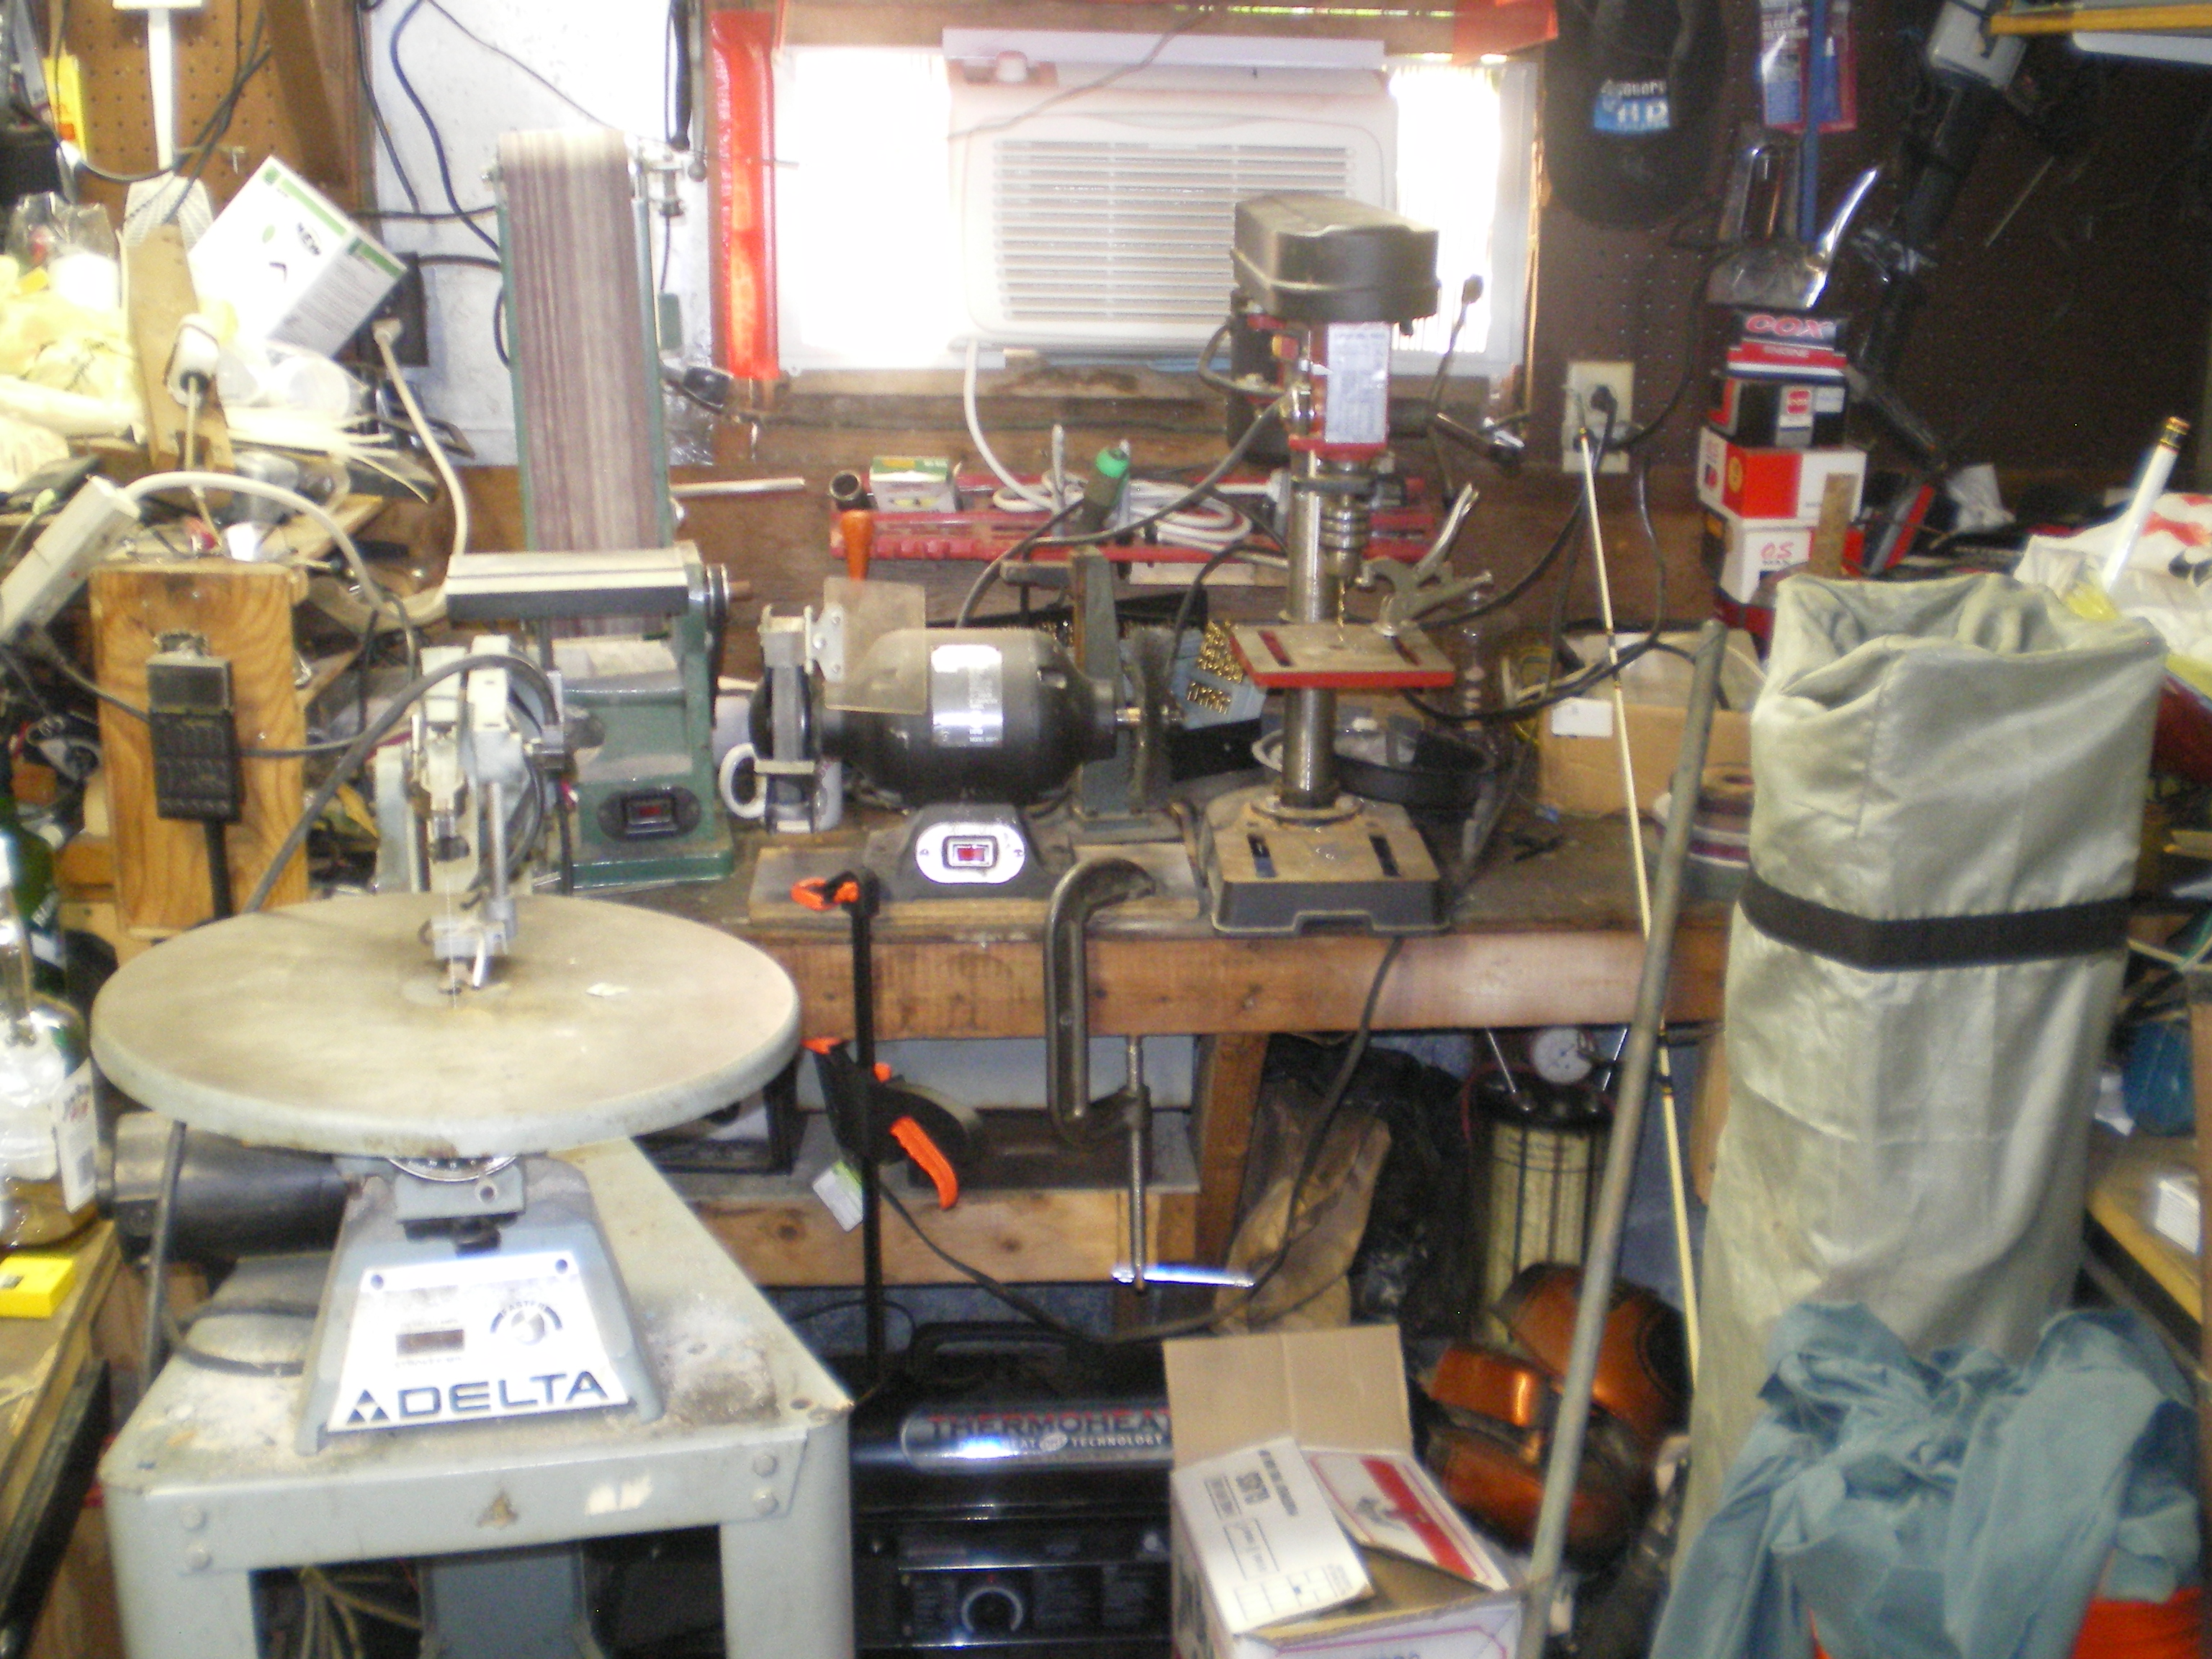
50$ 8" grinder converted to run 8" x 1 1/4" tool room wheels 60G AO 38A wheel on right for HSS and 80G SC greenie for reshaping the Chinese carbide cutters I bought. Dang things instead of being a few degrees under square they are a few over square so you can't turn to a shoulder without re-grinding them. Shelf has belt sander, cheap drill press, and 6" grinder/brush. Stuff on the shelf is used for general purpose, quick stuff.
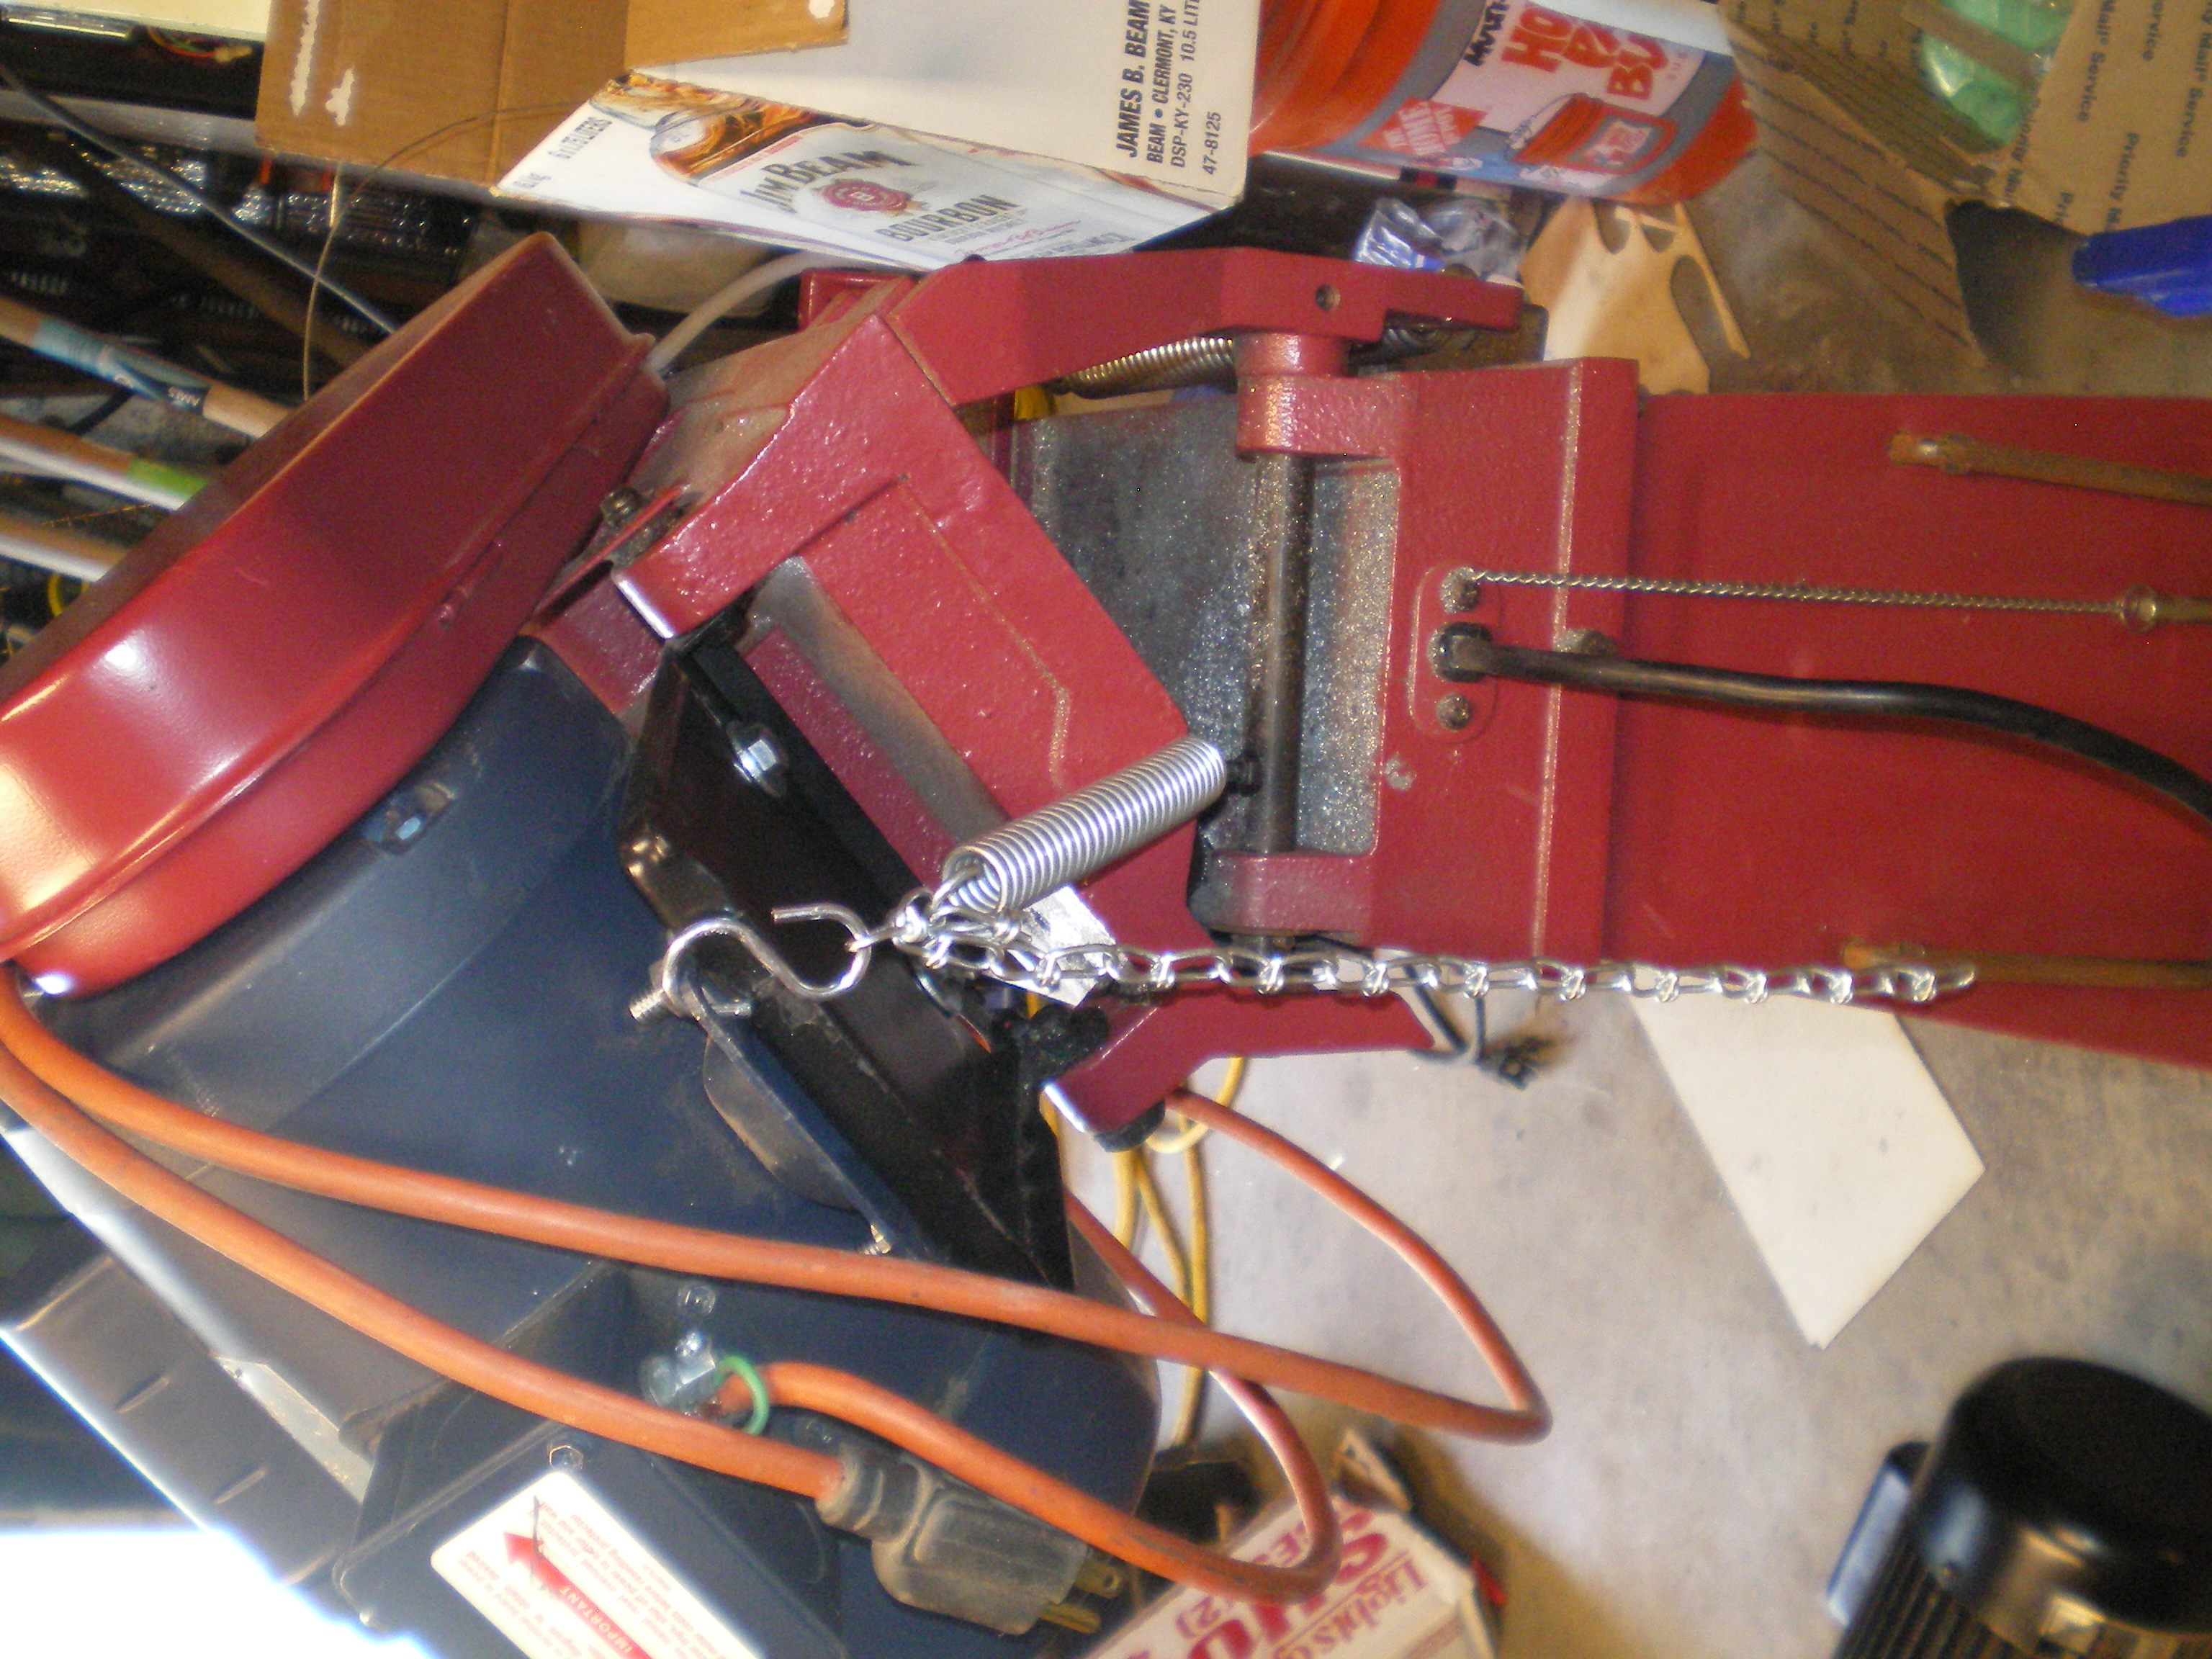
I picked up a Harbor Freight sale flier a few months ago and noted that the #96687 saw blade sharpener was 40% off and I had a 20% off coupon. So 35$ fetched me one home. I had no idea how well it'd work but I figured the motor and odds N ends included had to be worth that.
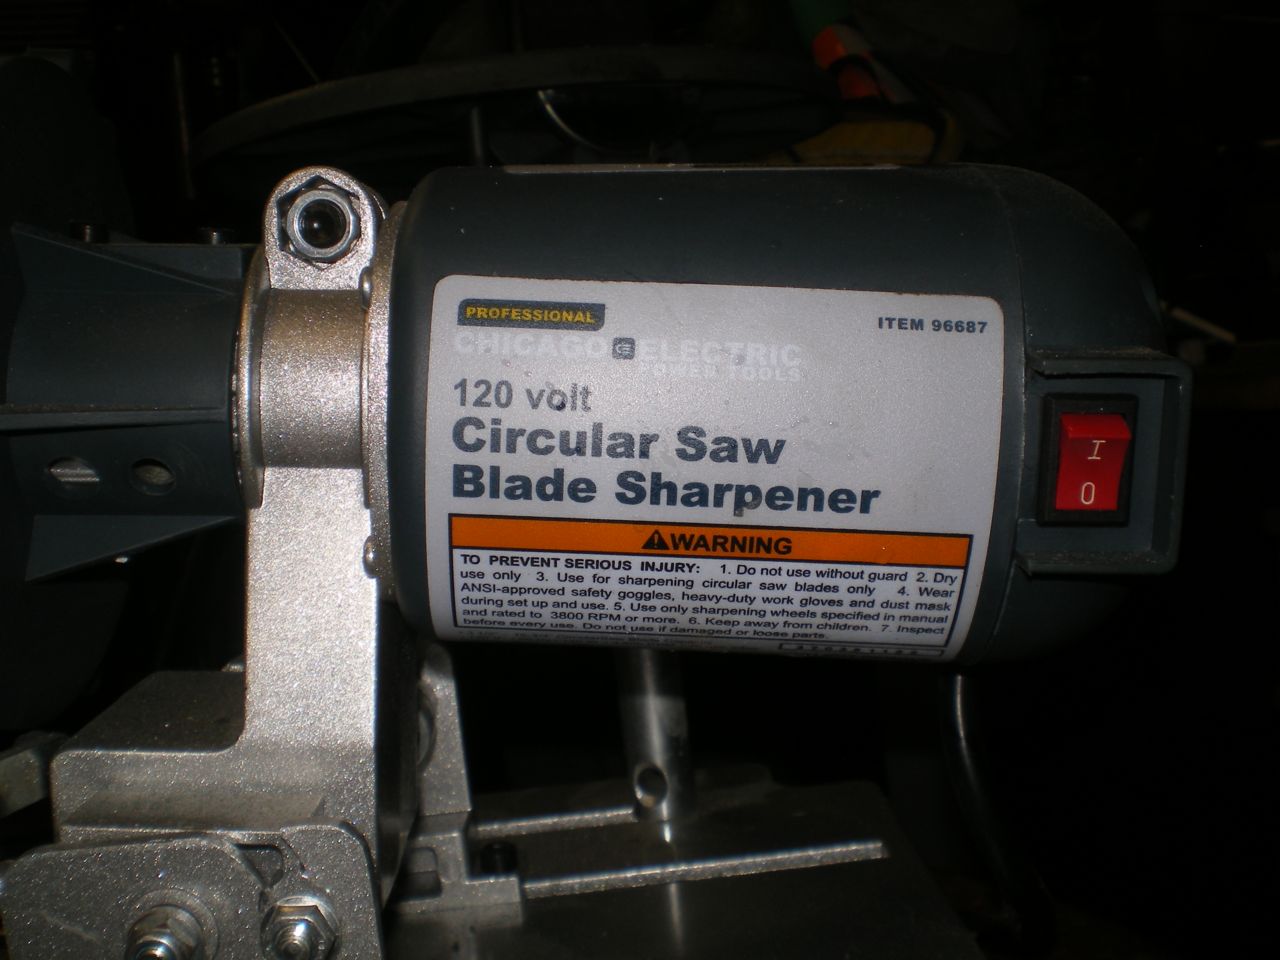
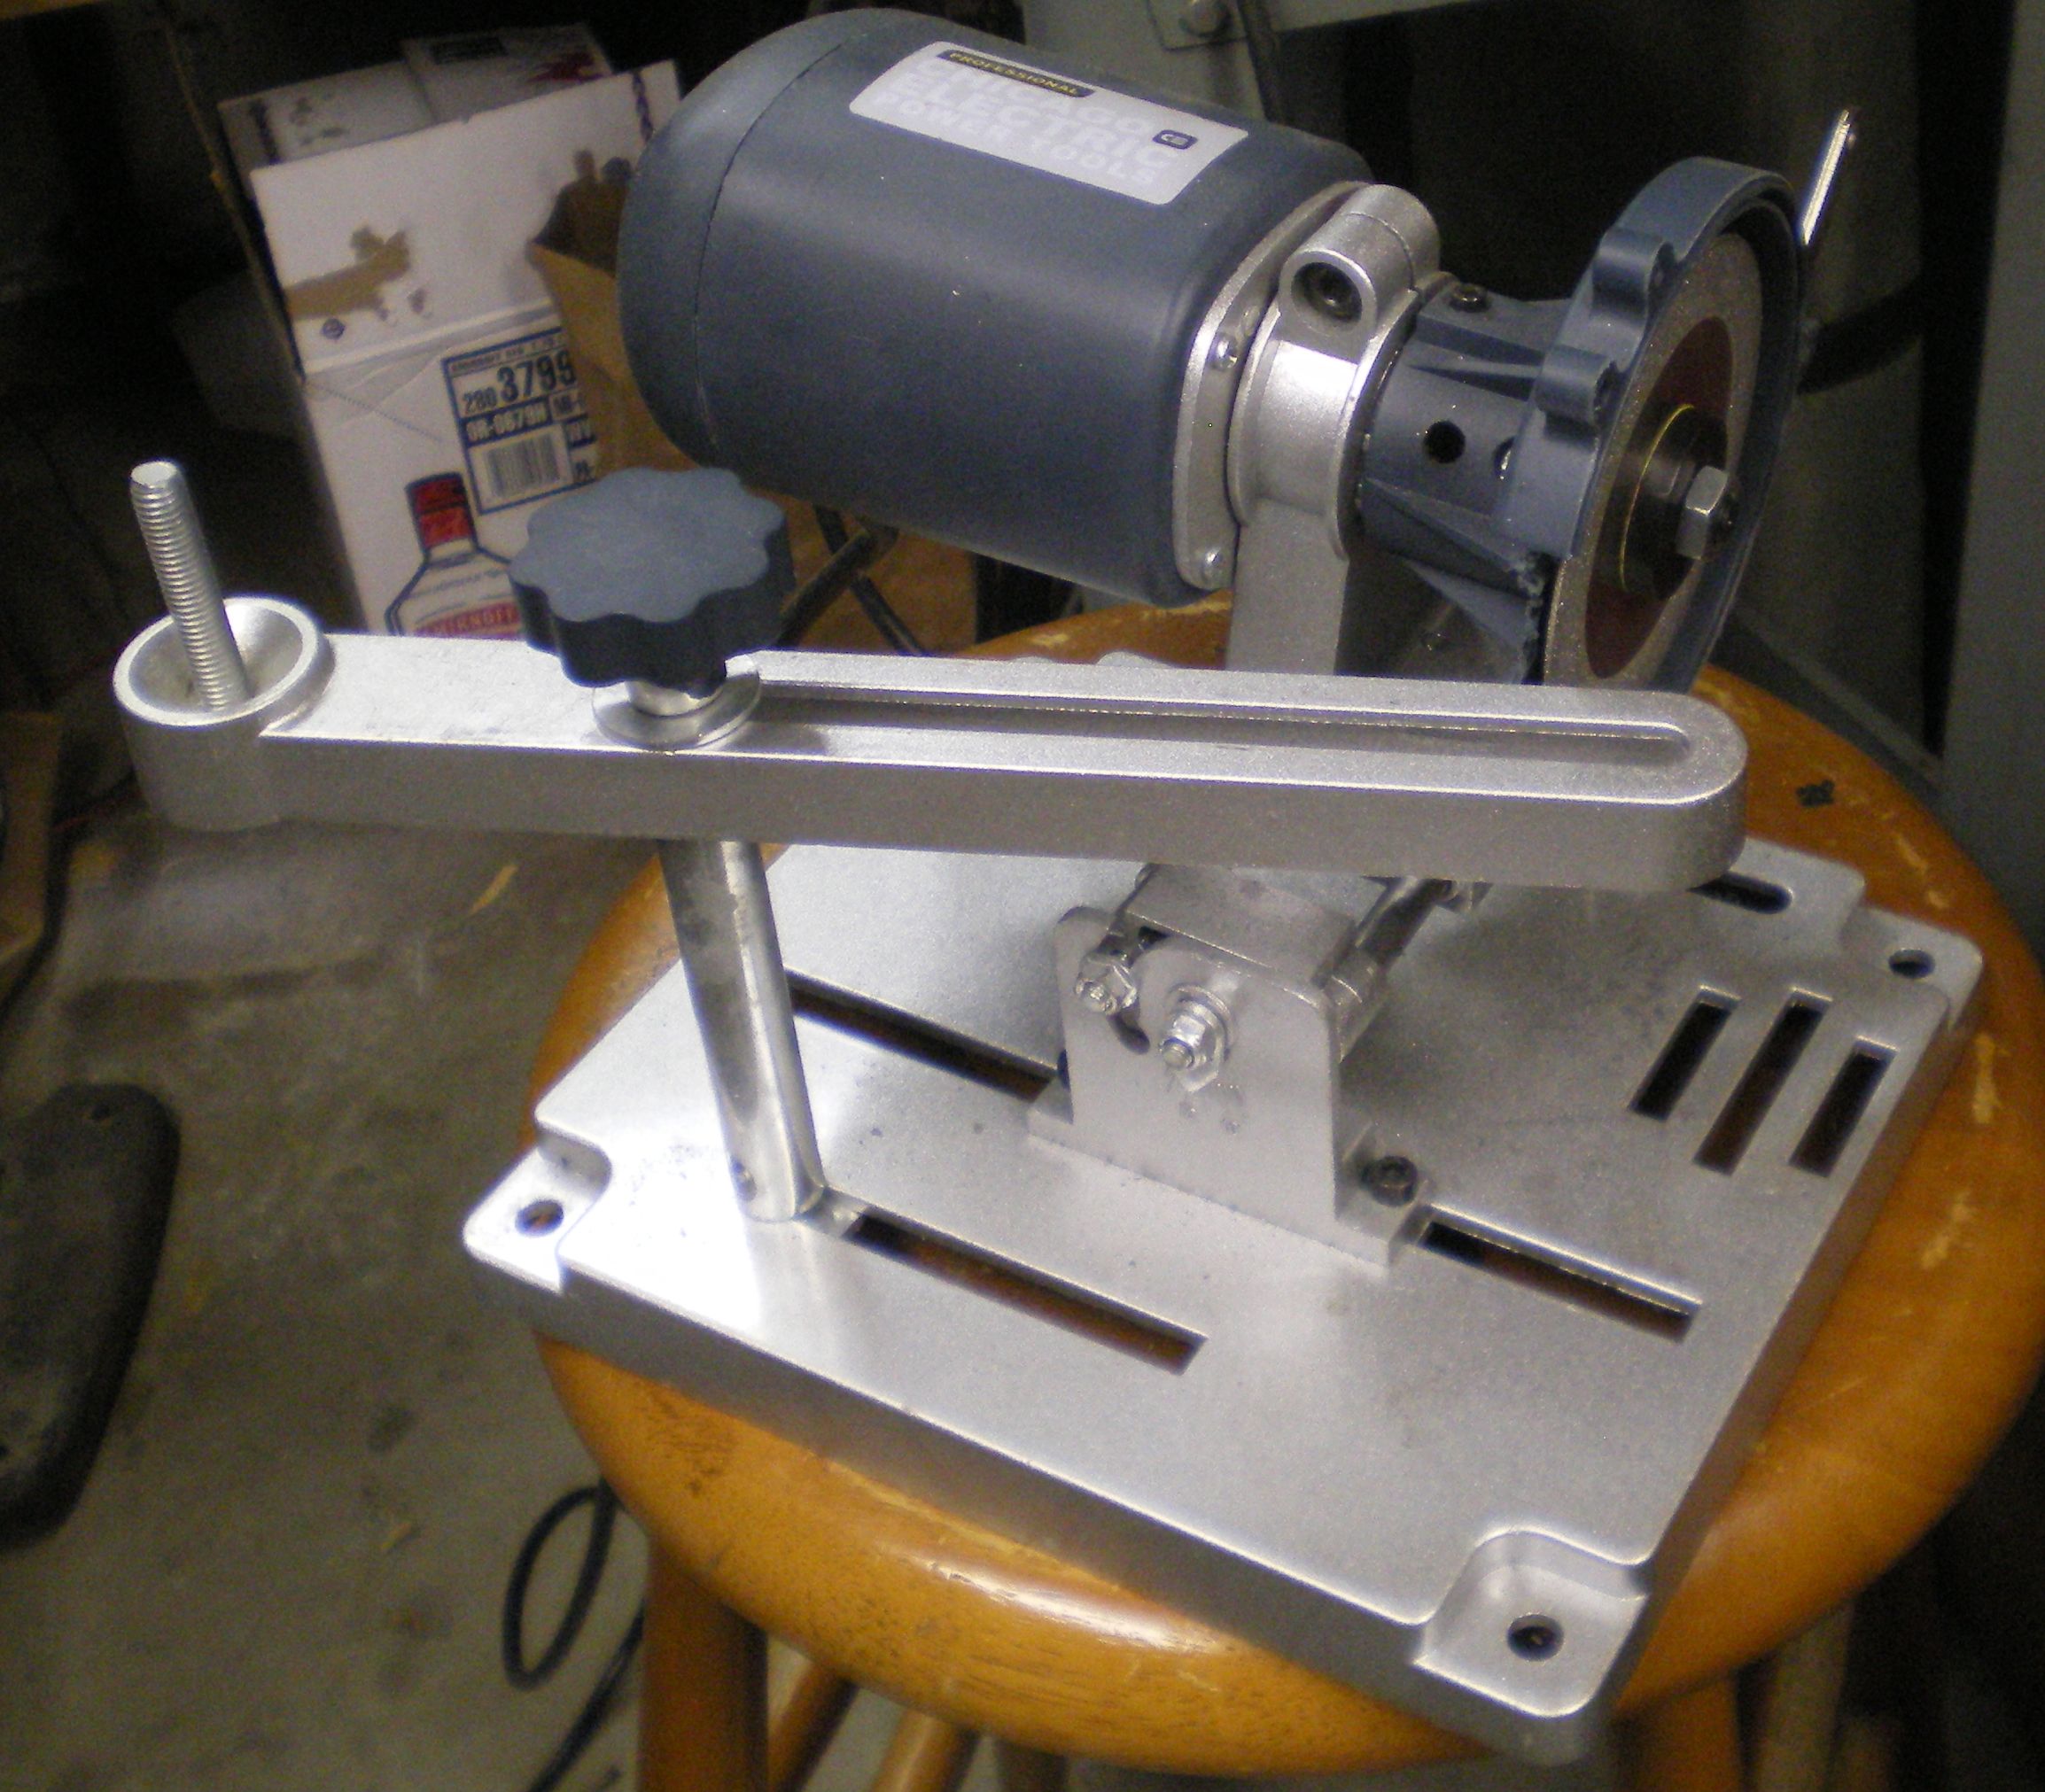
So I simply took it out of the box and partialy assembled it to the point of having a rest for the tools. The motor tilts up to 10° either direction so the flat rest is no problem. I had bought some cheap china made brazed carbide tools 80 pc set and some boring bars. None of thos tools was ground correctly and to get any use out of them they needed a good touch up. It has done a wonderful job so far and much better than eating the grit from an SC grinder wheel. It is no baldor but maybe it will keep my carbide sharp until I stumble across a good deal on one.
Saws etc.
We started out cutting the "good old fashioned way" with a manual hack saw. Good blades were essential as were lots of breaks. It was a crude, effective and cheap way to shorten stockfor use. Very few things in life have I ever grown tired of that quickly.
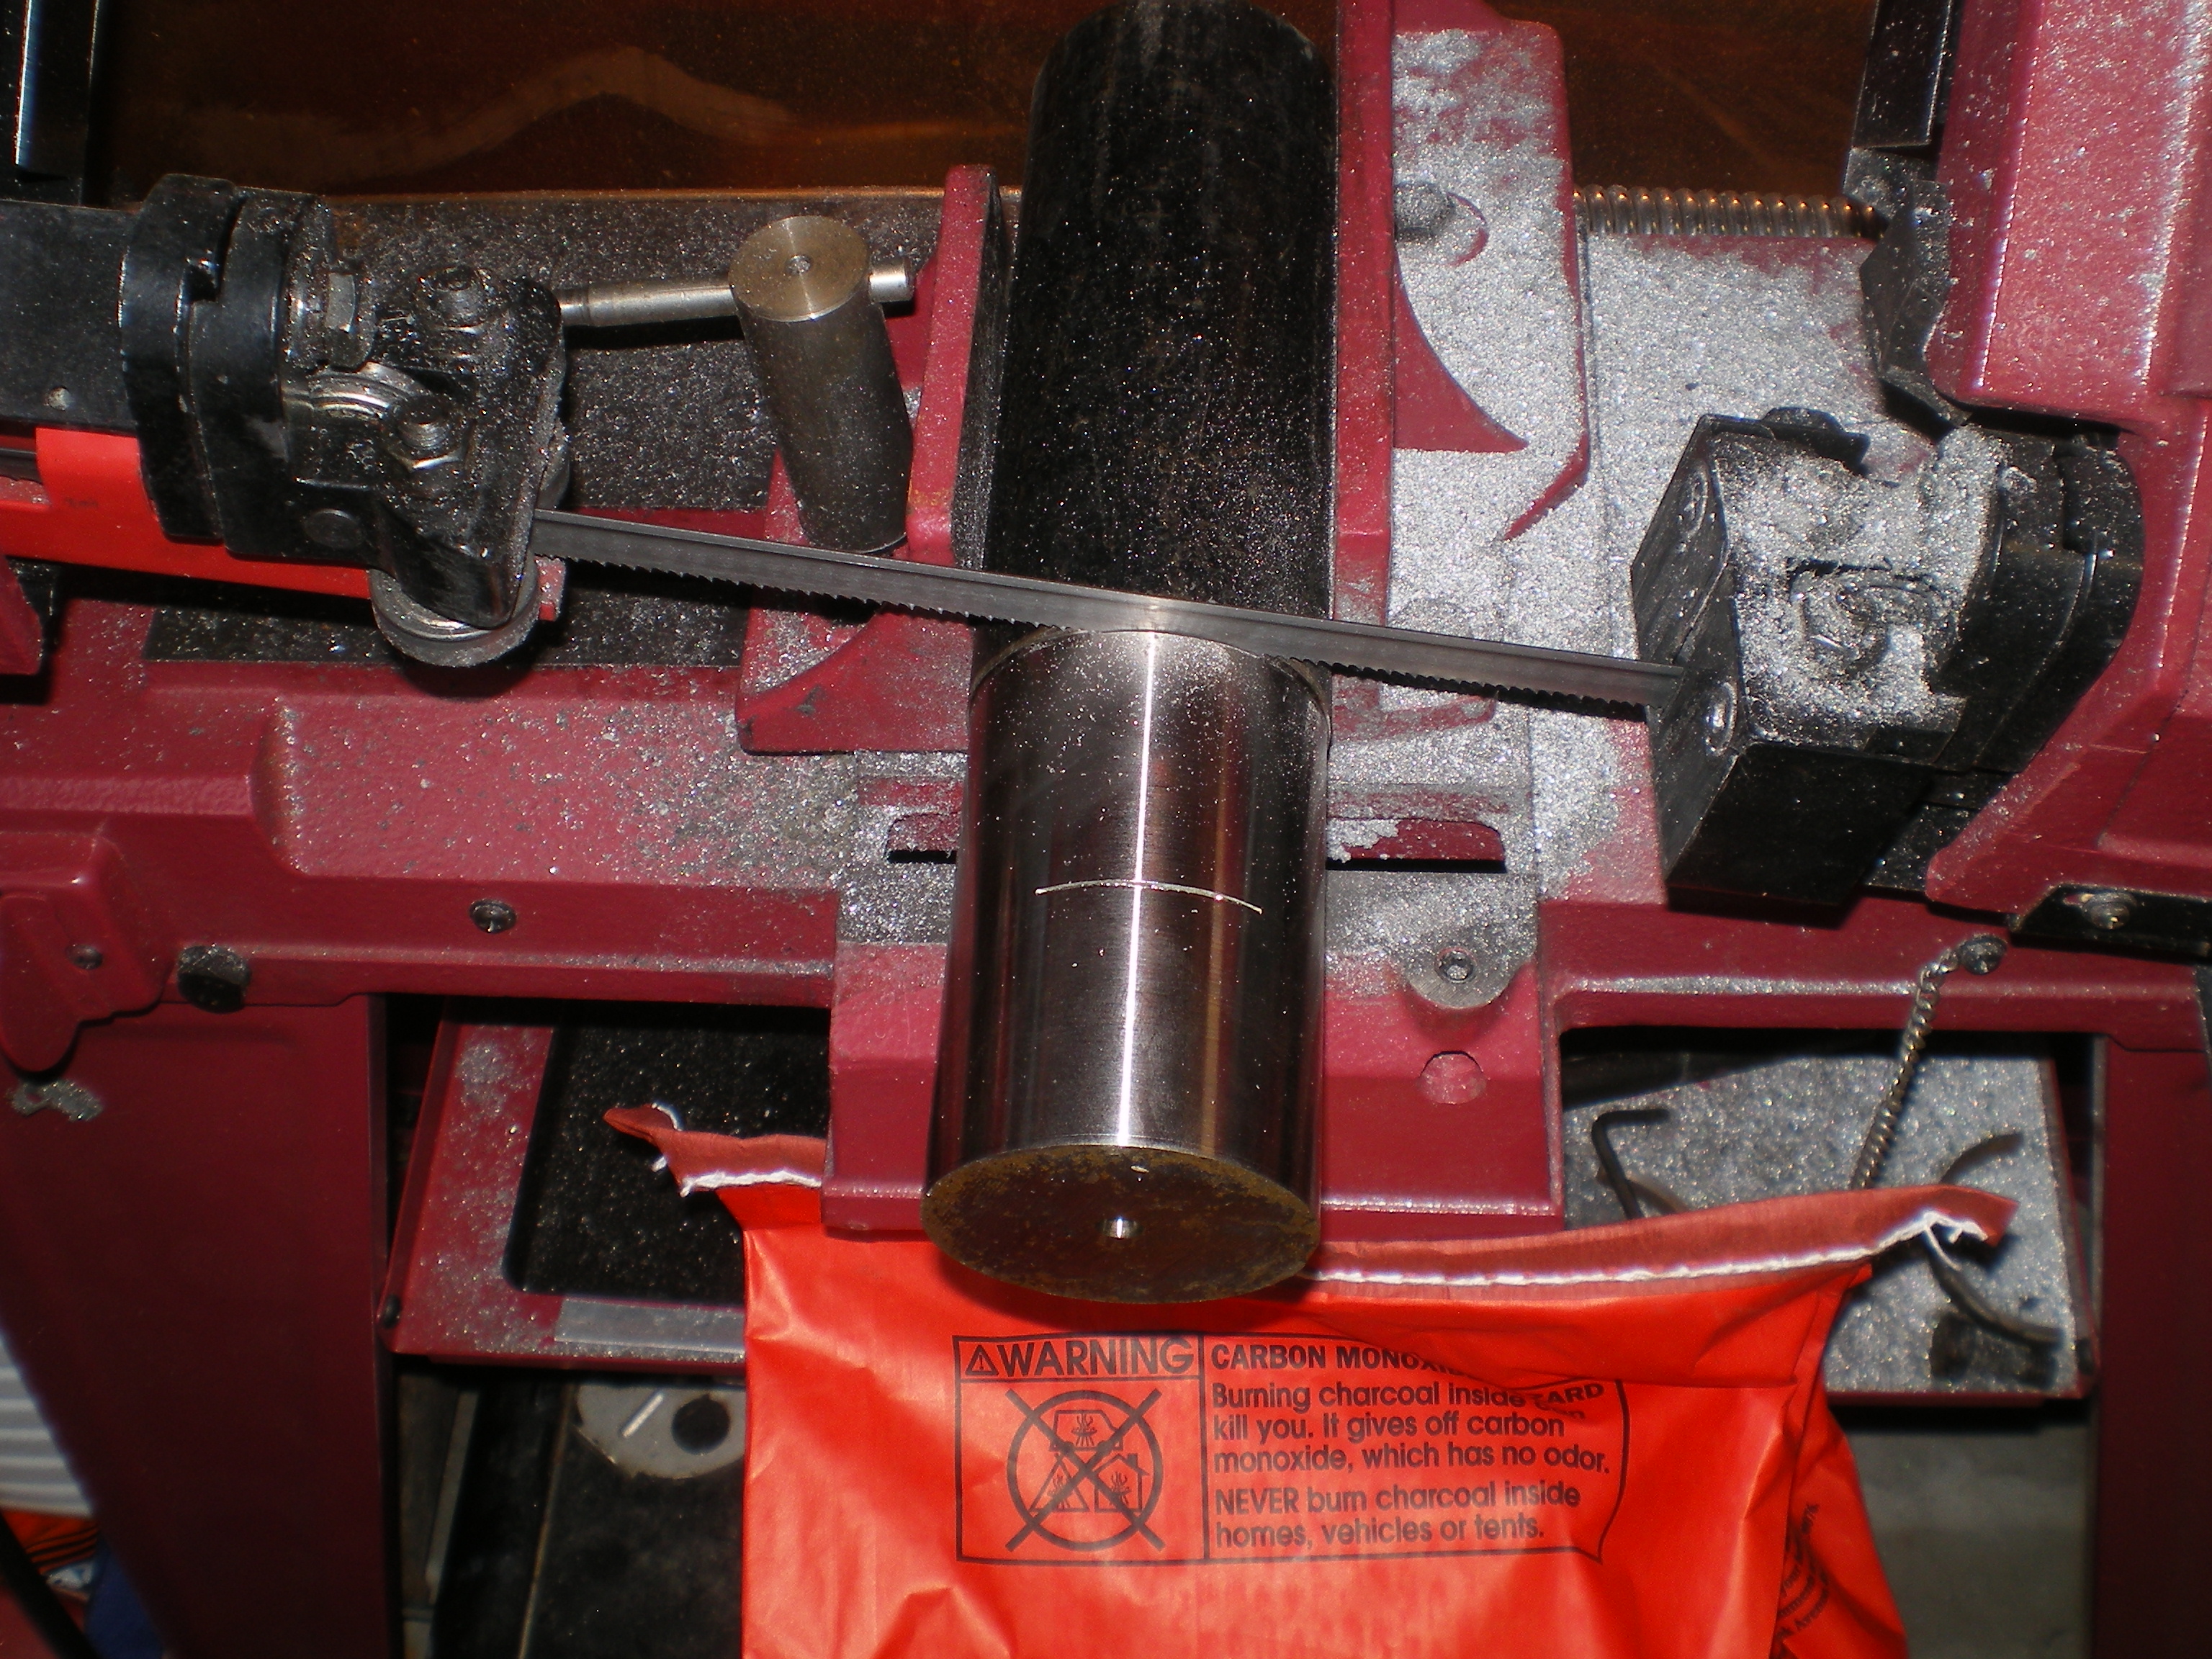
We pooled our money and bought a Harbor Freight 4x6 horizontal/vertical band saw . I'm not going to get into all the mods that can be done to one of these things. There are web sites dedicated to them just search google. All we did to ours was a gearbox oil change, some adjusting, replaced the blade with Irwin 10/14 by metal, and a few other very minor changes.
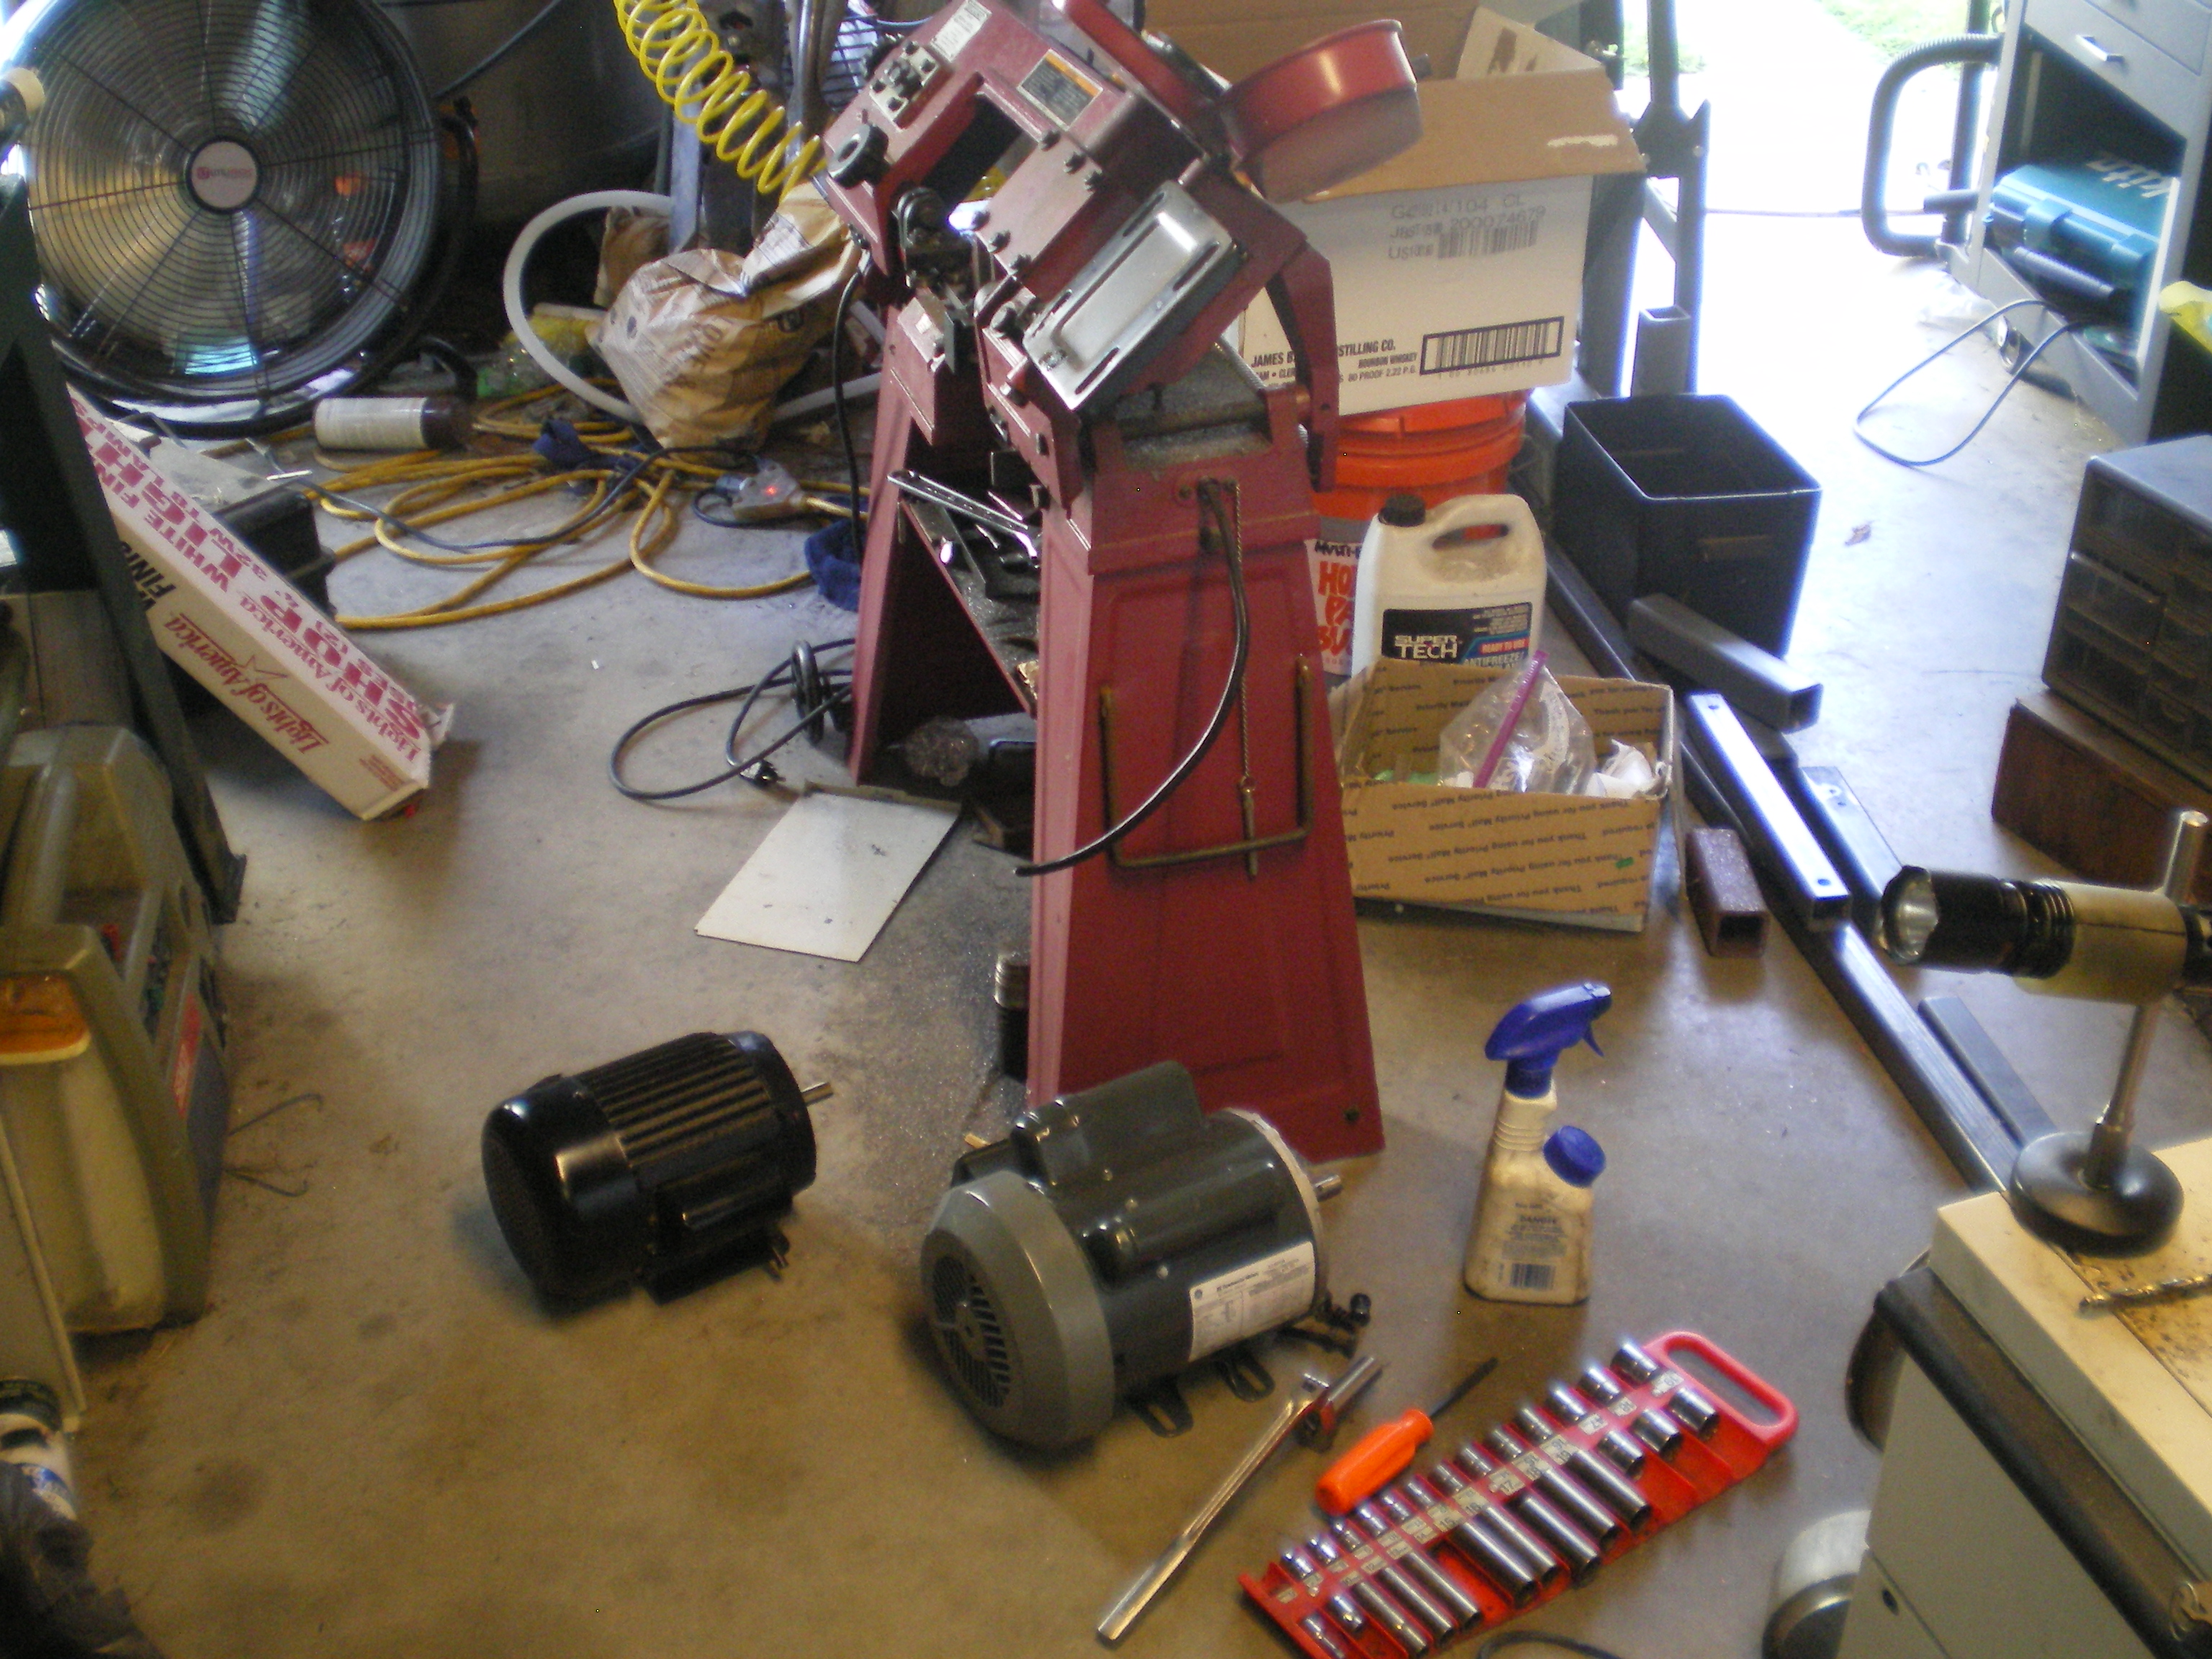
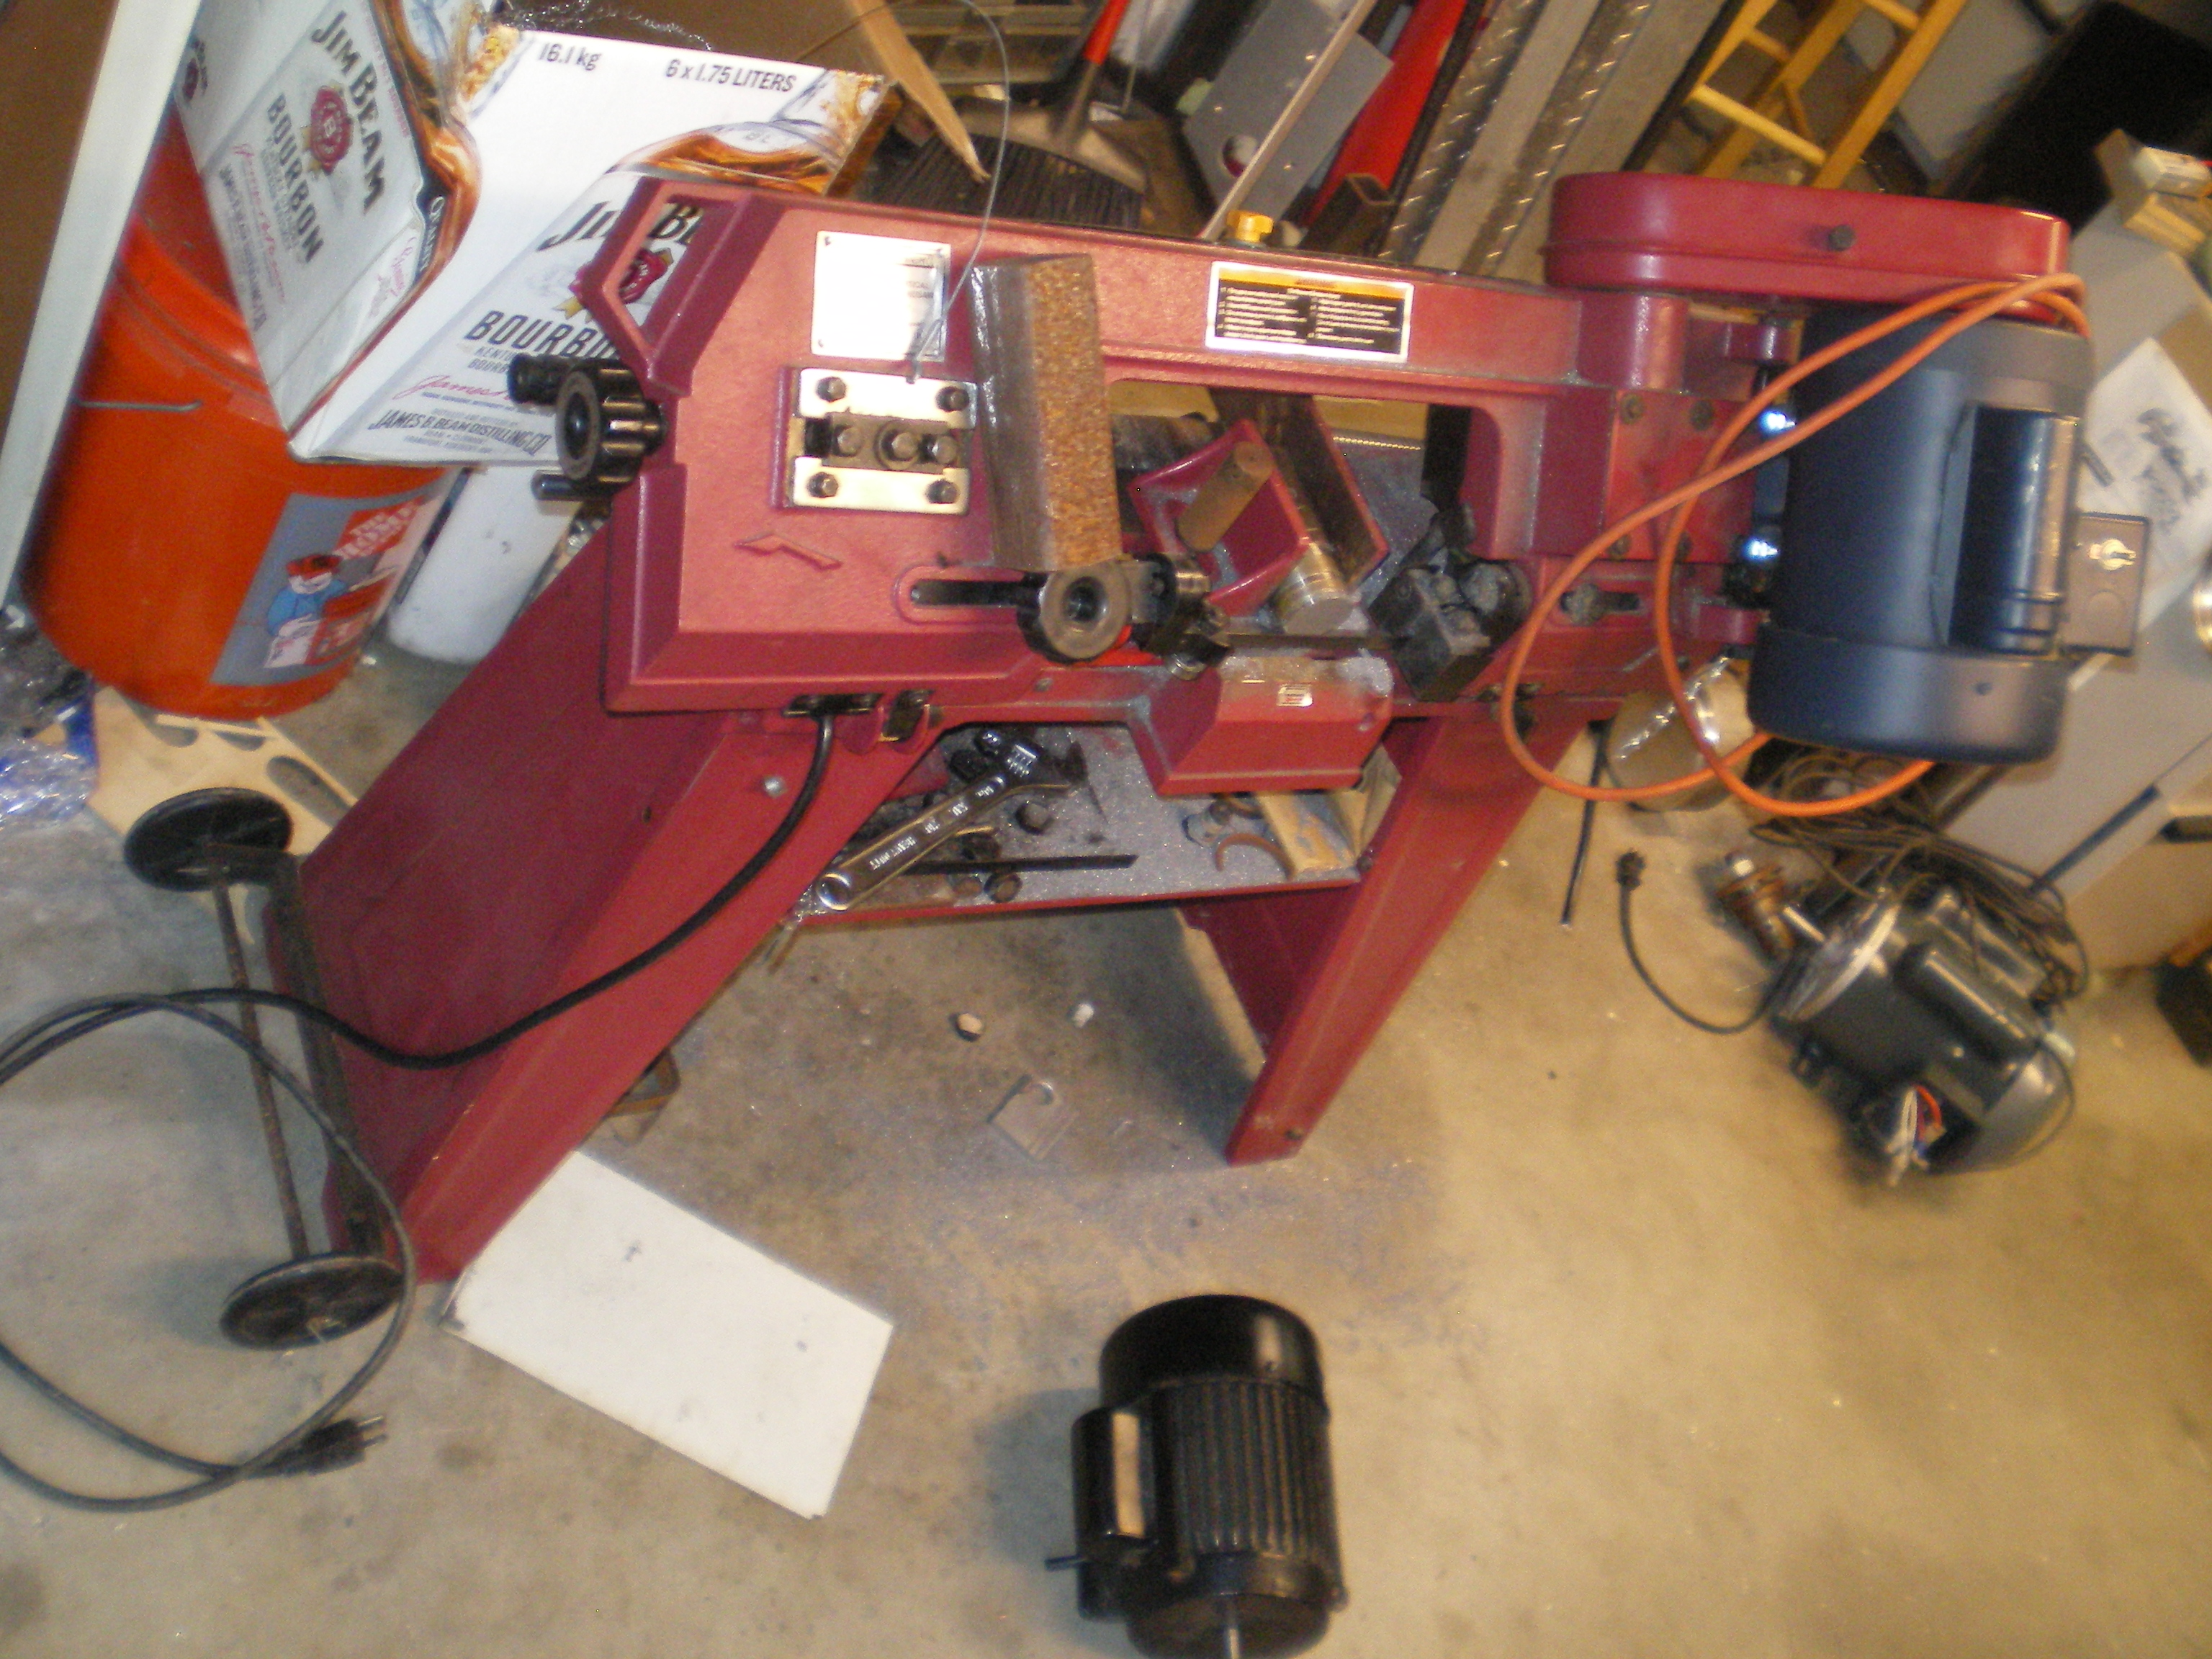
After a little more than 2 yrs of service the original motor was loud, draggy, and quick to heat up (admitedly it always had the later symptom). I ordered a new 1 Hp motor which can be seen with the original 1hp motor in picture #2. Unfortunately that motor was clockwise non reversable rotation and I needed CCW. I called around and Paul had one he'd sell. Arrangements were made and it can be seen mounted in Pic #3. A 56 Frame motor will fit if you enlarge the slot in the belt guard and add a spring to tension the belt (remove the belt tensioning bolt) as seen in pic #4.
I had resently gone to 3 phase on the 12x36 lathe and was tempted to install a VFD on this saw but decided that it would be more trouble than worth.
Drill chuck repair
Part of the machinery we have in use requires the use of the good old fashioned drill chuck. We have several in hand and are collecting more used chucks, since Jacobs no longer makes them in the USA. Some of them are not very smooth, a simple to fix problem.

So you buy a chuck and it has issues. The one on the left (pictured above) will not fully close, another may not fully open. It is usually crud inside the workings of the chuck. A good soaking may be all that is needed. I use a 50/50 mix of Hydraulic Jack Oil and kerosene. In a good chuck there is no plastic so you can use what YOU want. {NOTE the newer Jacobs ball bearing chucks made in China will have a plastic bearing retainer.}A simple alternative would automatic transmission fluid etc.
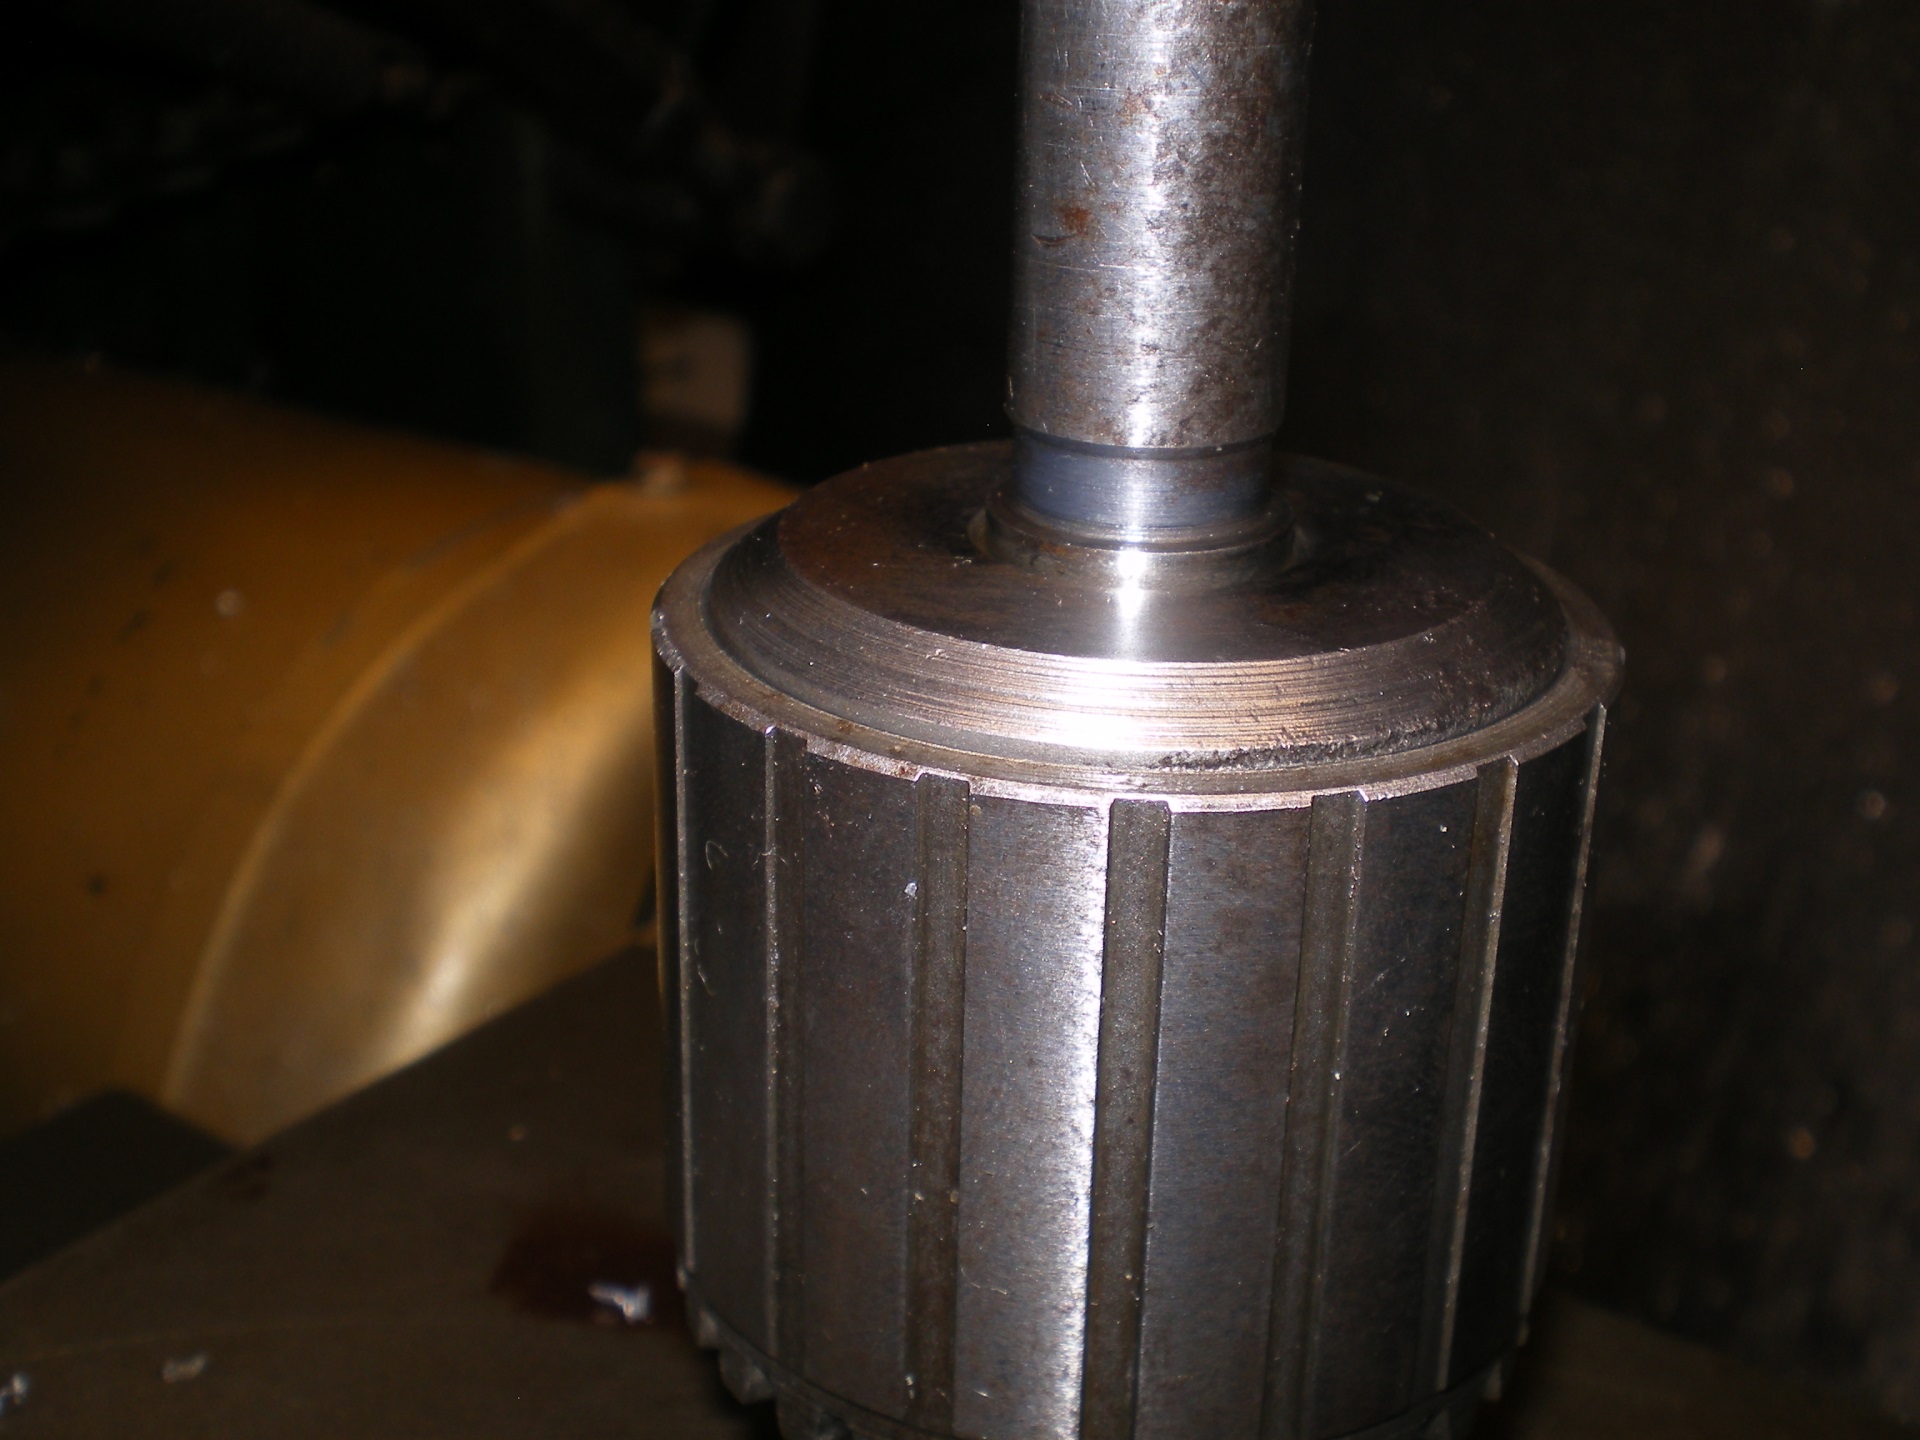
If you determine the soaking isn't going to work. You should remove arbors to make life easy. Pictured is a Jacobs #34 chuck with a 2MT - 6JT arbor. There is just not much lip to get the wedges to grip for removal and they are usually VERY WELL SEATED!! Unless there is a good shoulder I don't mess with the wedges but drill a hole for a pin punch to knock it out. I placed it in a pipe and beat on it with a 3lb maul repeatedly until it came loose. Well seated indeed.
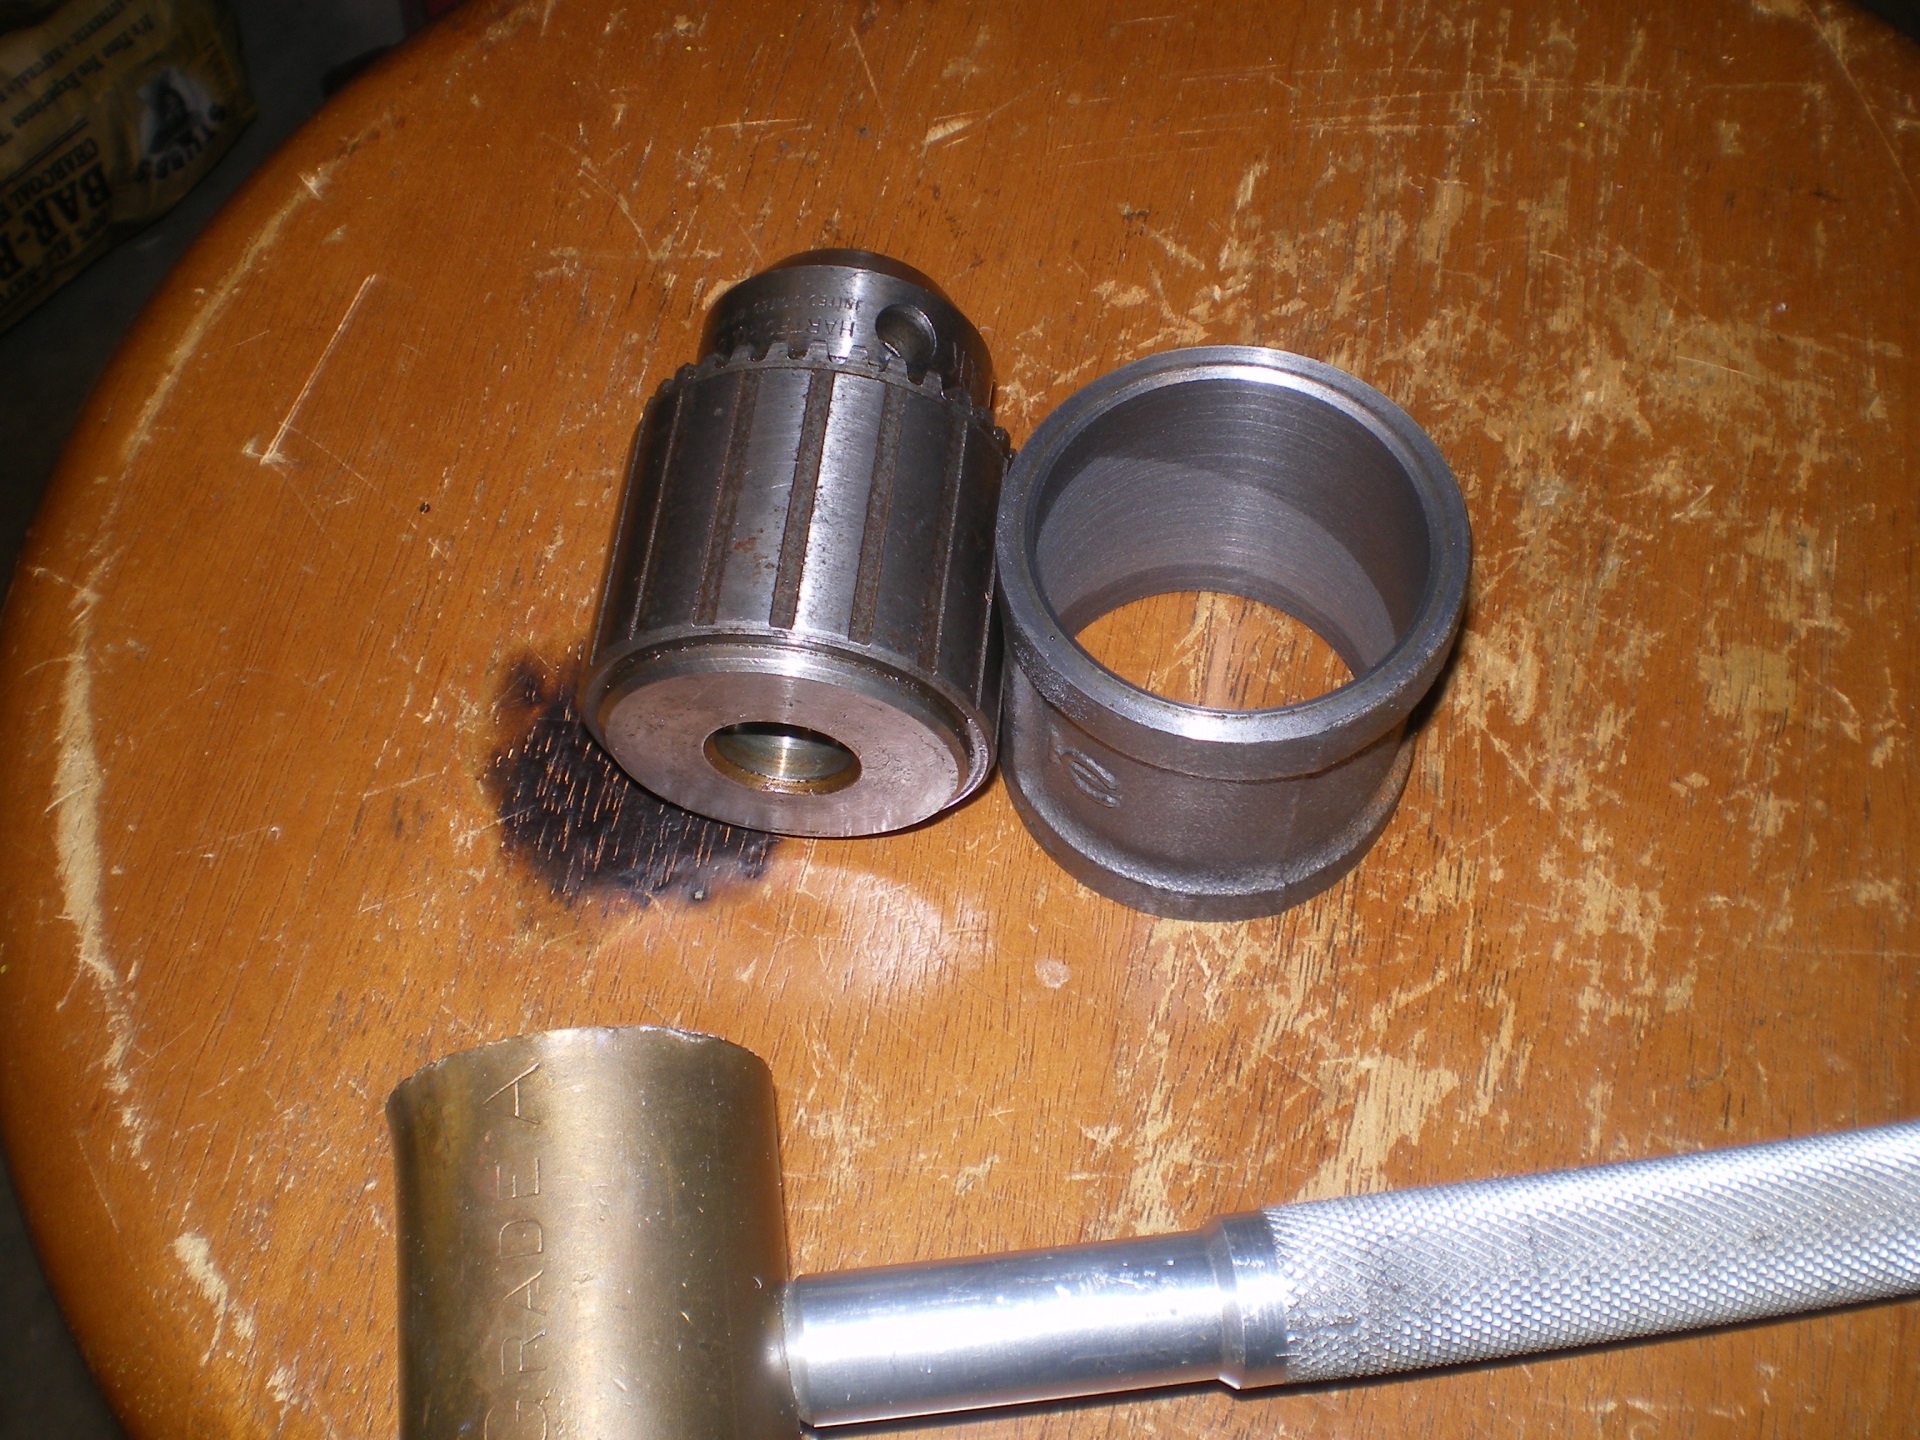
Next we need a sleeve to support the "outer sleeve" while we press out the "Chuck Body". I usually make mine from pipe or pipe fittings. Here I turned a 11/4 inch Black Iron coupling into what I needed. All that is needed is an ID larger than the "Chuck Body" base and longer than the "outer sleeve". It'll all be clear in a minute.
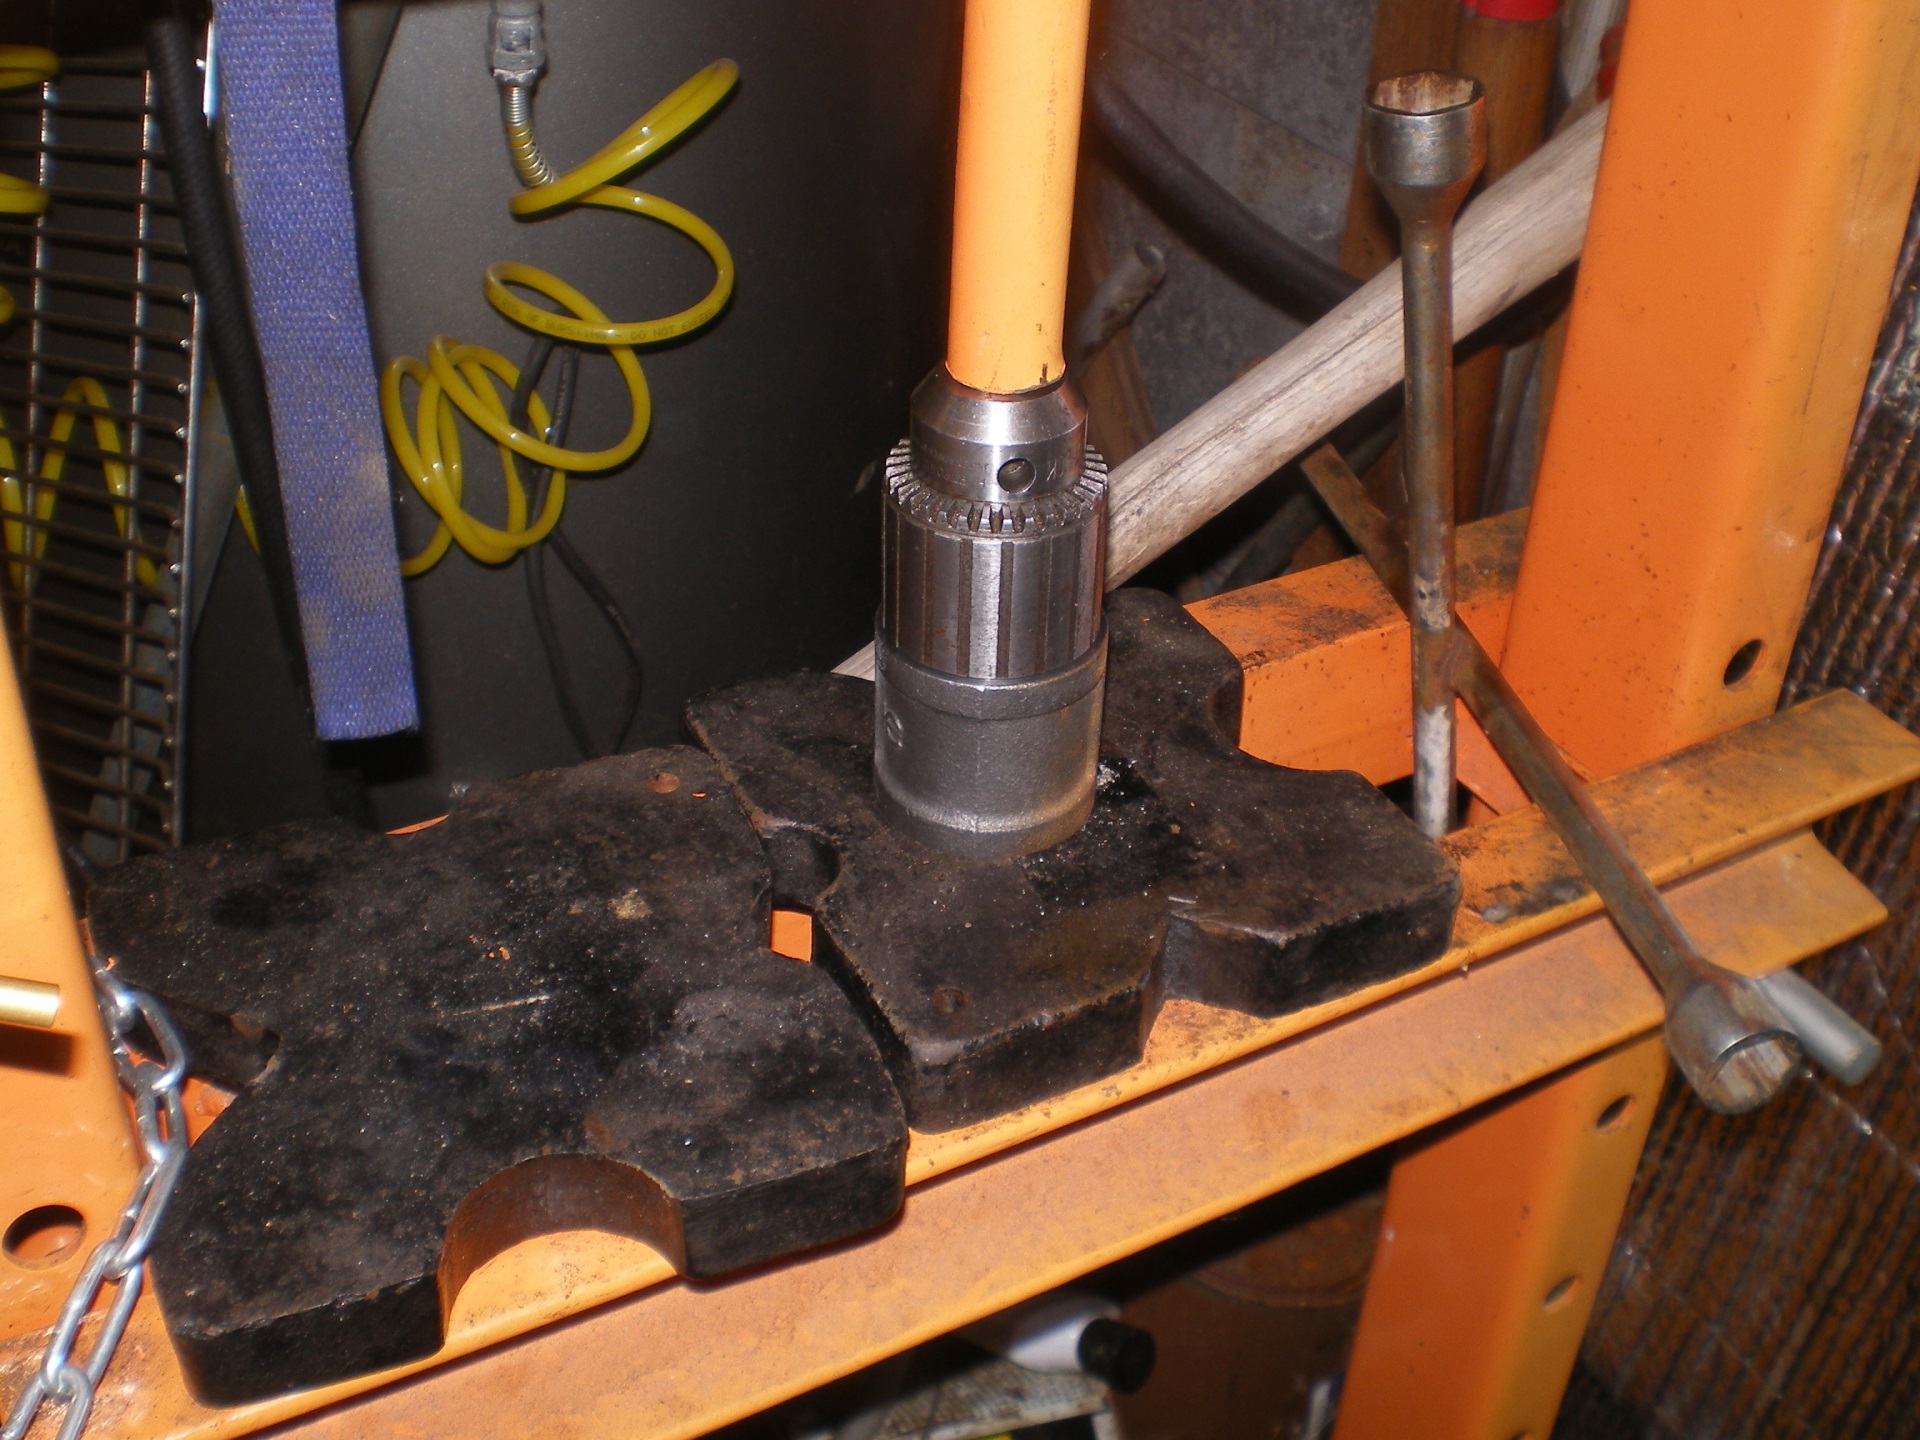
The pressing part. I've heard it said that the jaws should be fully closed. I see no point. We are pressing the body out of the sleeve so I prefer to open the jaws until they are in the body (vice sticking out) and press on the body, Not fully open as there have been dire warnings to never do that. I see no reason for concern but why invite Murphy into the shop? Or it may be I 'm too lazy to keep opening to test the therum?

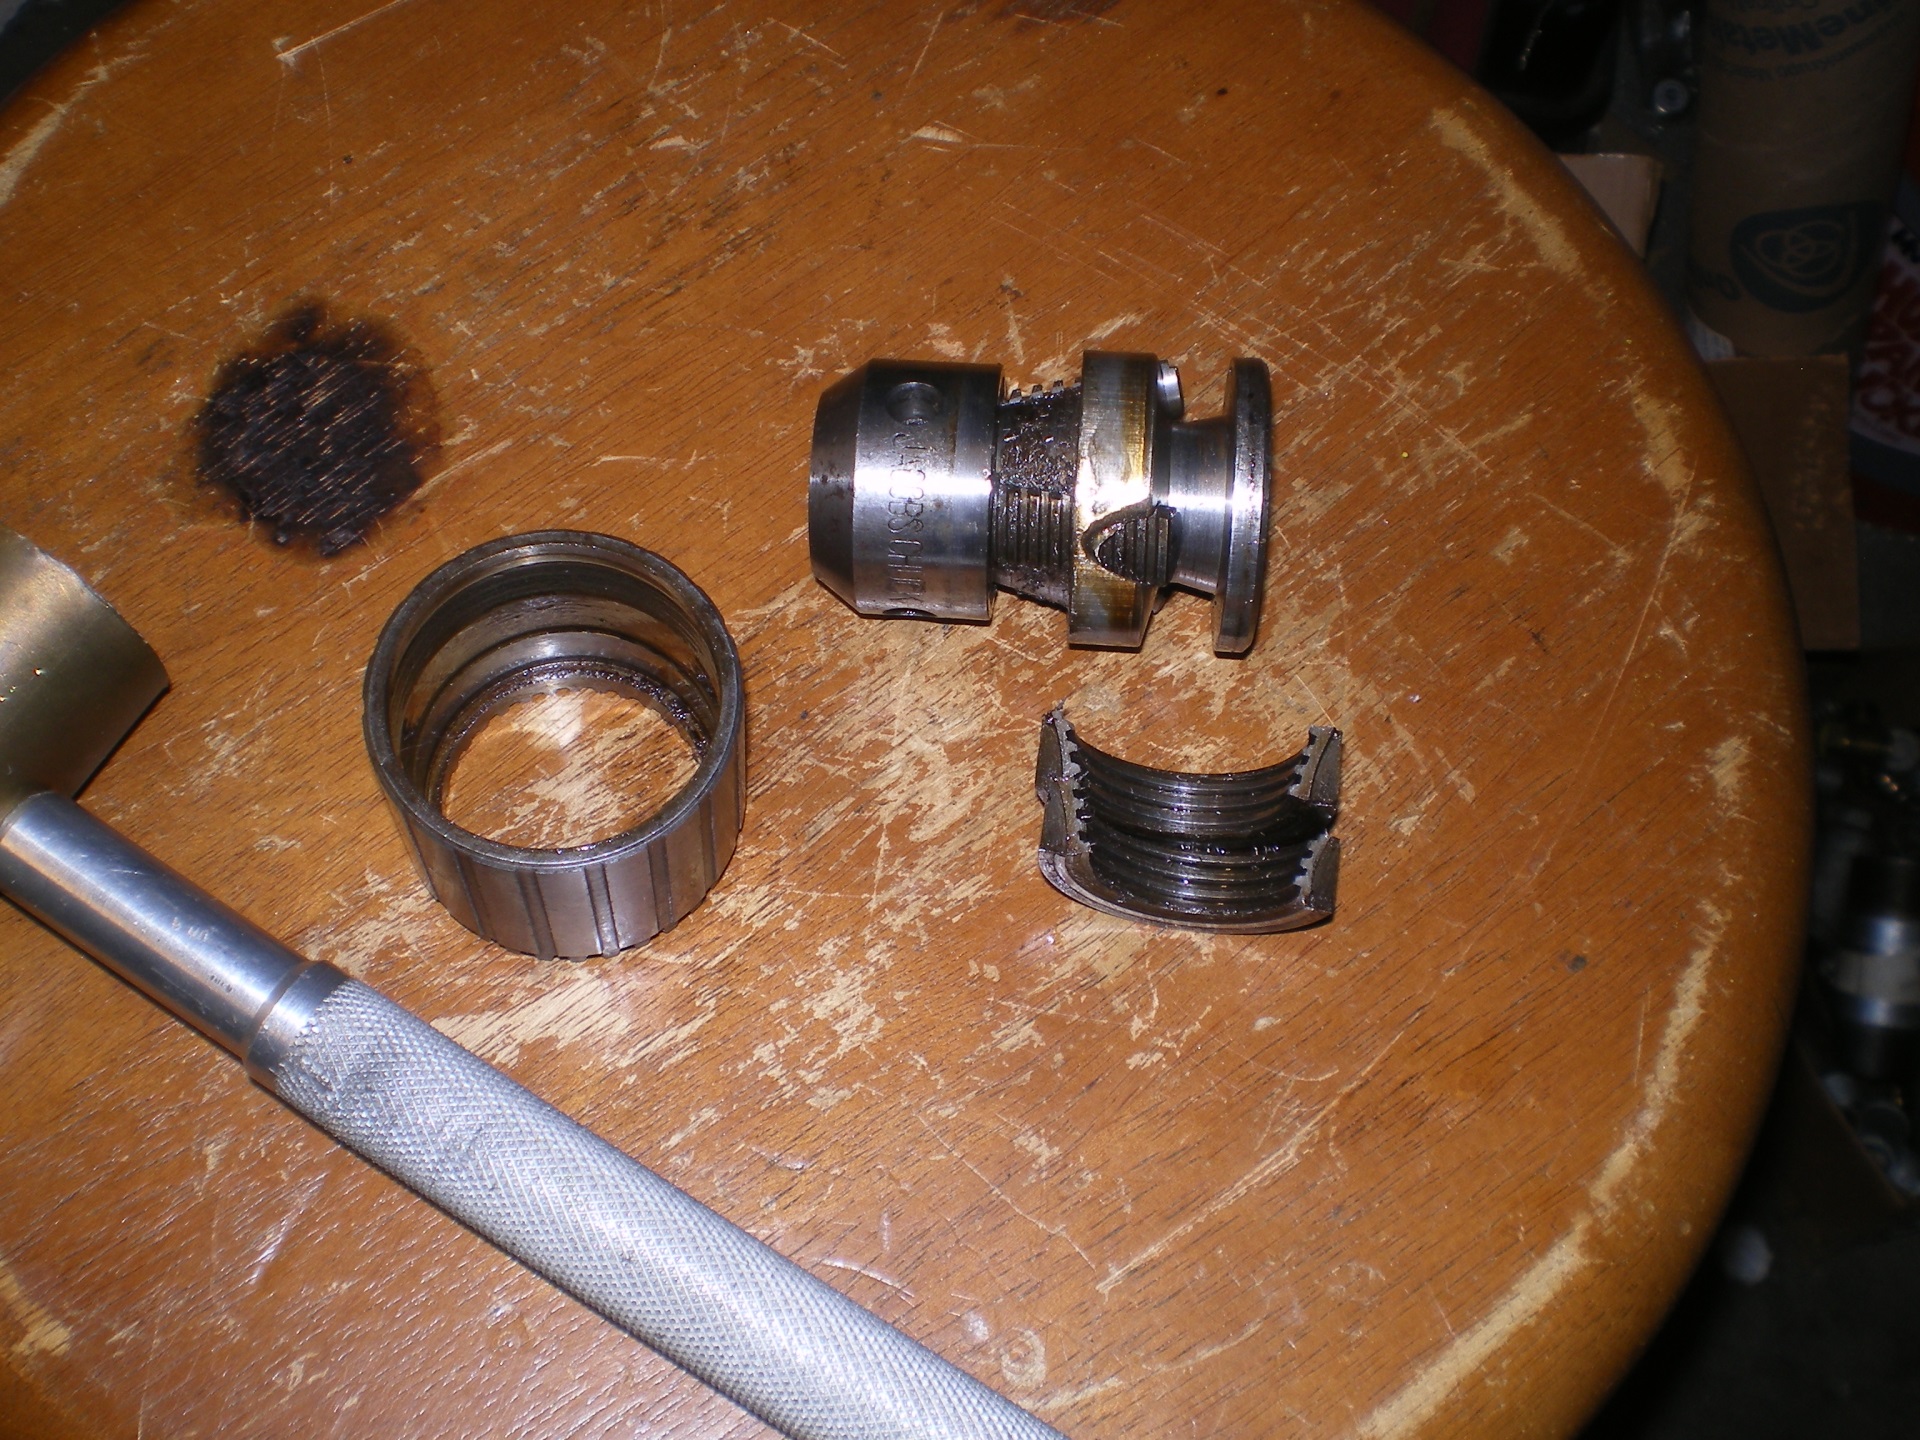
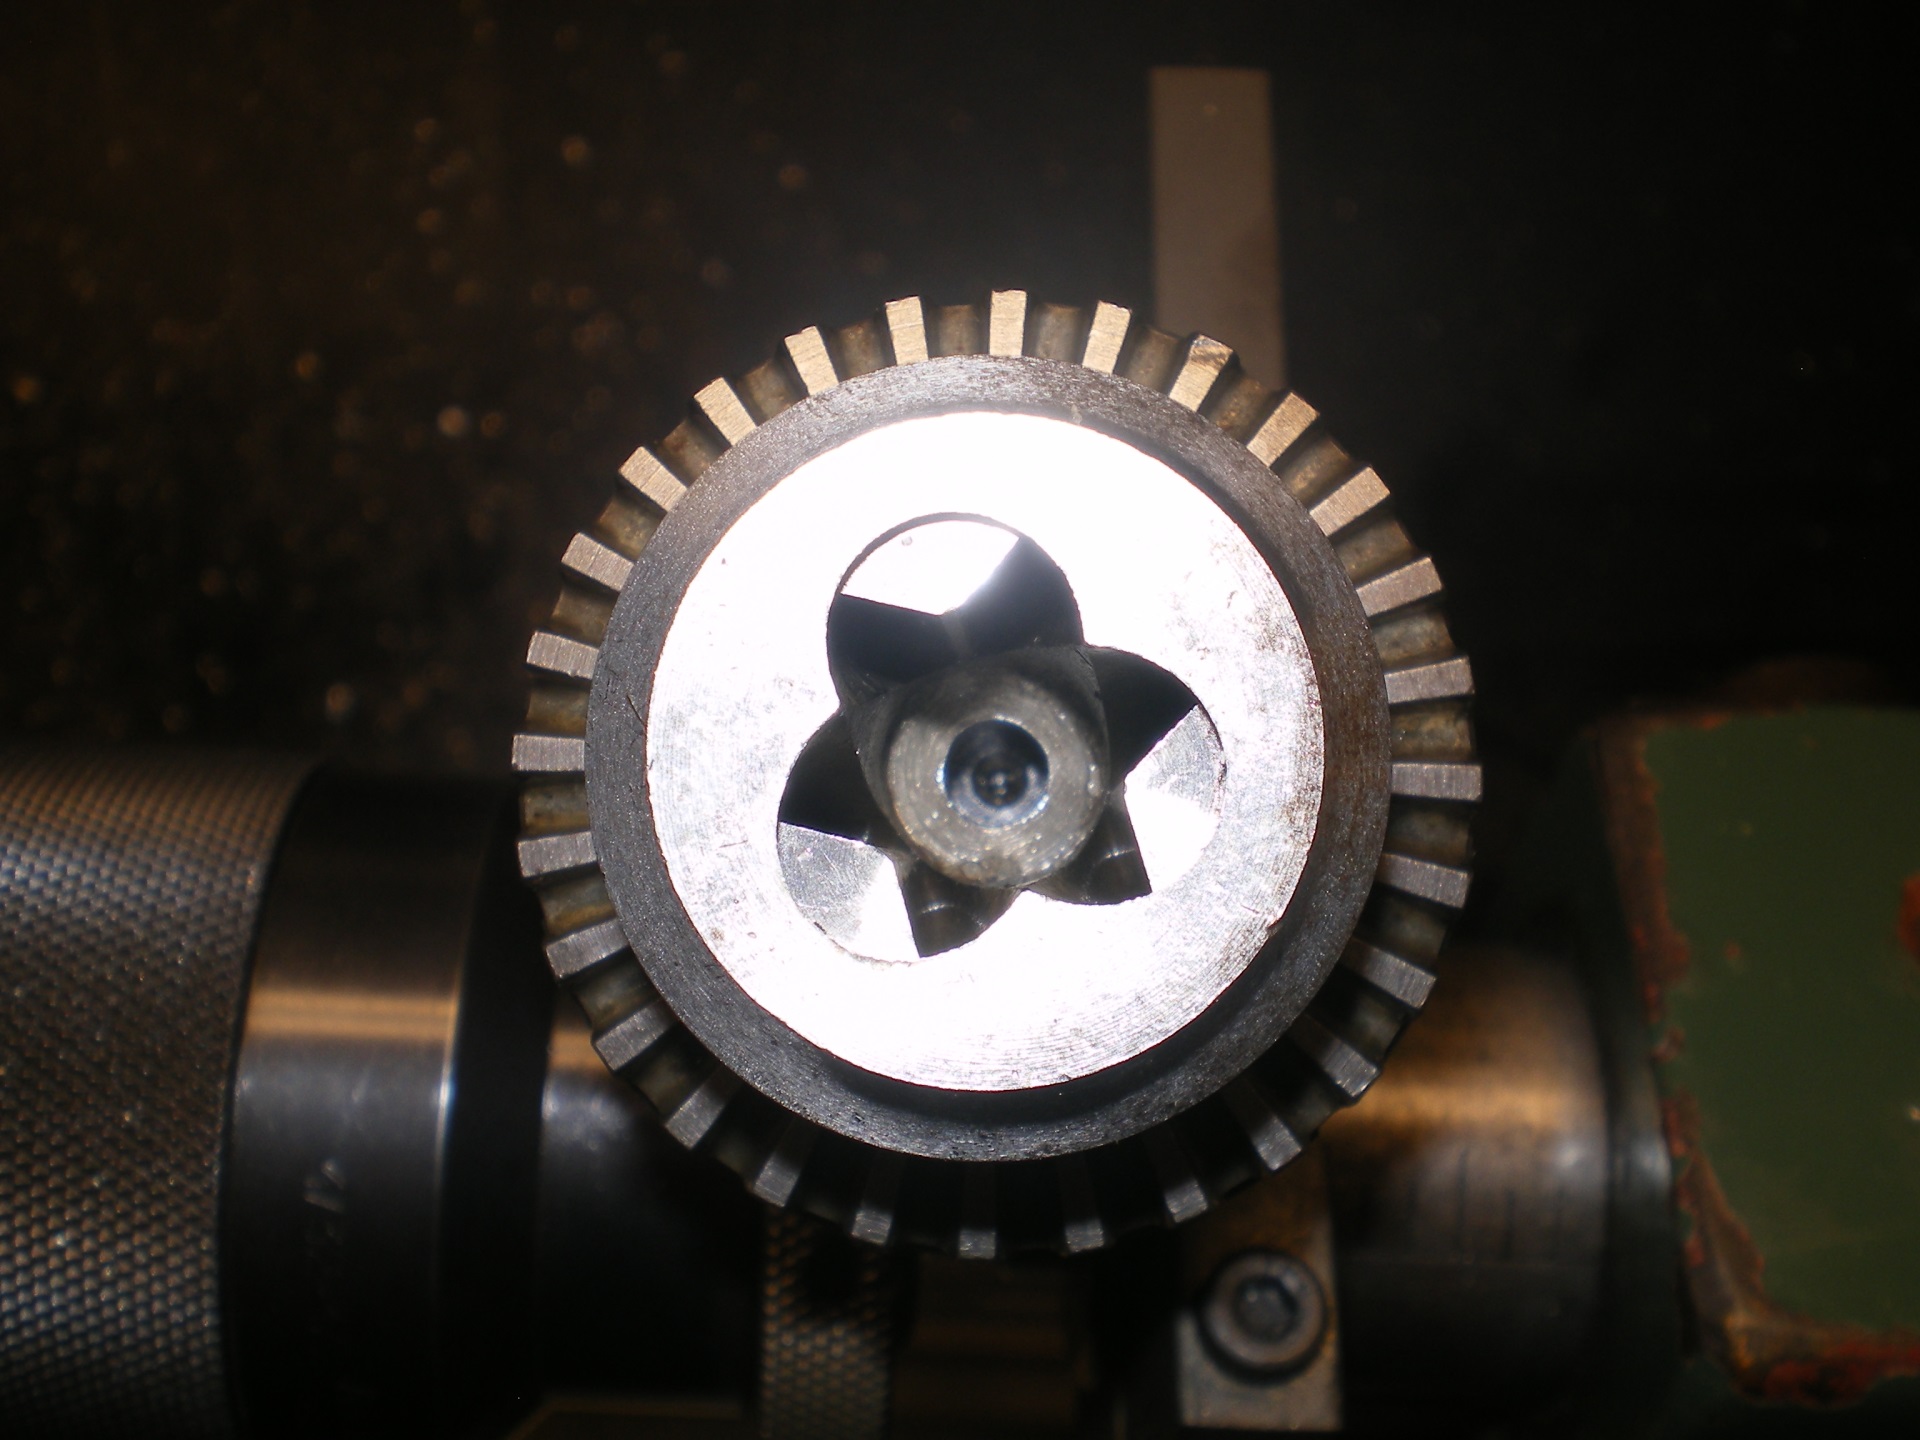
So here is what a non ballbearing chuck looks like without the sleeve and with the split nut removed. That crud was after soaking and agitation, and my coworkers know I am very good at agitation. It should be noted that a Ball Bearing chuck (such as 14N 18N etc) it is best to press it apart inside of a tin so no bearigs are lost. The jaws are not the same! It is easiest to work them one at a time.
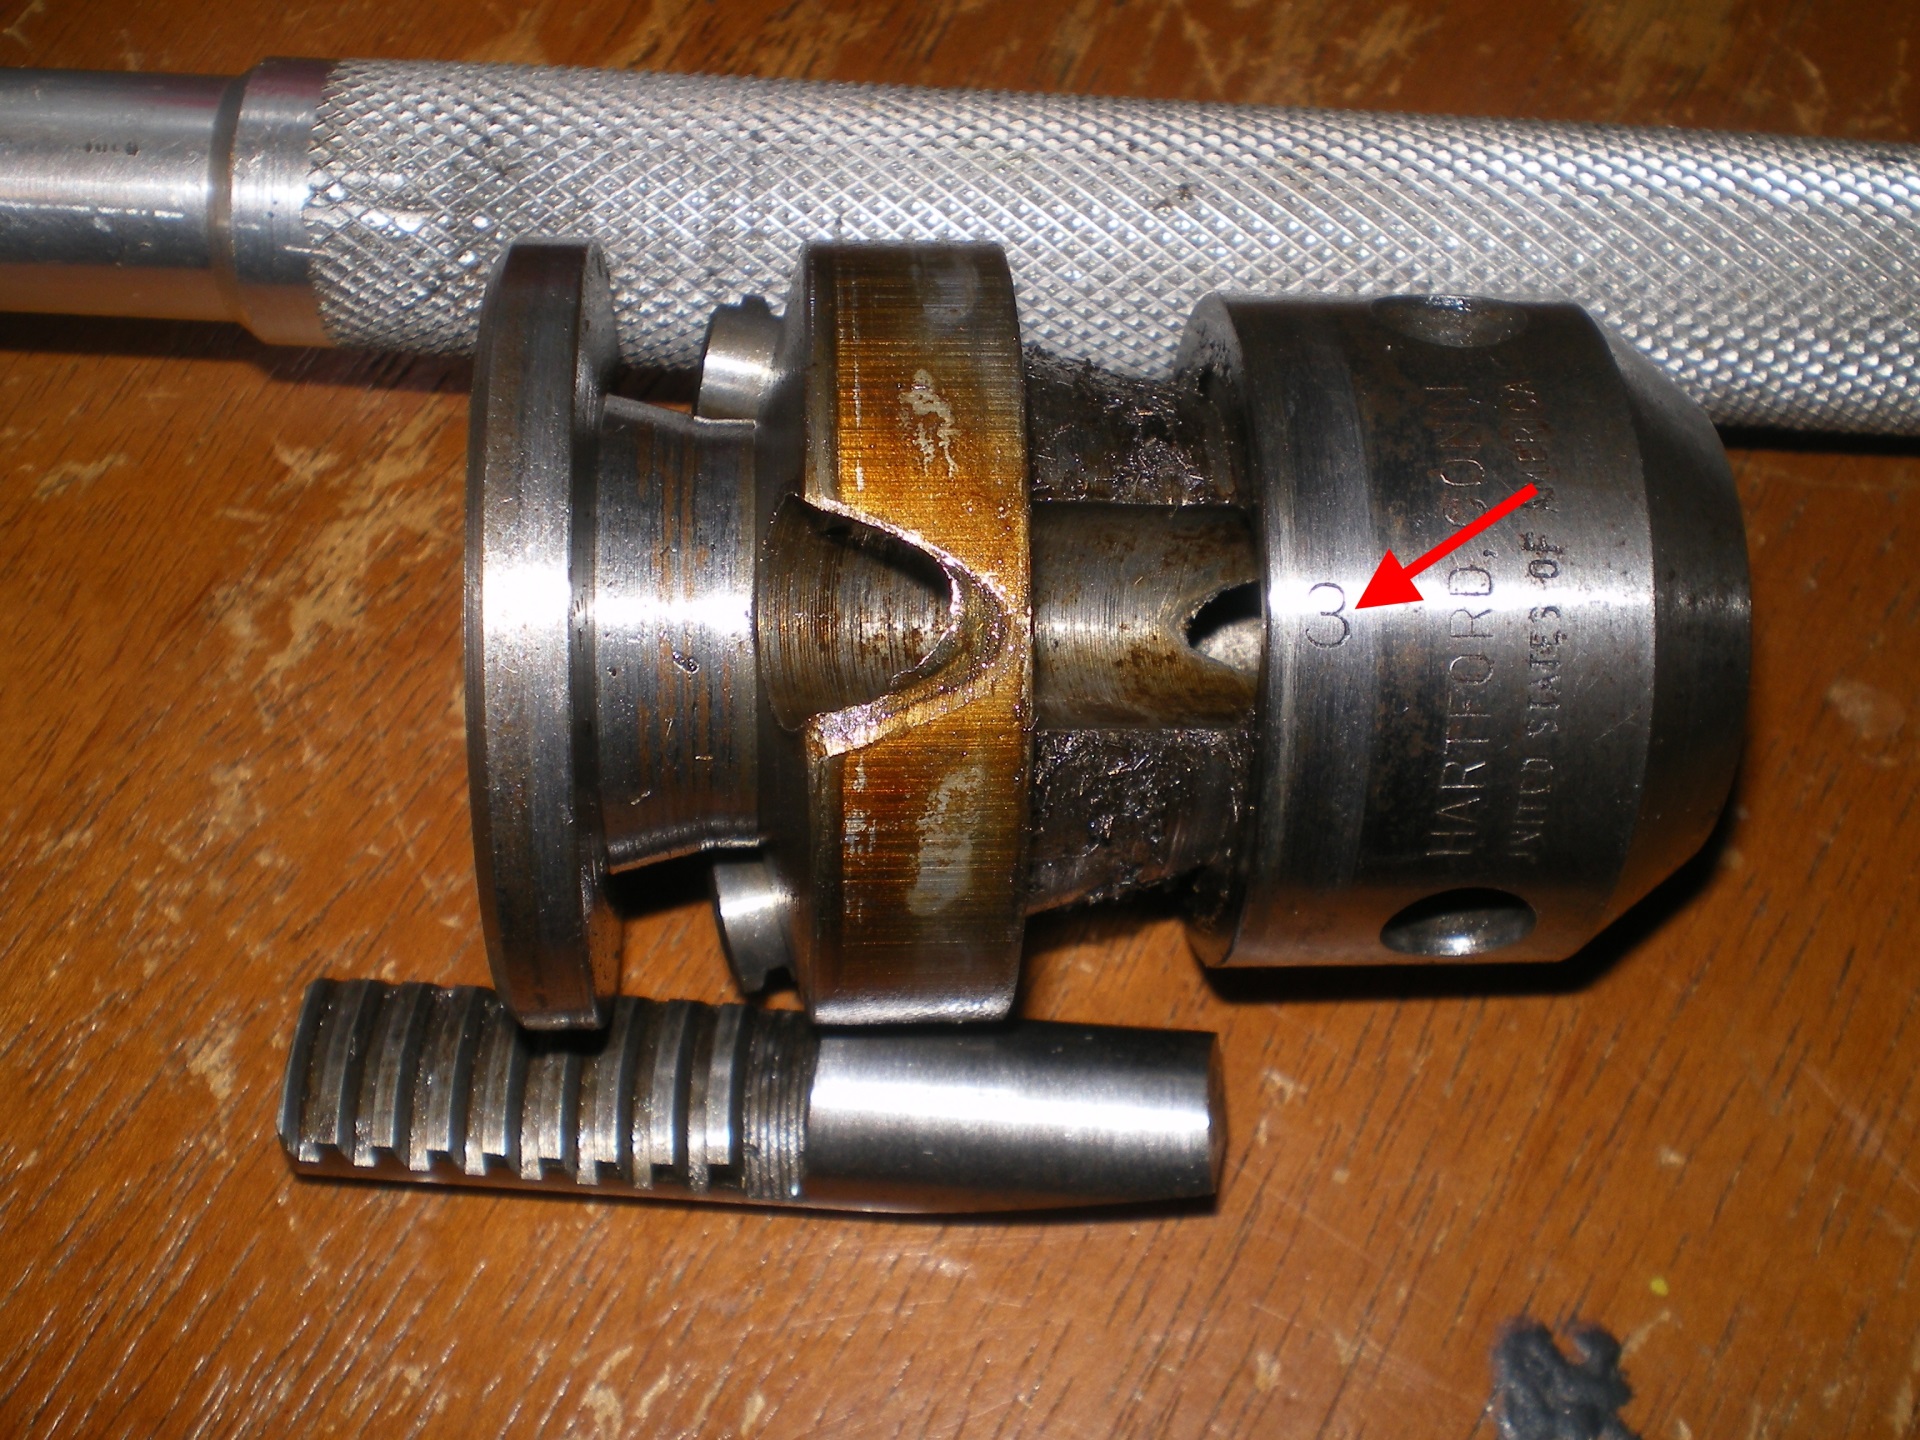
On this chuck there was only one jaw number shown with a red arrow. Nothing on the jaws or the other slots. I've seen them fully marked on everthing and no marks at all. If for some reason you got all excited and payed no attention it's no Rubix cube. #3 has no step betwween the last tooth and the end as shown #1 has a small step and #2 a full step.
Failed X axis stepper on our new JG Aurora 3d printer
August 5, 2016