
Totally Screwed Machine Shop
Lathe Projects
Updated January 25, 2013 16:37
Please bear with me. This current format is getting very crowded and there is a long way to go! I will be moving some projects onto separate pages and leaving the shortest simple projects here and an index of links .
Official Obama Money Clip
This is a quick simple project to hang on to all the money left after paying taxes, fees etc for the gummint to redistribute. Material cost isn't too bad and an easy project for a beginner.
Cross Drill / Key cutter
This is a great little project for the lathe. You will need access to a welder for a few minutes. You will probably want to make another T nut for your lathe in which ever manner you are accustomed to, or you could use a bolt that fits your Tnut. This will be on it's own separate page so click here.
TNMT Insert holder
Simple down and dirty method to make a TNMT insert holder for lathe turning from a piece of 1/2" key stock. Click Here
Flashlight holder
I've been using Kree lights for several years now and always wished for a magnetic holder. Never found one that'd be handy. I found a magnet base at a machine shop liquidation, just a magnet with a 1/4-20 screw sticking out.
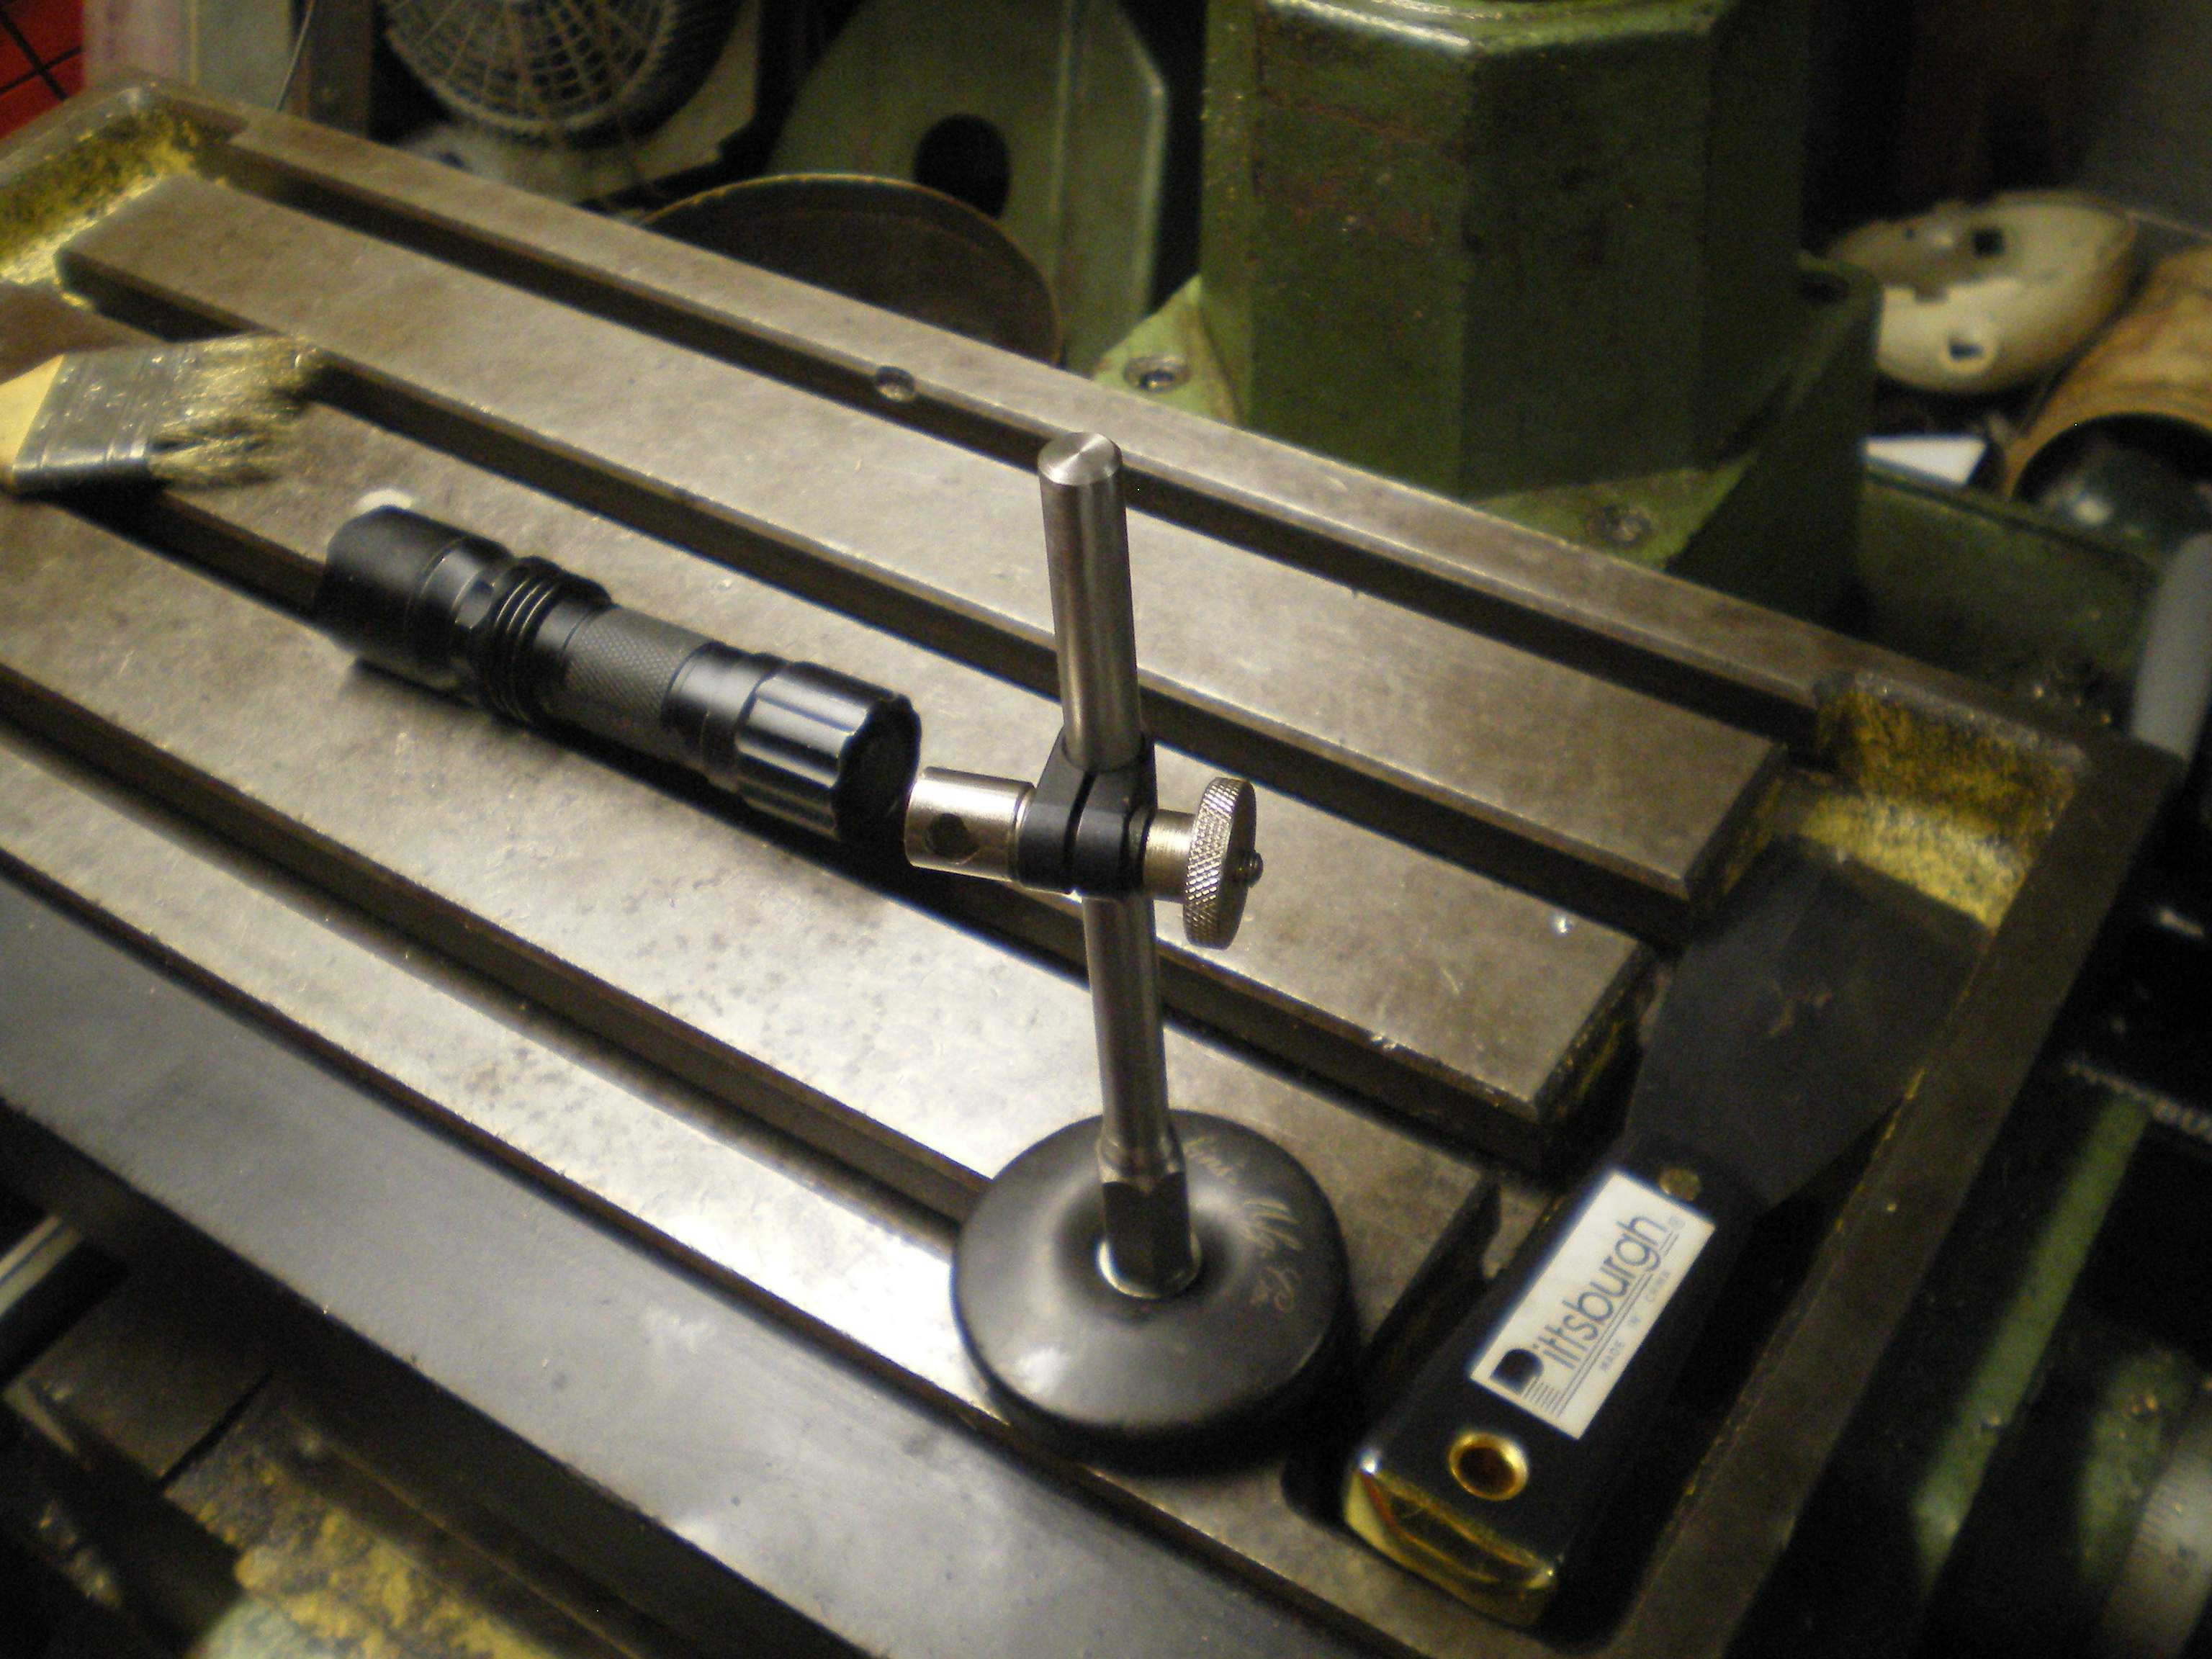
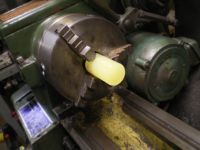
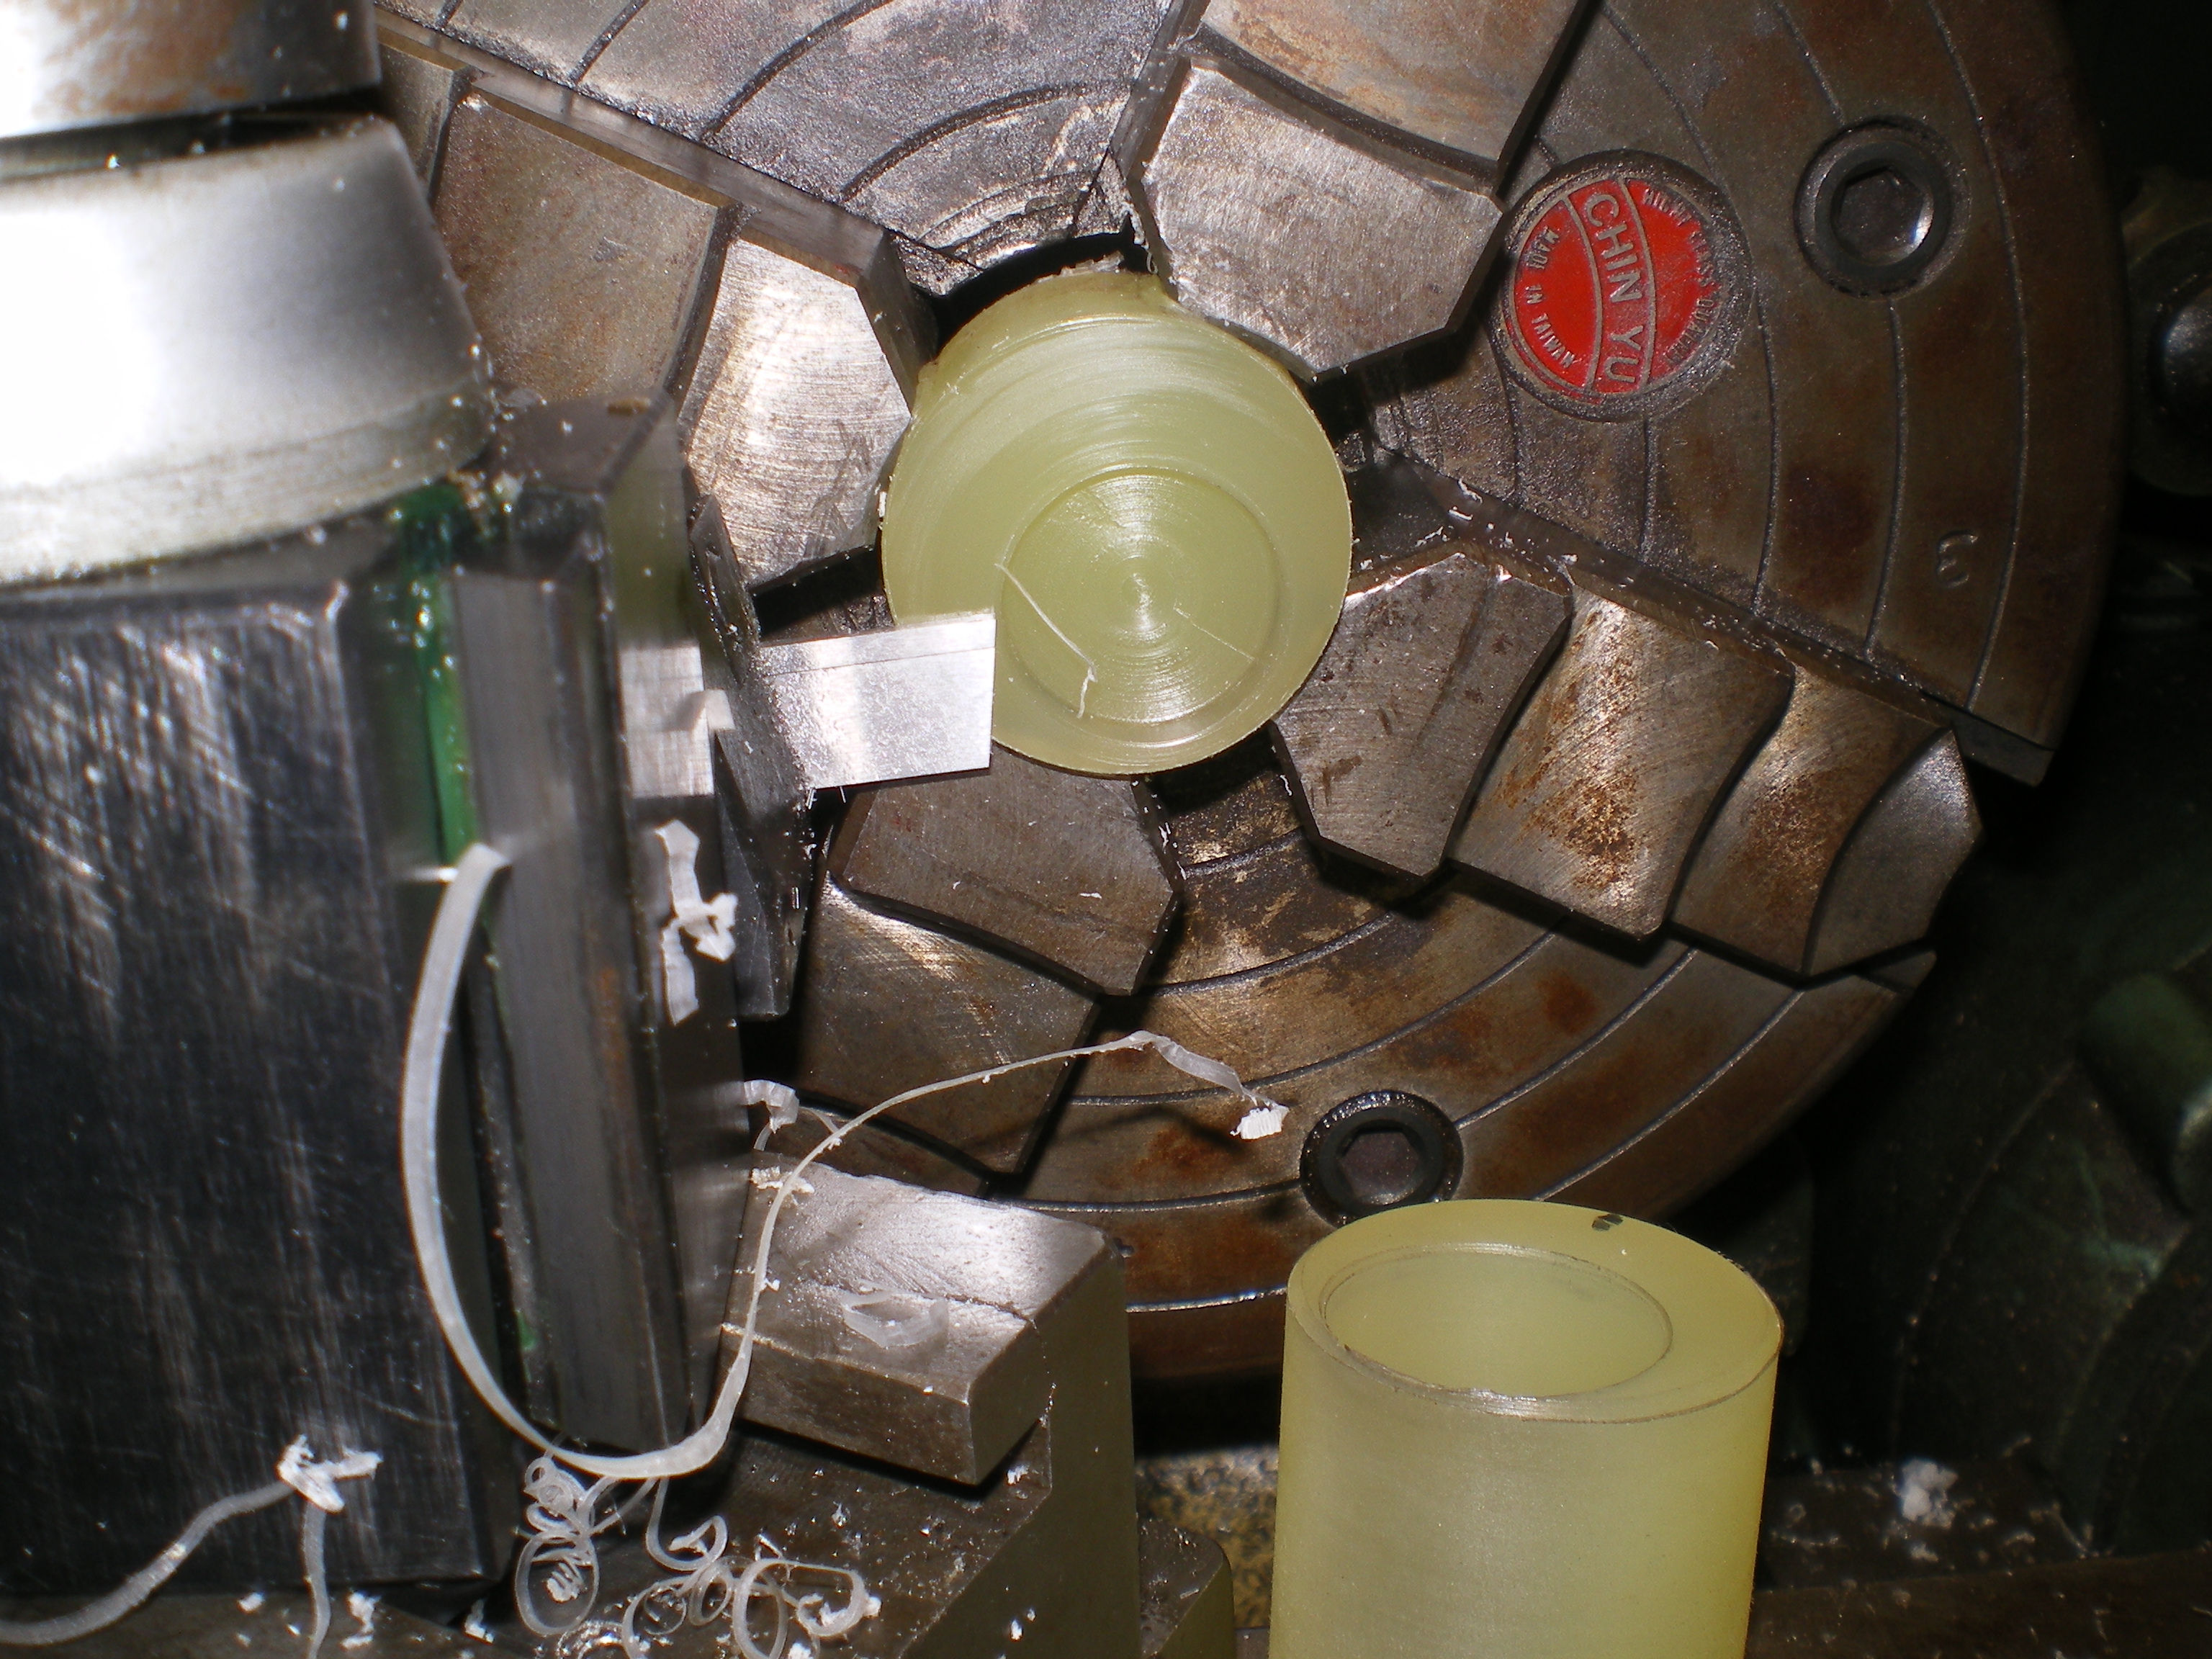
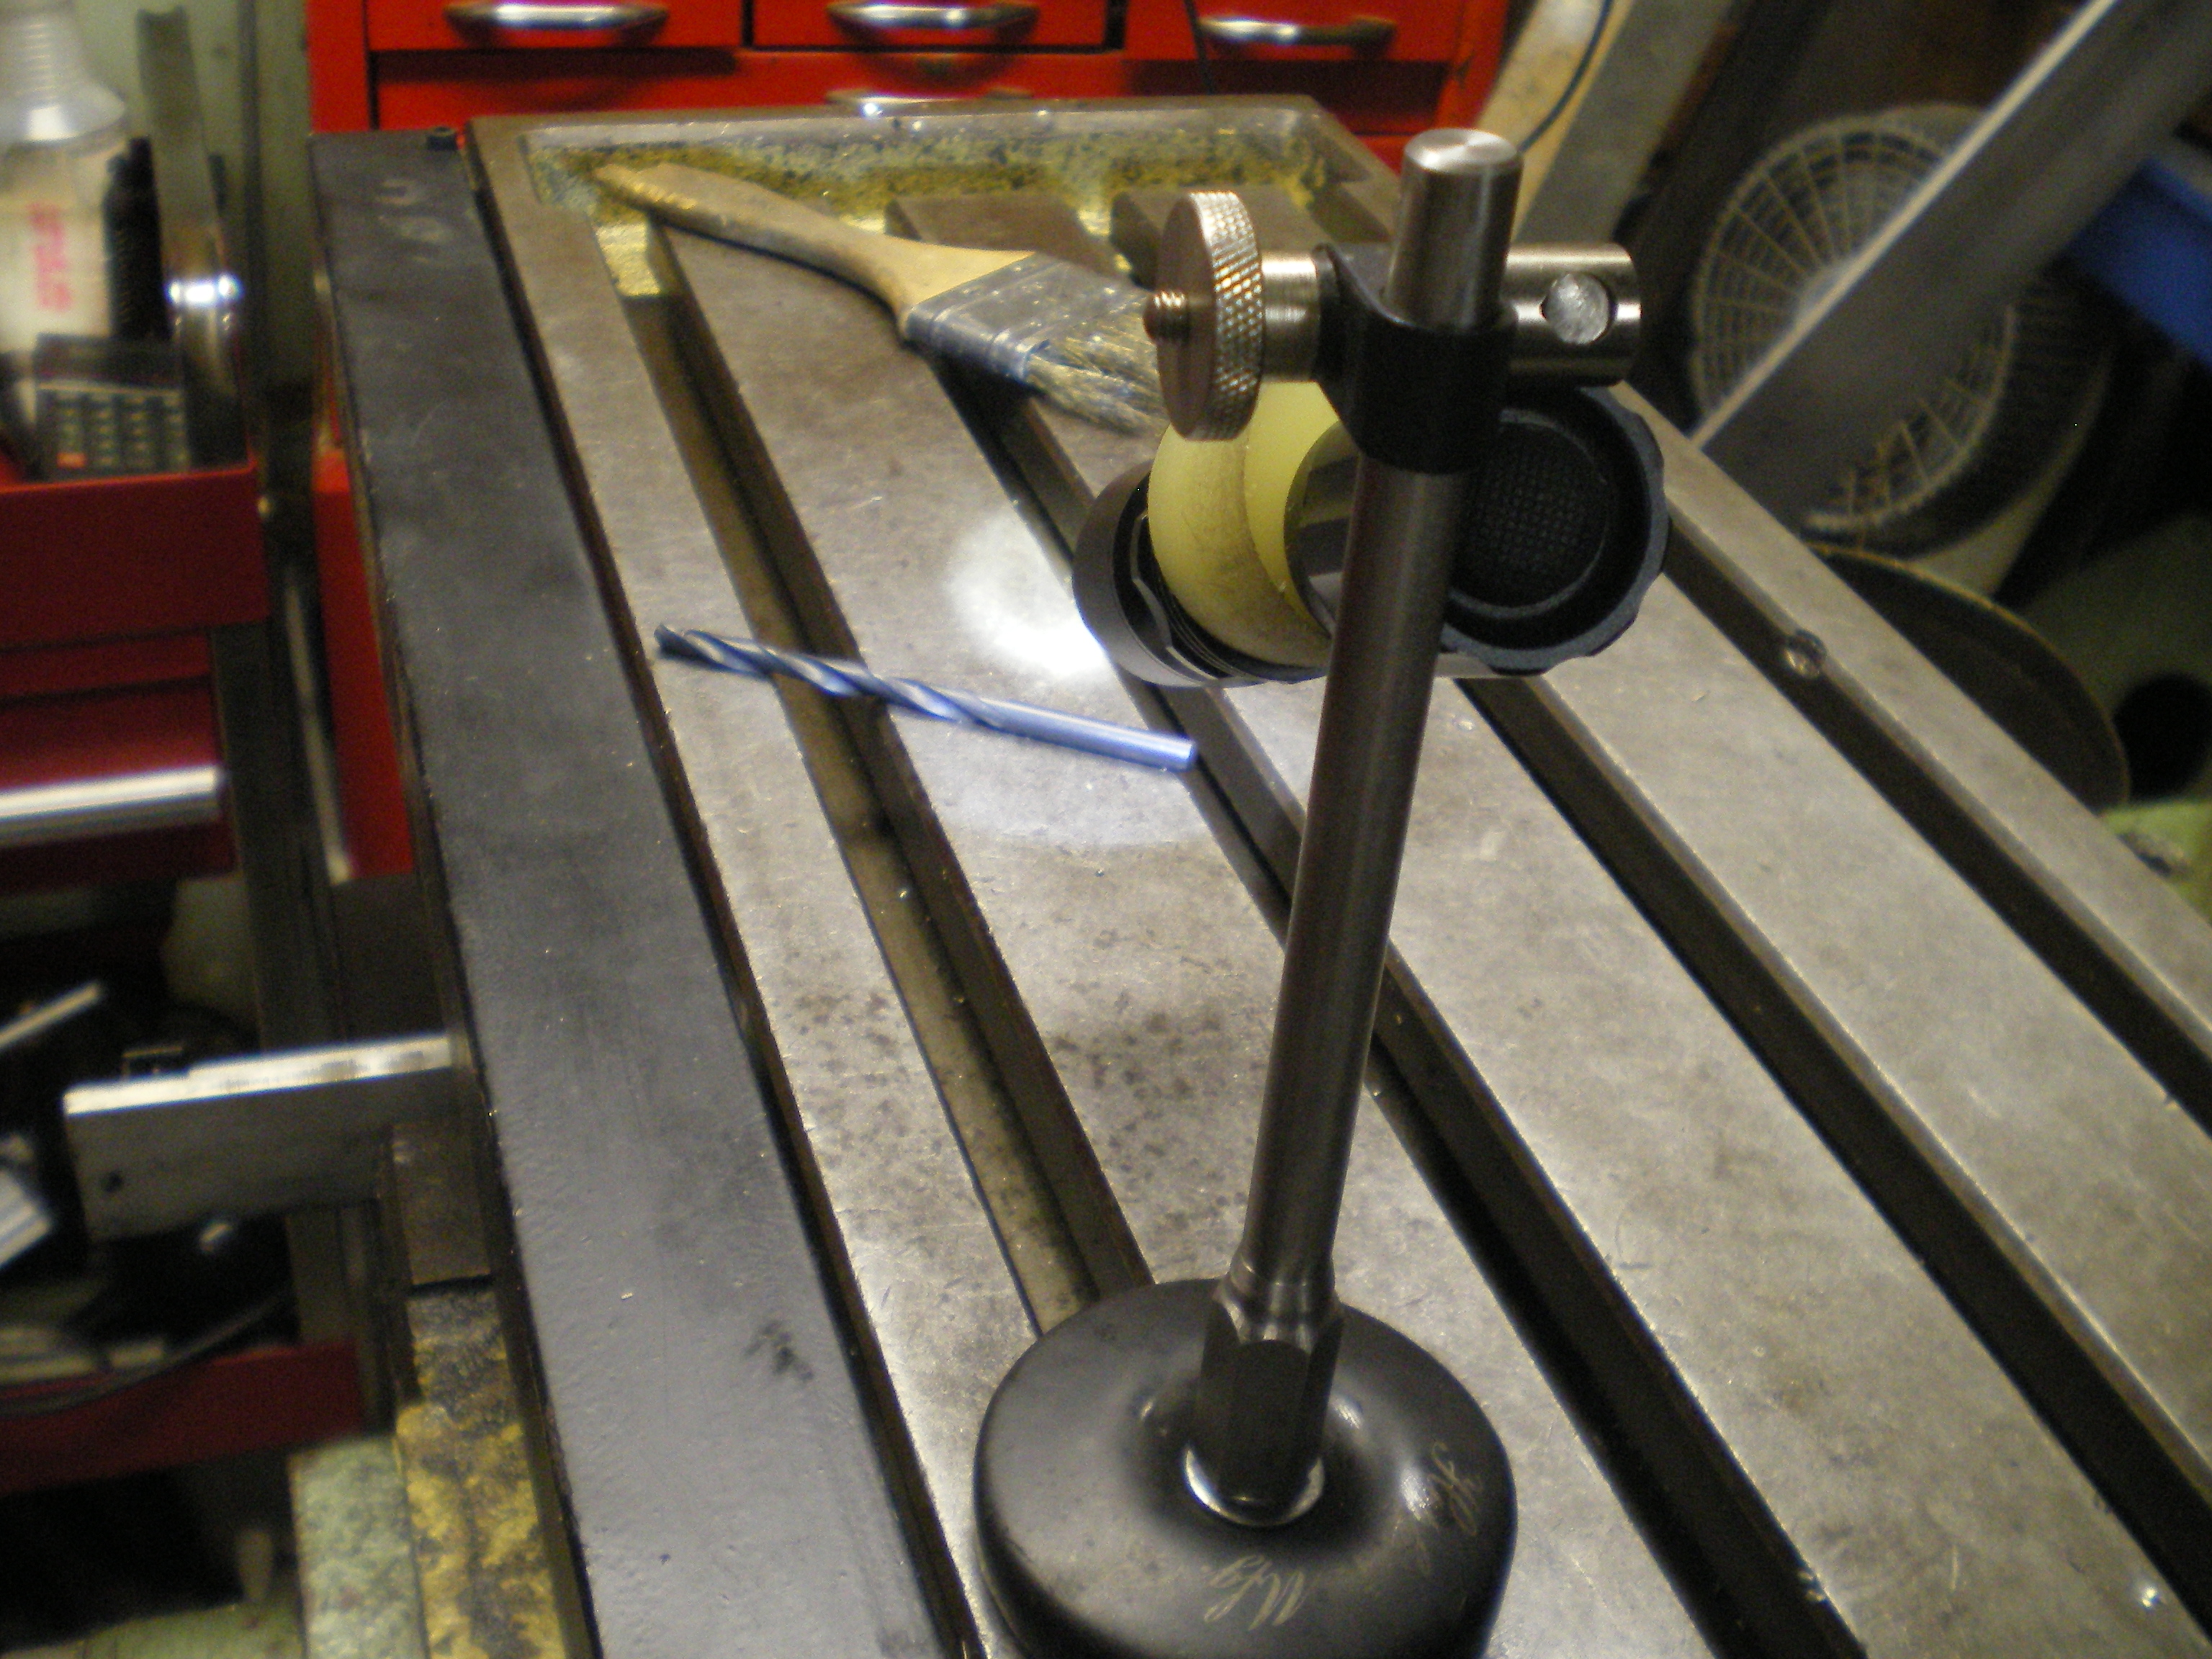
1st Picture shows the mast. Made from left over 303 stainless .5 inch hex turned down to .375" so it would fit a leftover clamp. 2nd picture is a chunk of beguessin' plastic prepped in a three jaw chuck. 3rd pic is the plastic piece mounted in a 4 jaw and offset .400 inch drilled/bored to .997" then parted (clamp in foreground). 4th picture is a pretty decent holder all done. The pictures don't do it justice.
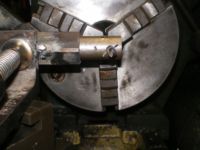
Spider.

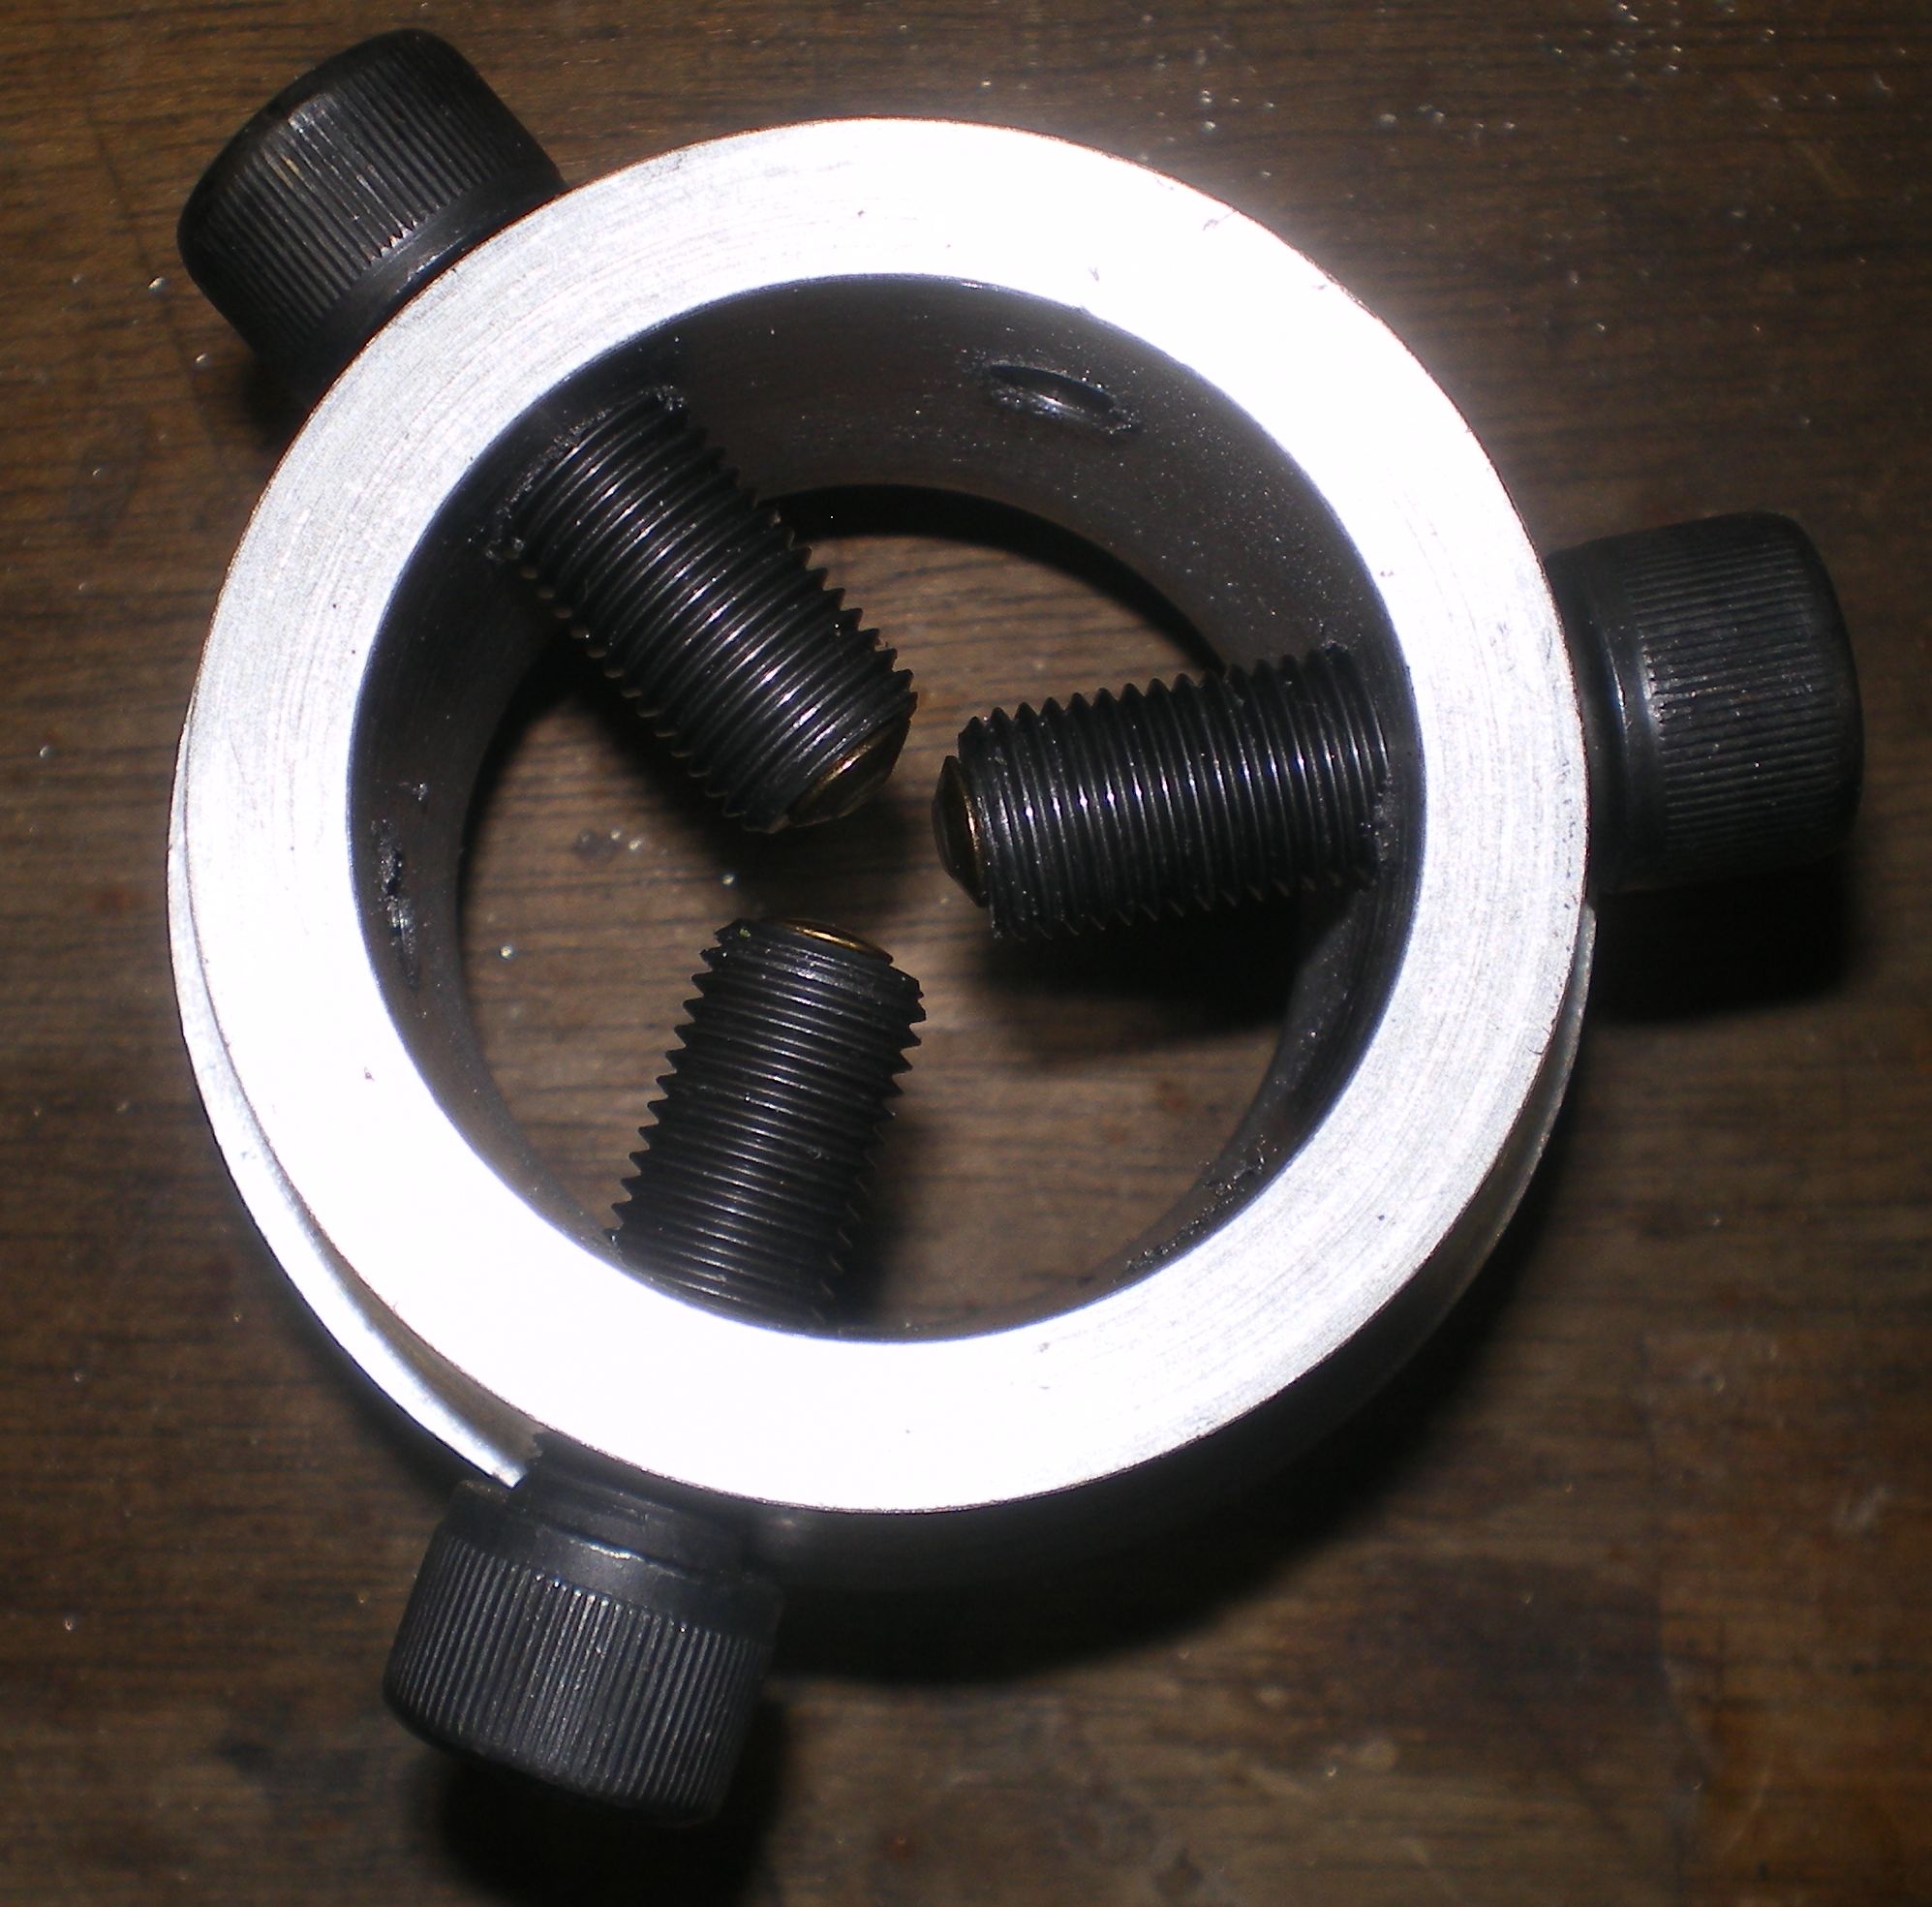
This is a simple device that goes on the outboard end of the spindle (opposite chuck) on a lathe. It's purpose is to dial in long items for better accuracy and to keep them from flopping around. I inserted brass rivets into the SHCS to keep down "bruising".
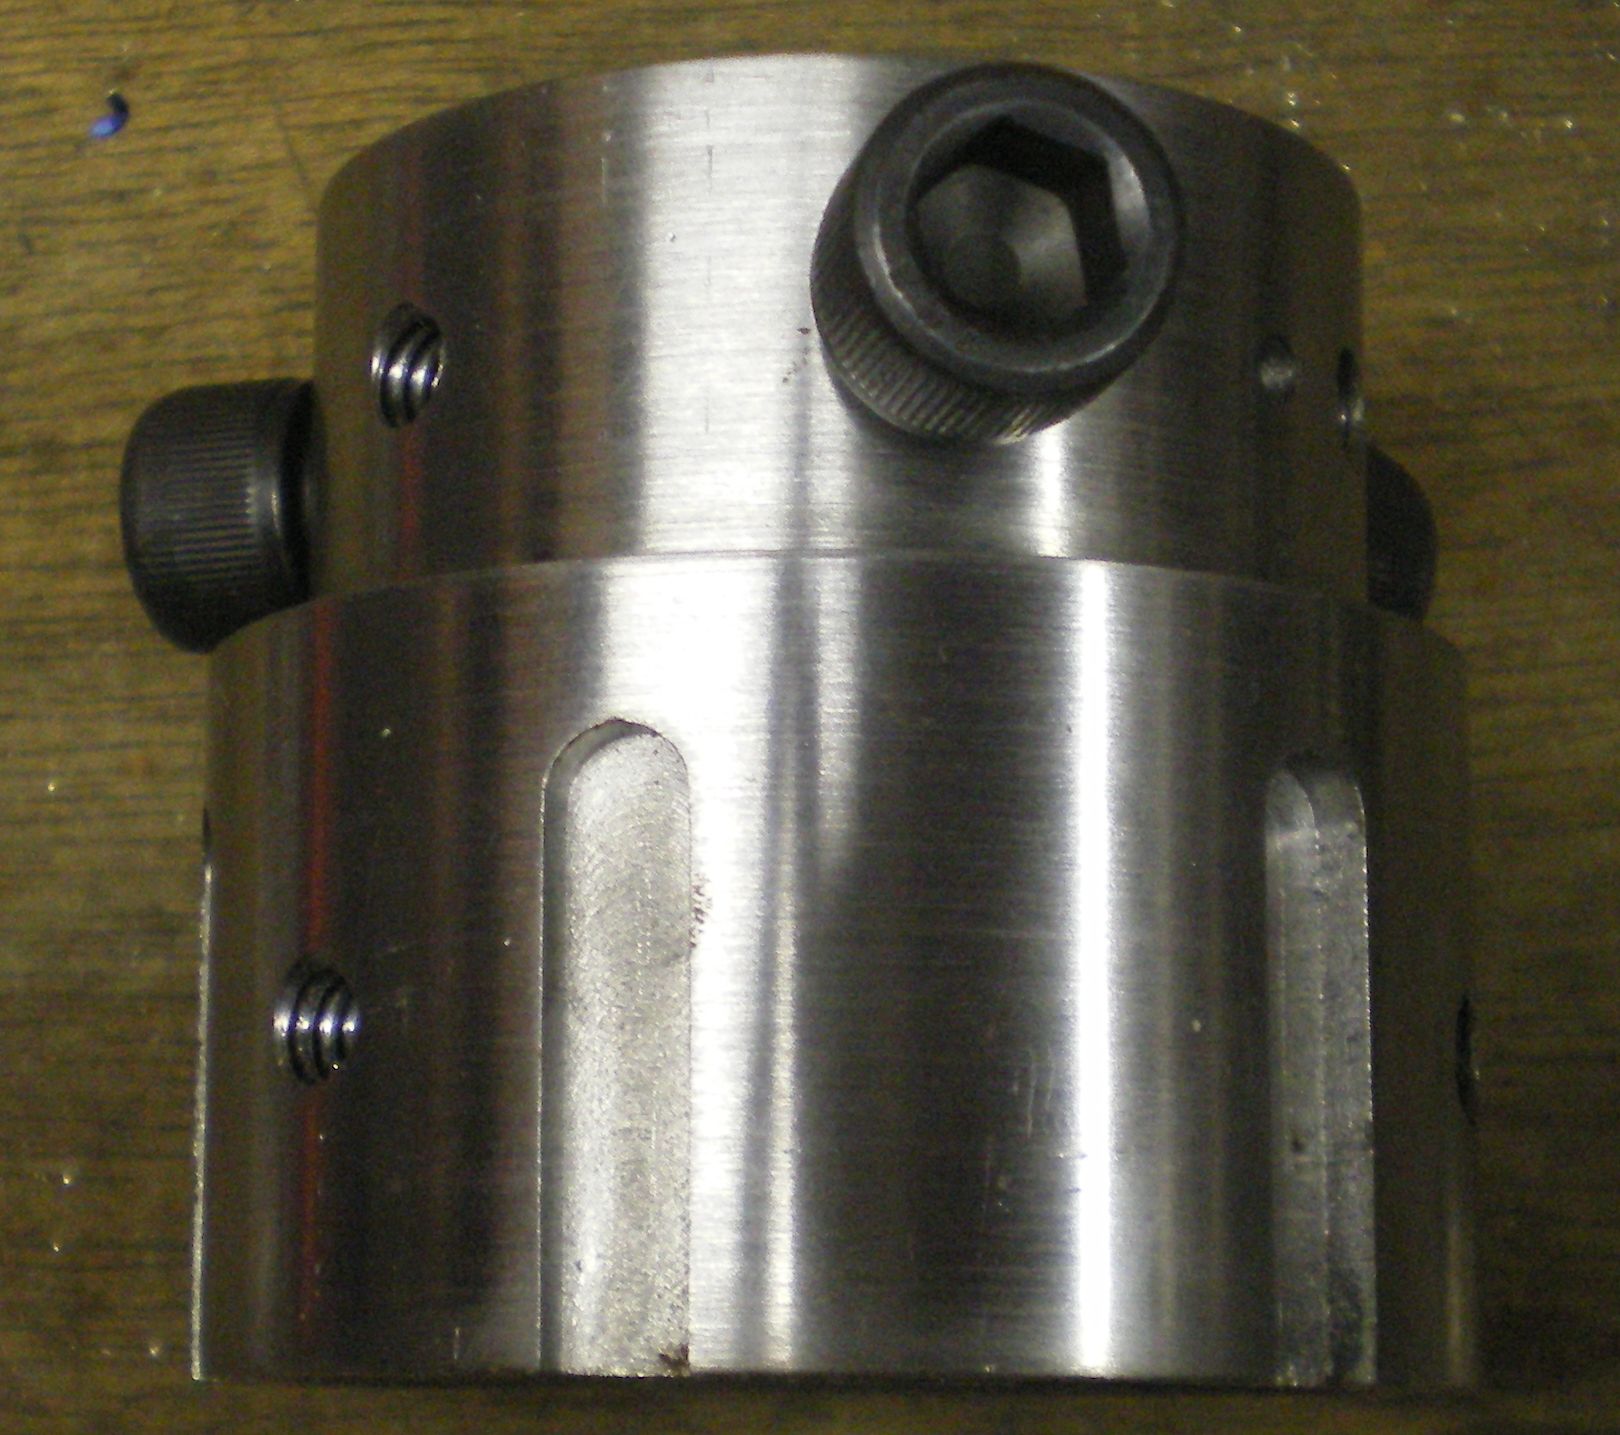
Quill Clamp
Simply slide over tail stock quill, tighten clamp screw, and you have a place to set a dial indicator to for more precise hole depths. This one is rough as I hacked it out in a moment of need, but it works perfectly and will remain as is.
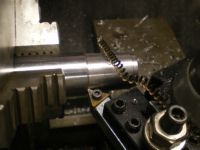
Power tapper

So not really a power tapper but just a way to safely tap using lathe power. from the hand wheel forward slides on the shaft from the tail stock. My buddy Paul gave me the 2MT boring bar that the sliding part rides on. Simple usage is to run the lathe slow and hold the black hand wheel while sliding forward to engage the tap in the hole. If things start to go fruit shaped simply let go the hand wheel and the tap rotates with the stock. stop the lathe and work it out by hand. Hand wheel is a dumbbell weight (Mrs. Watson saw some humor in that, Not a belly laugh but a cover it with the corner of a napkin laugh, I think is the worst) bought for 1.97$ bored to size and dutch keyed in place. Very useful if you often tap holes in shaft ends, and who doesn't. I'm a tapping dumbbell, and happy Mrs. Watson gets amusement from my hobby on occasions.
Tangential Cutter for QCTP
Proves to be a bust for me!
Click the header above for more details on the building of a tangential cutter for a quick change tool post. I gave up on it as it neared completion I could tell it wasn't suited for the 12x36 due to being too light duty.
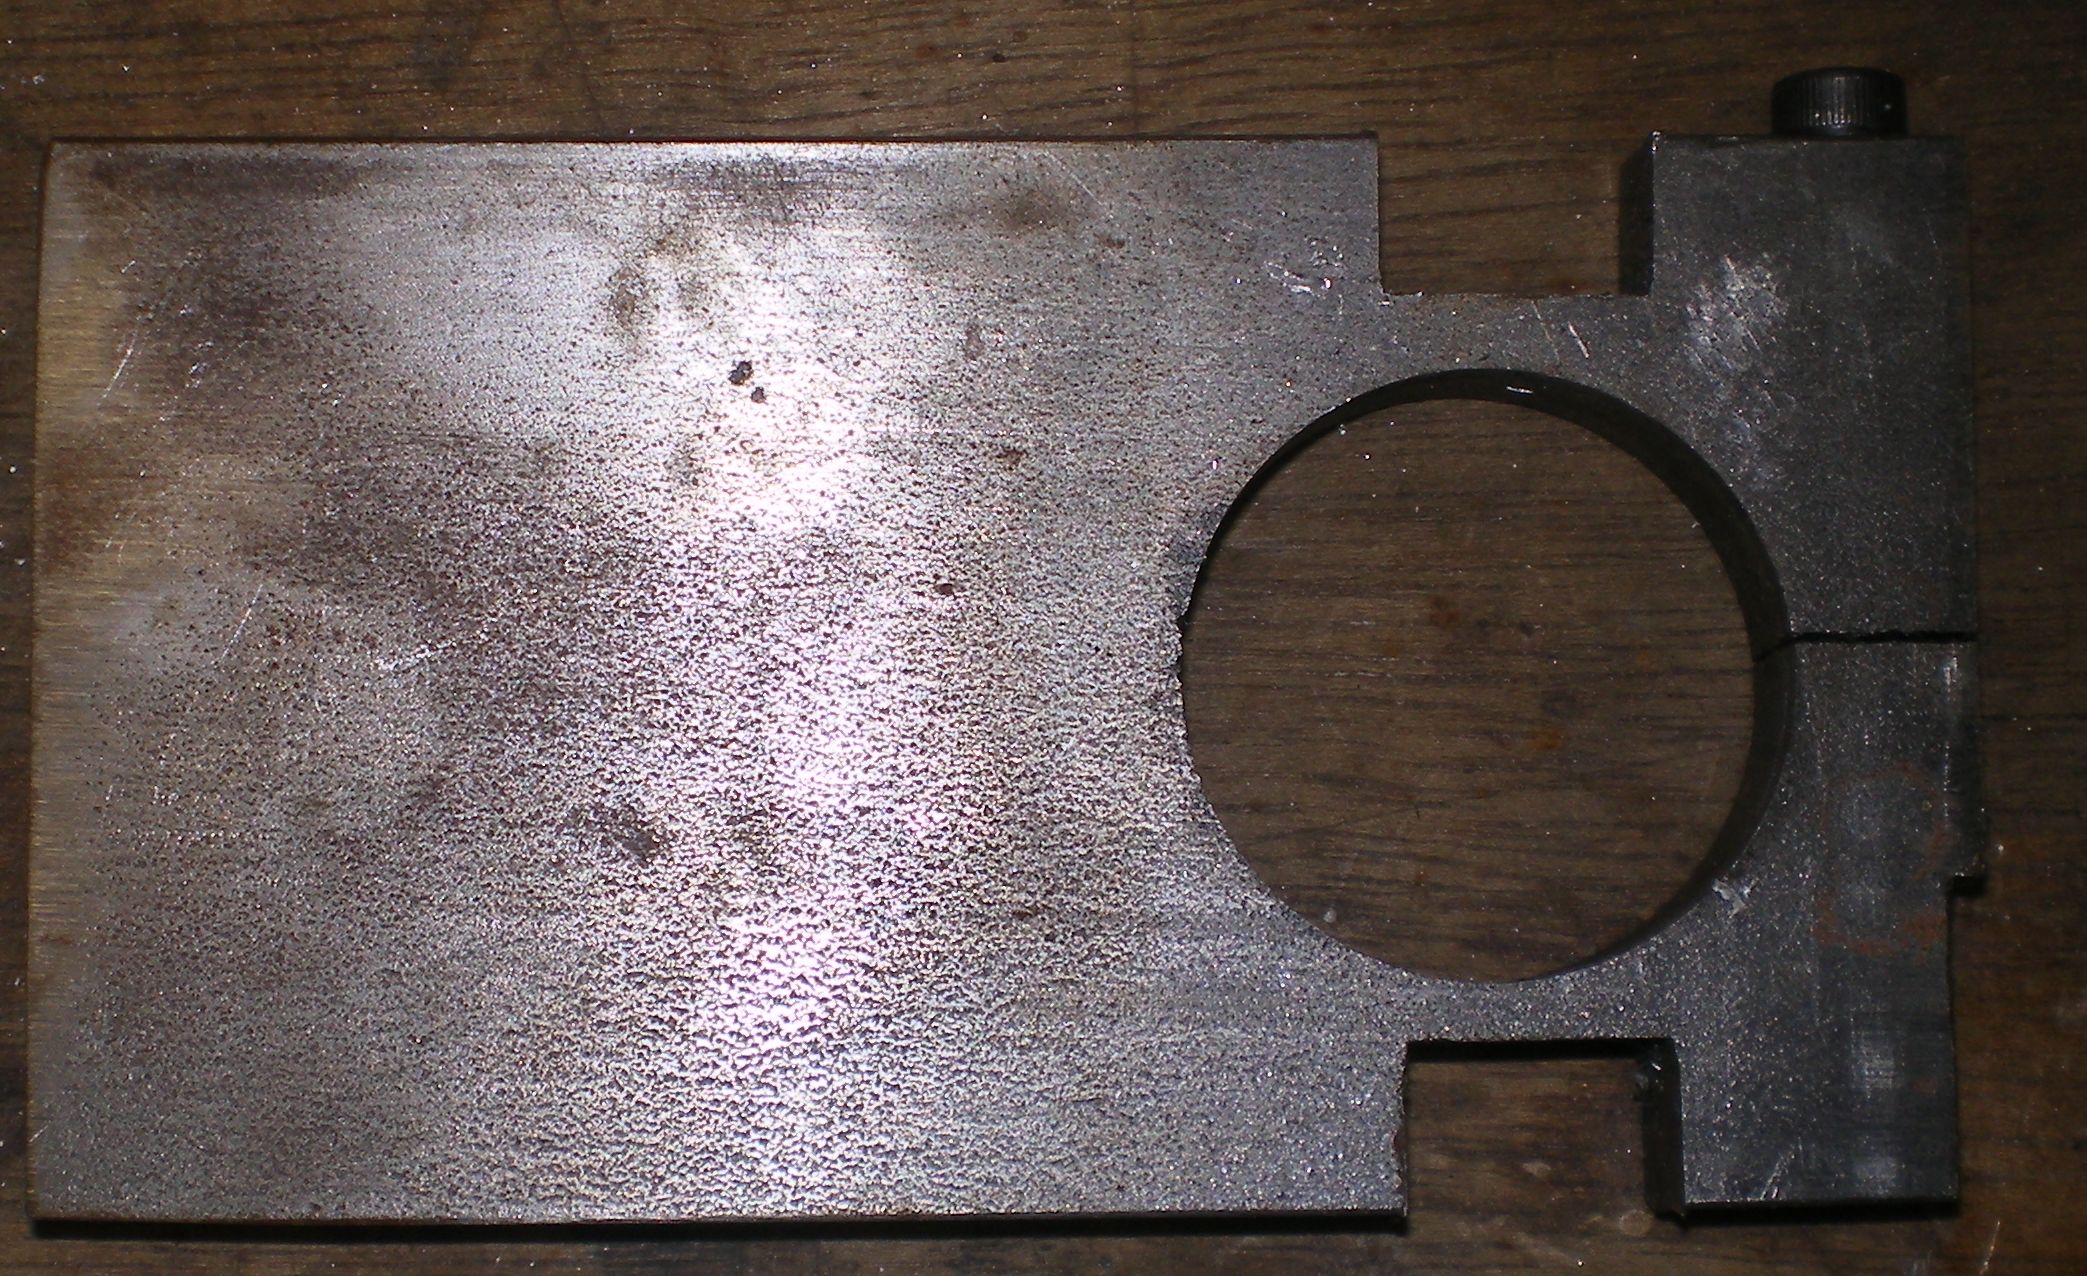
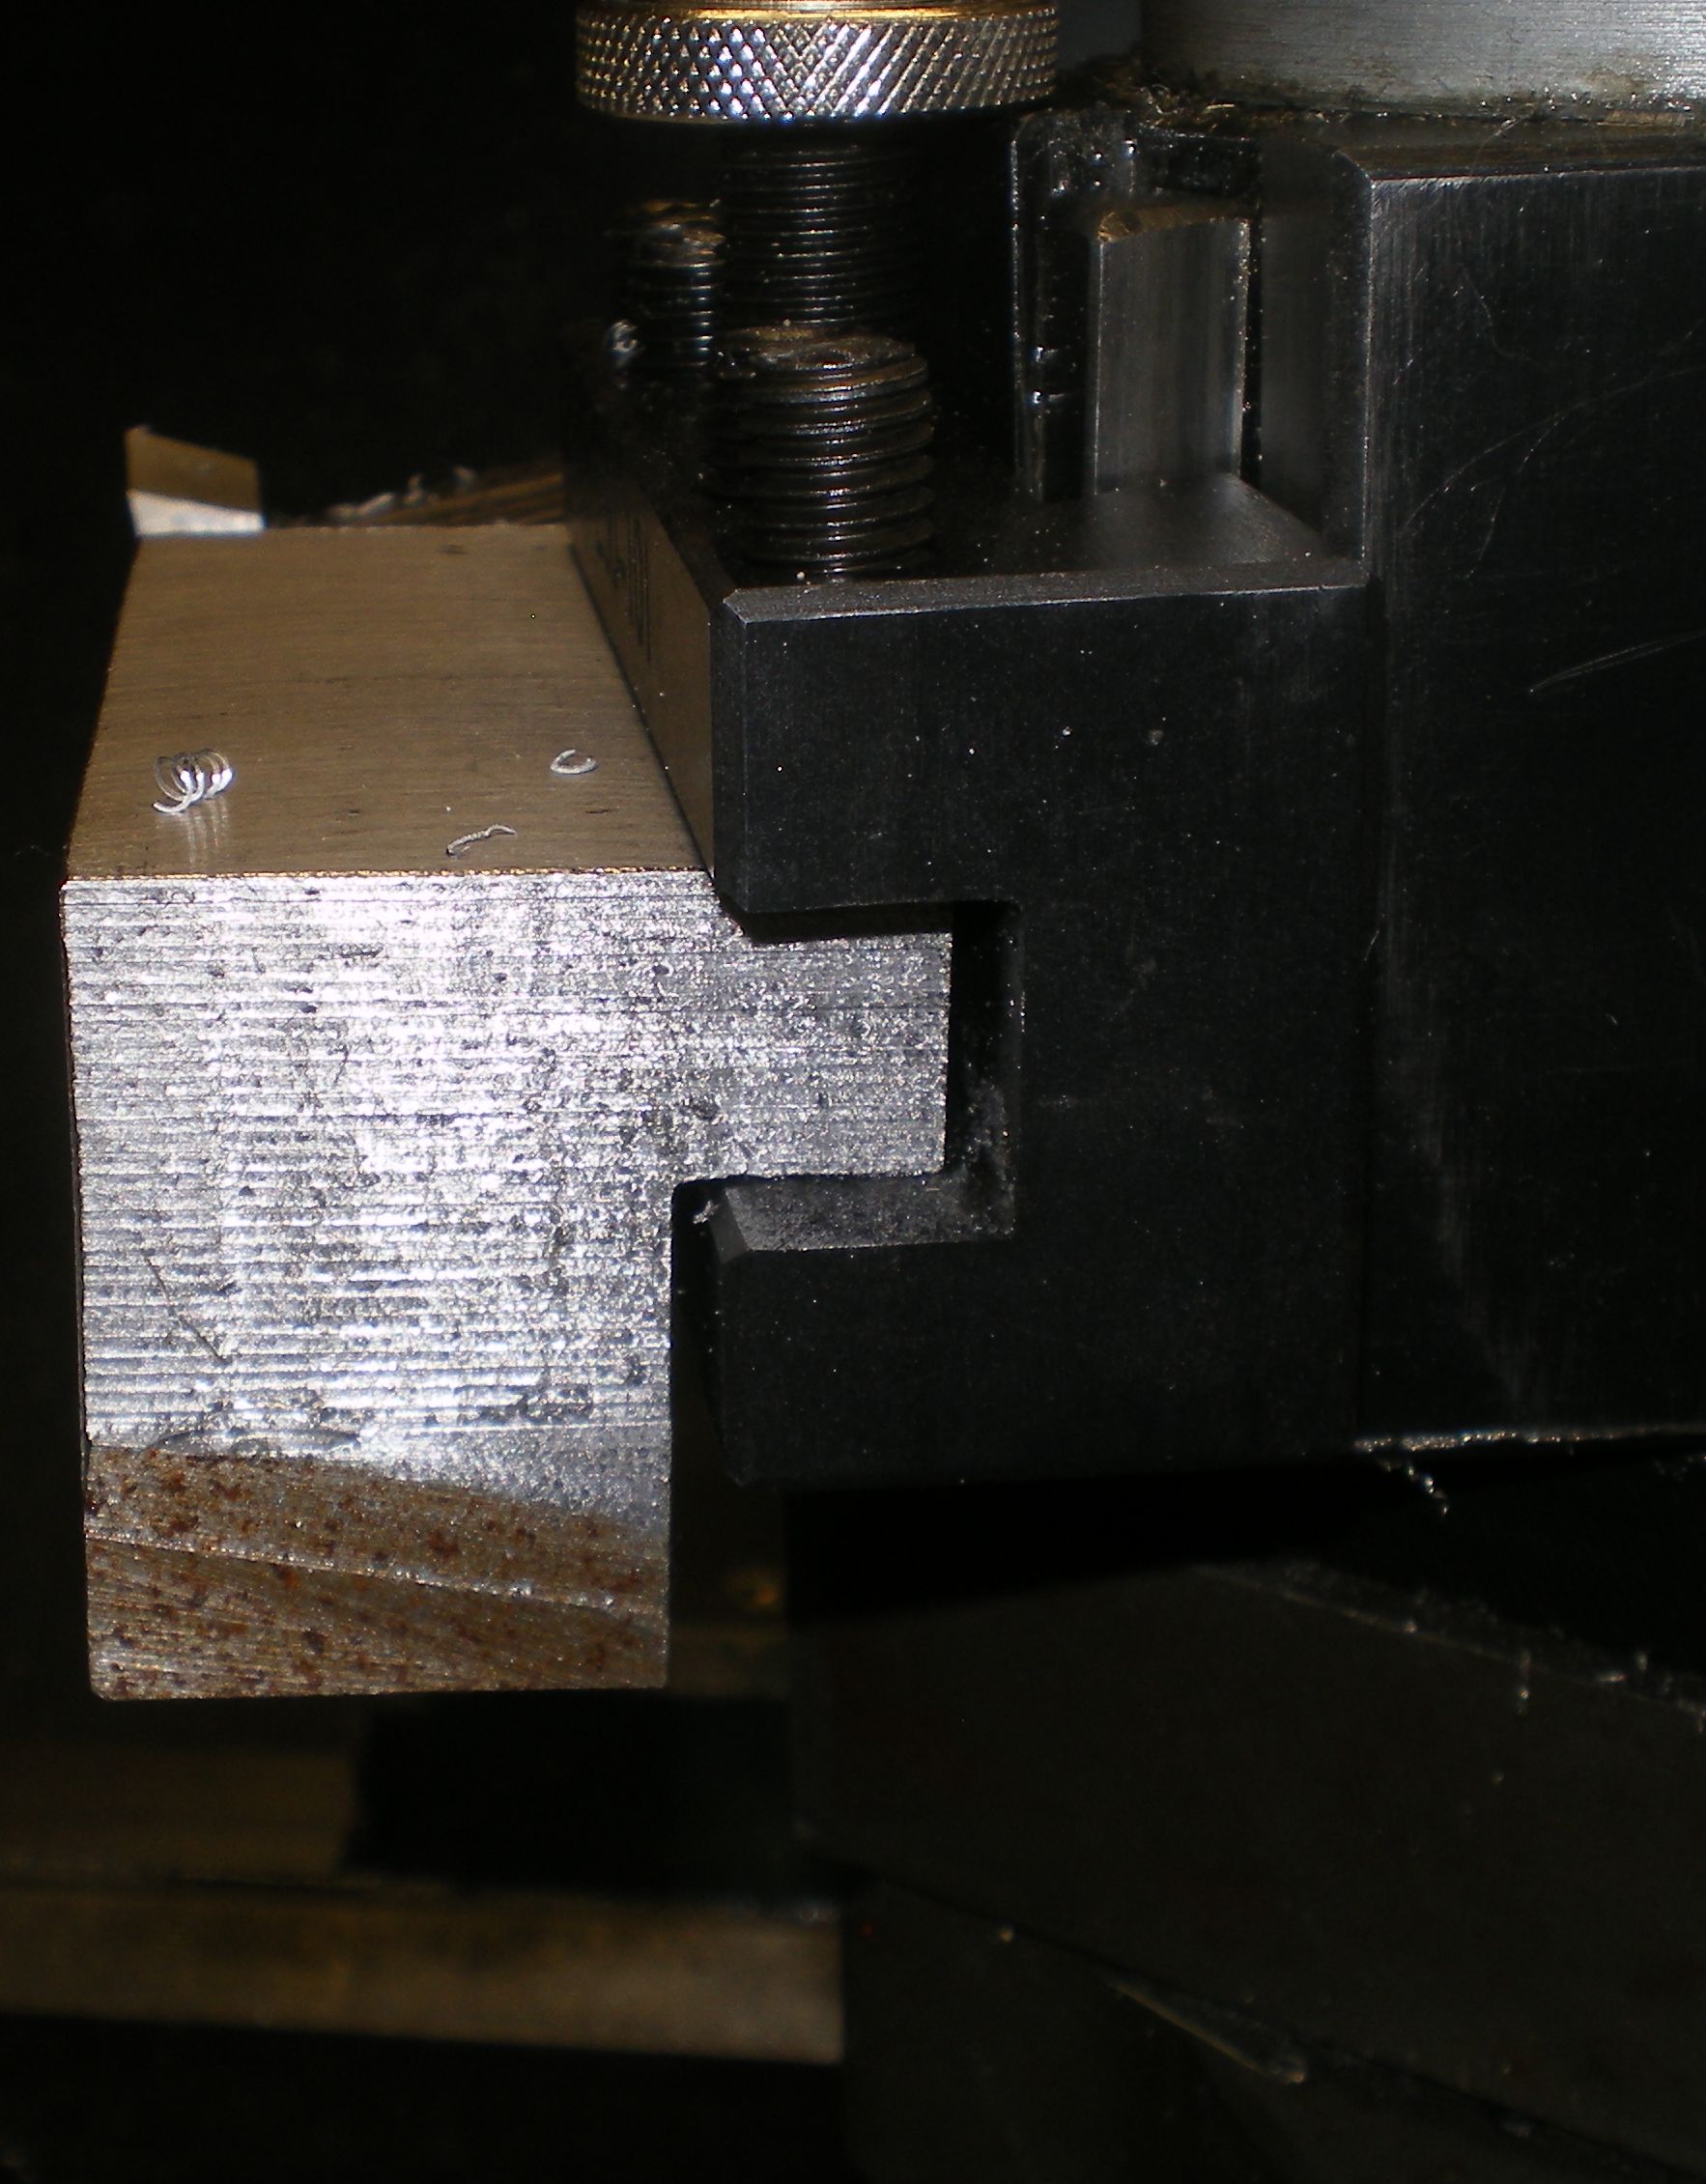
1st picture shows how little steel is left when it is cut down enough to actually get below center height. Not enough meat in the dovetails for my liking. I picked up some swarf from the chip tray and set on top. I do not think this design can come close to performing in the manner I am accustomed and I already have a fine finishing tool.
Tangential cutter Part 2.
I still want to build a tangential cutter for the 12x36. No idea why since carbide is doing so well. Sometimes you need a good finish but you need to take less than carbide yet more than the shear type finishing tool. So there is the excuse to make a more robust tool.

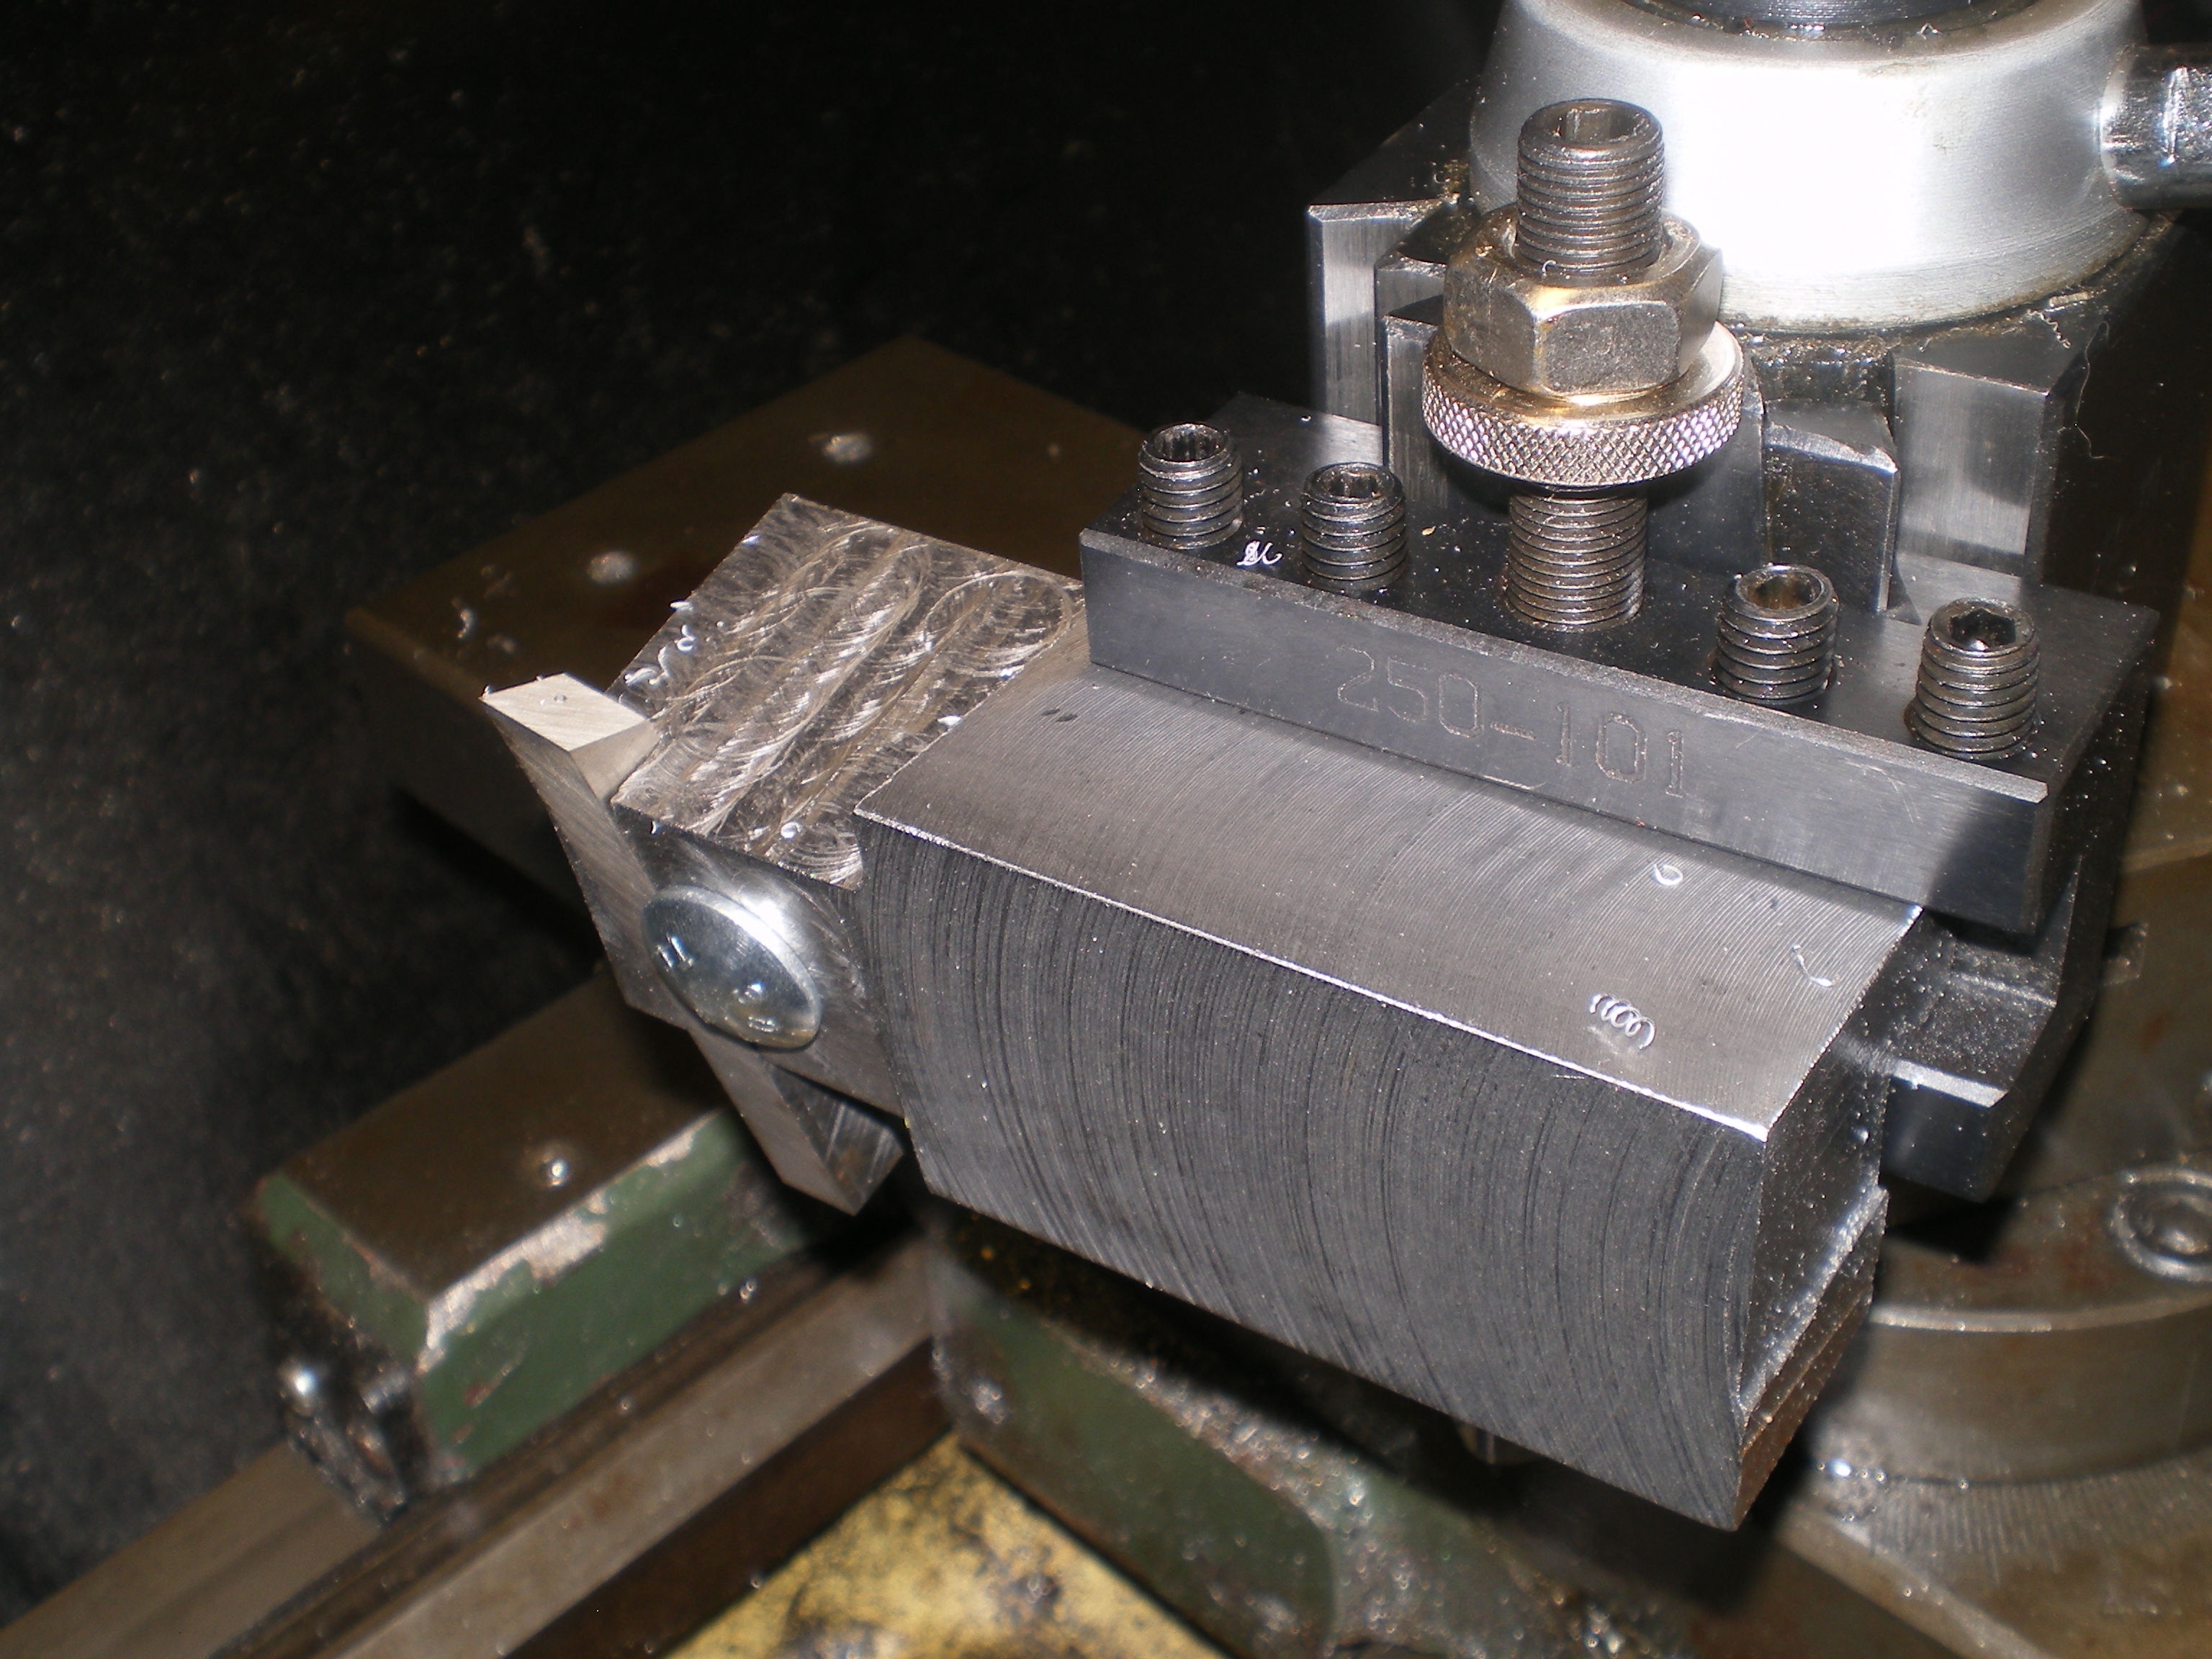
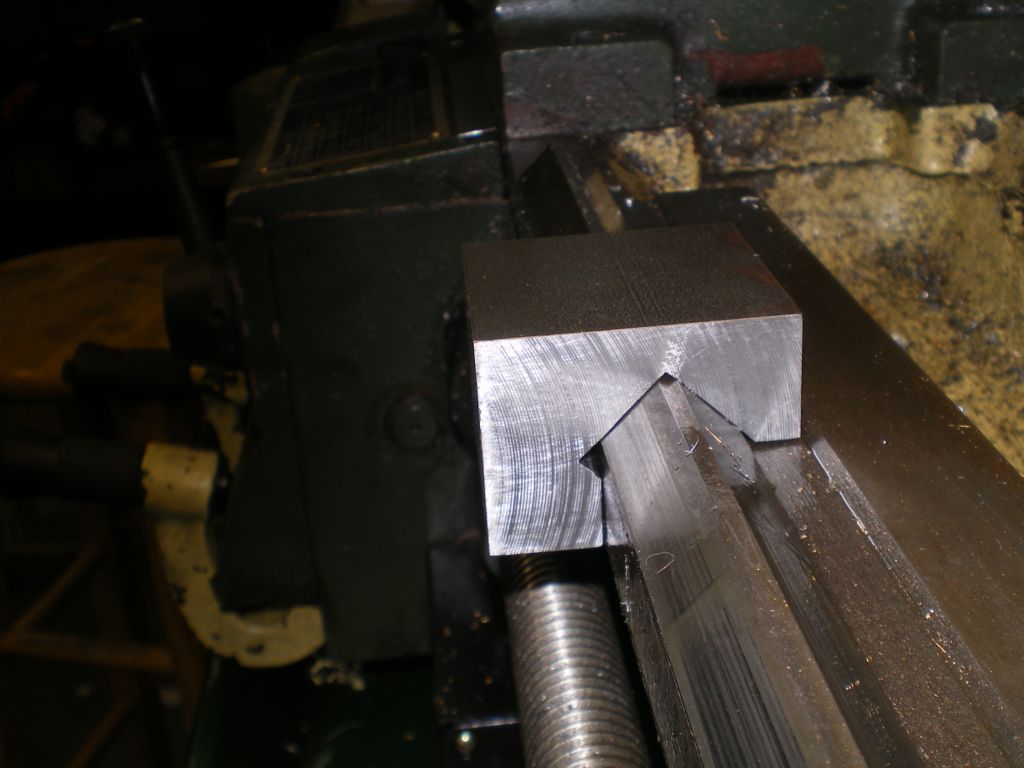
I had gotten to this point in squaring off some round stock with a design in my head. Stopping for the night I checked the forums and found this thread down at post 17 it is almost as if Hawkeye stole my plans before I even made them. So I guess I'm stealing his idea. Certainly am borrowing some details as I didn't have my plan fleshed out. So here we go with how I proceeded. Thanks for the post Hawkeye! It's great when you are inventing the wheel and someone skids to a stop on one and shows you they don't have corners!


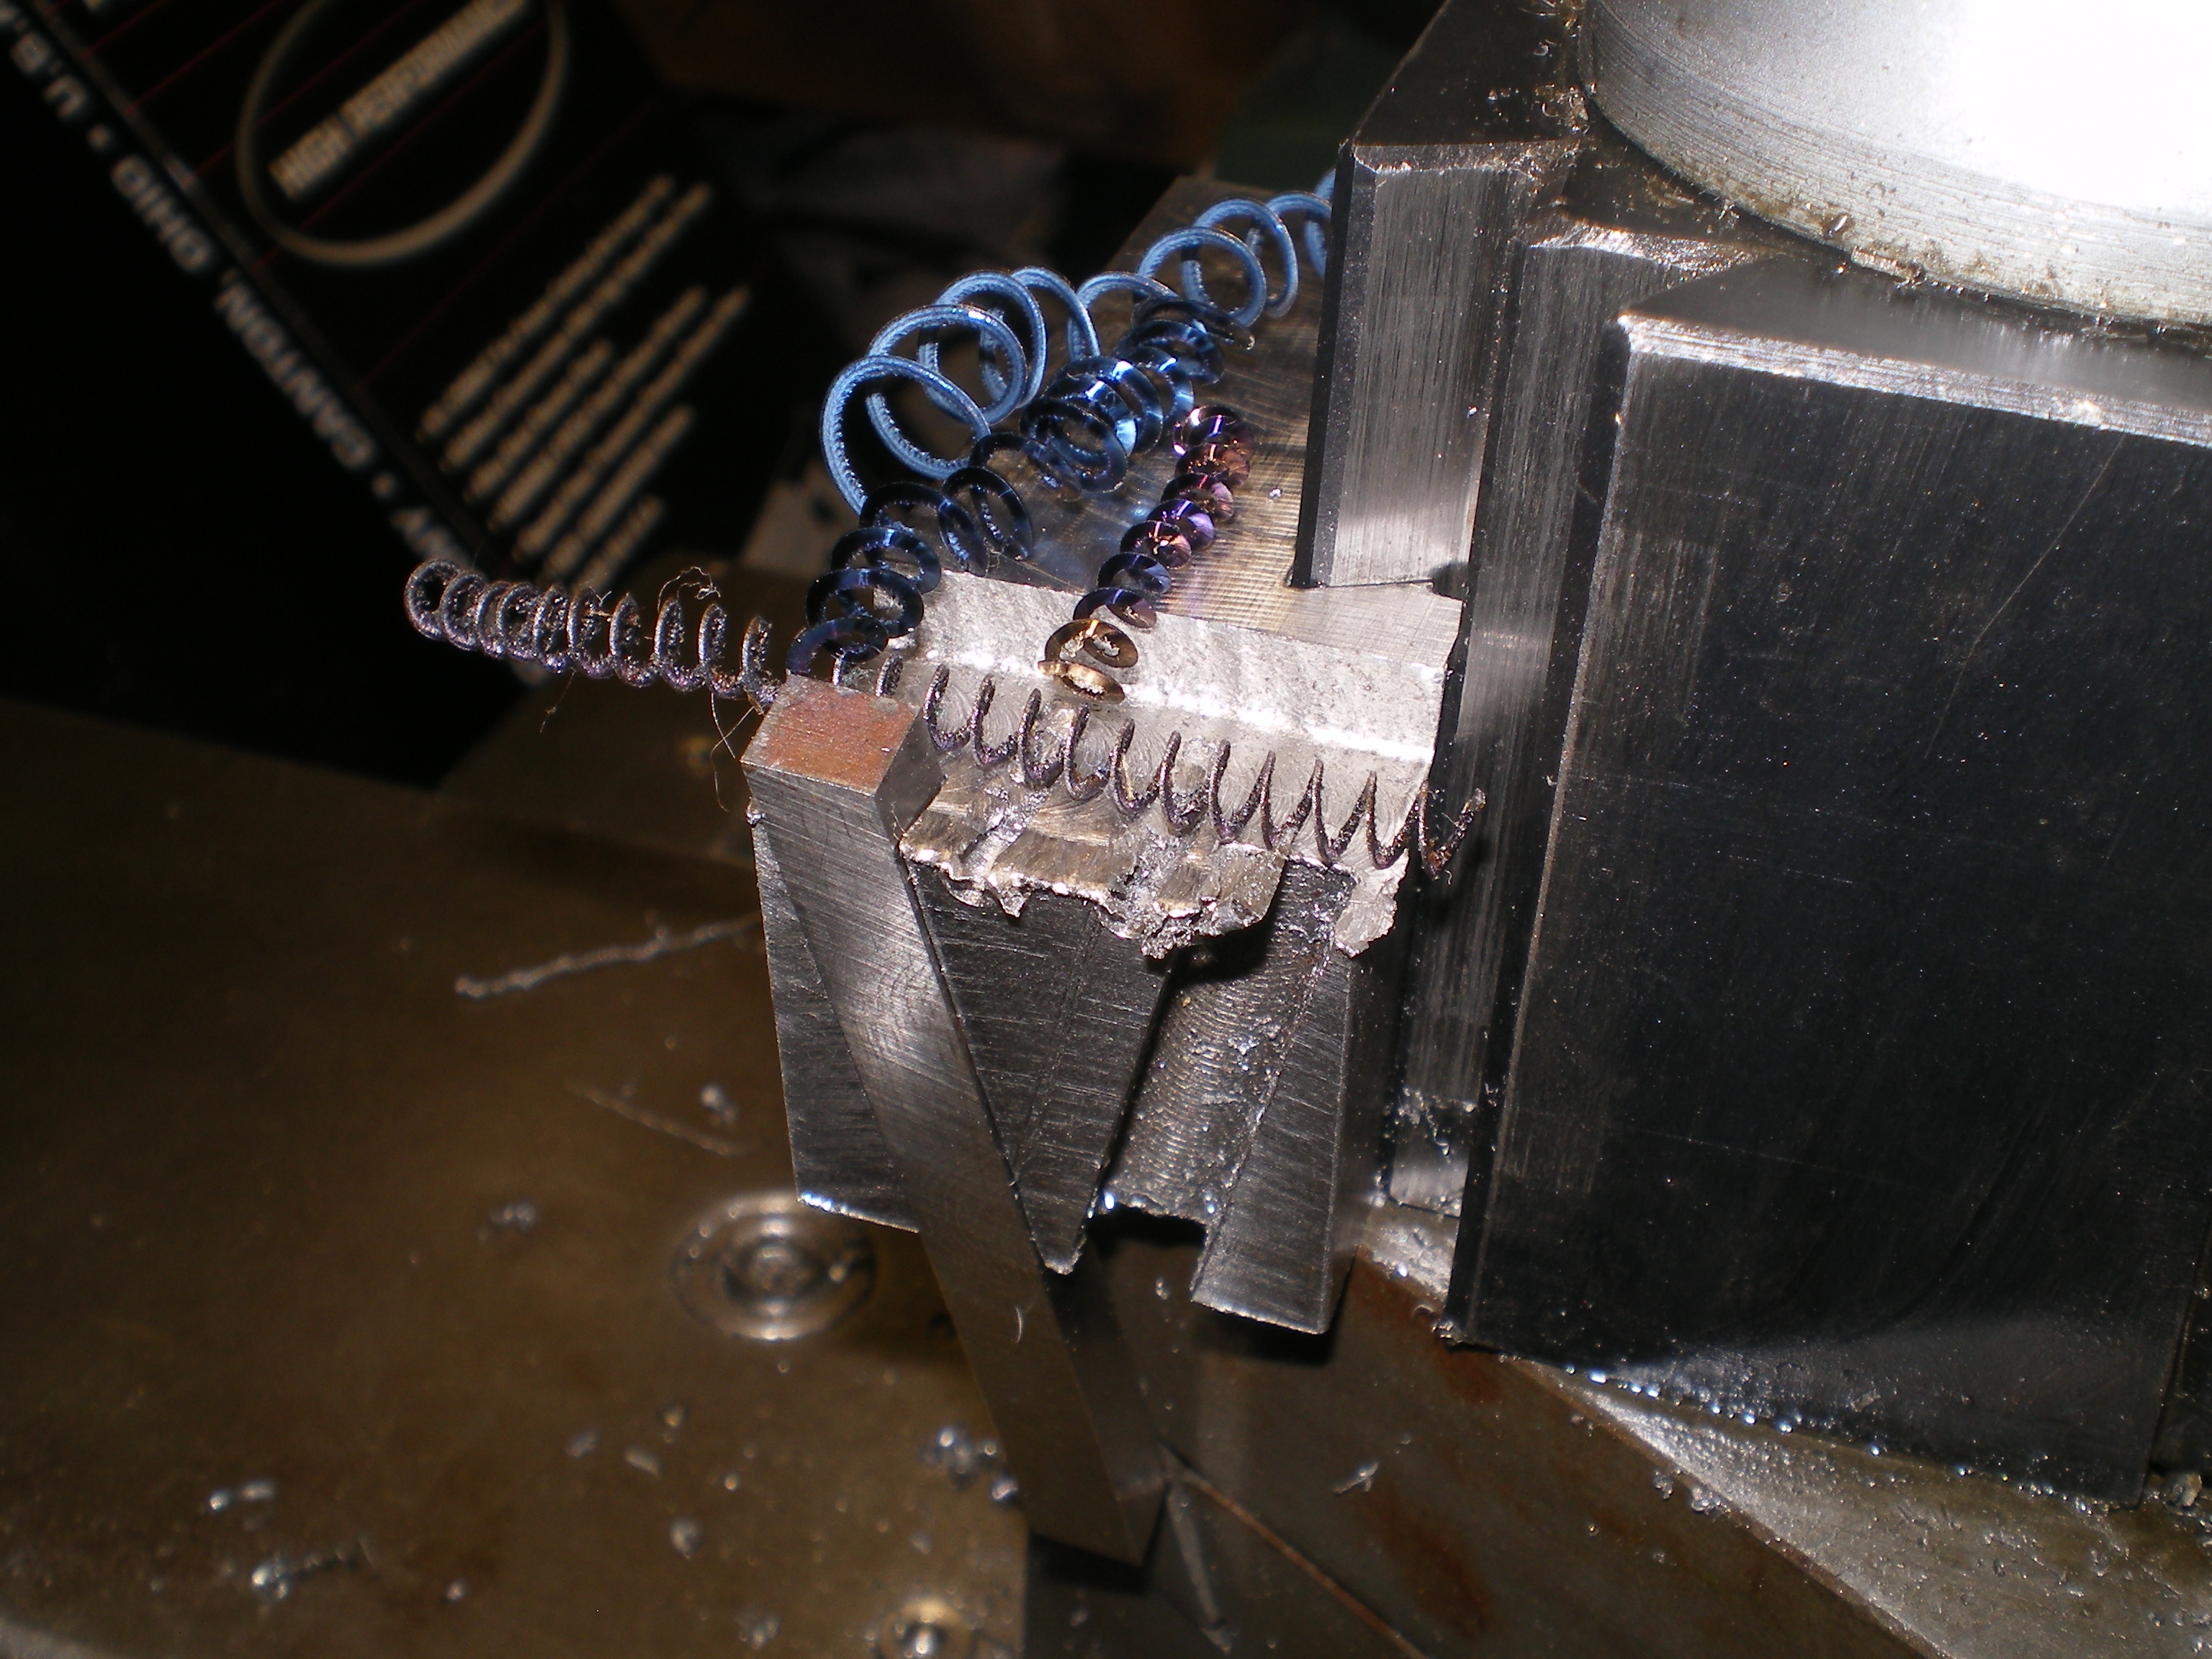
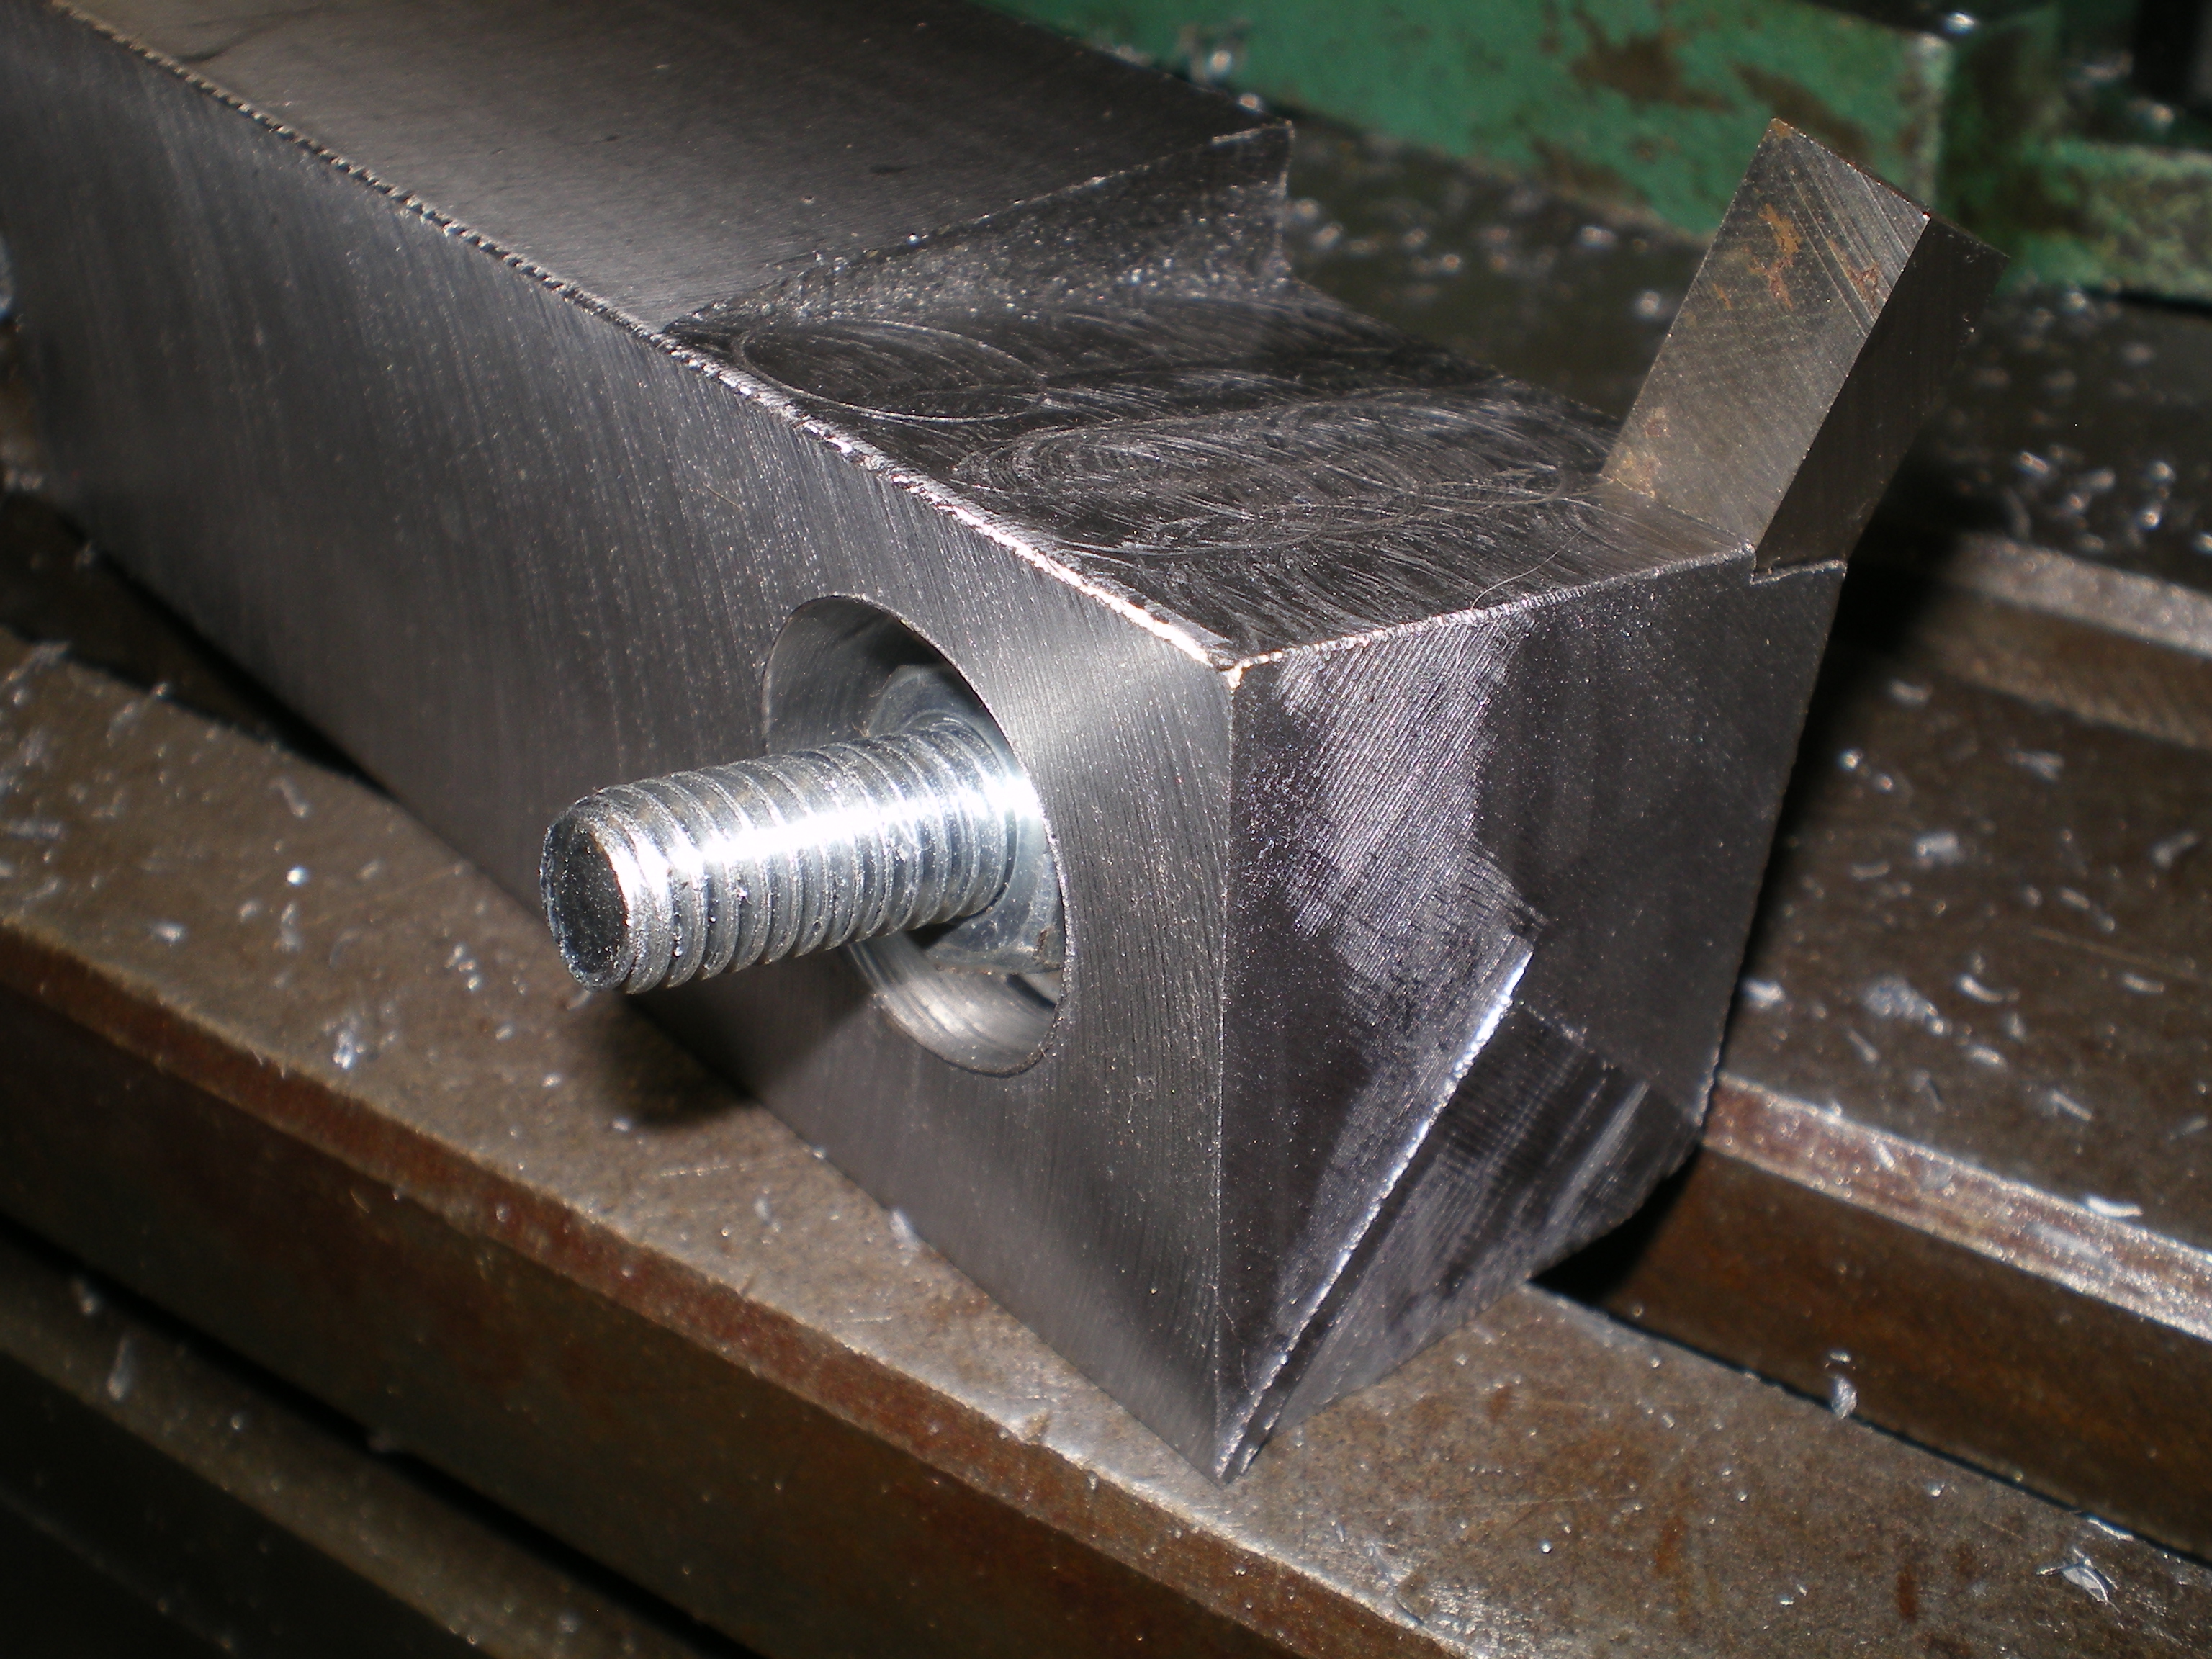
1st picture. After squaring I set the cheap angle vice to 12° and parallel to the X axis to cut the angle for the top of the tool for chip clearance.
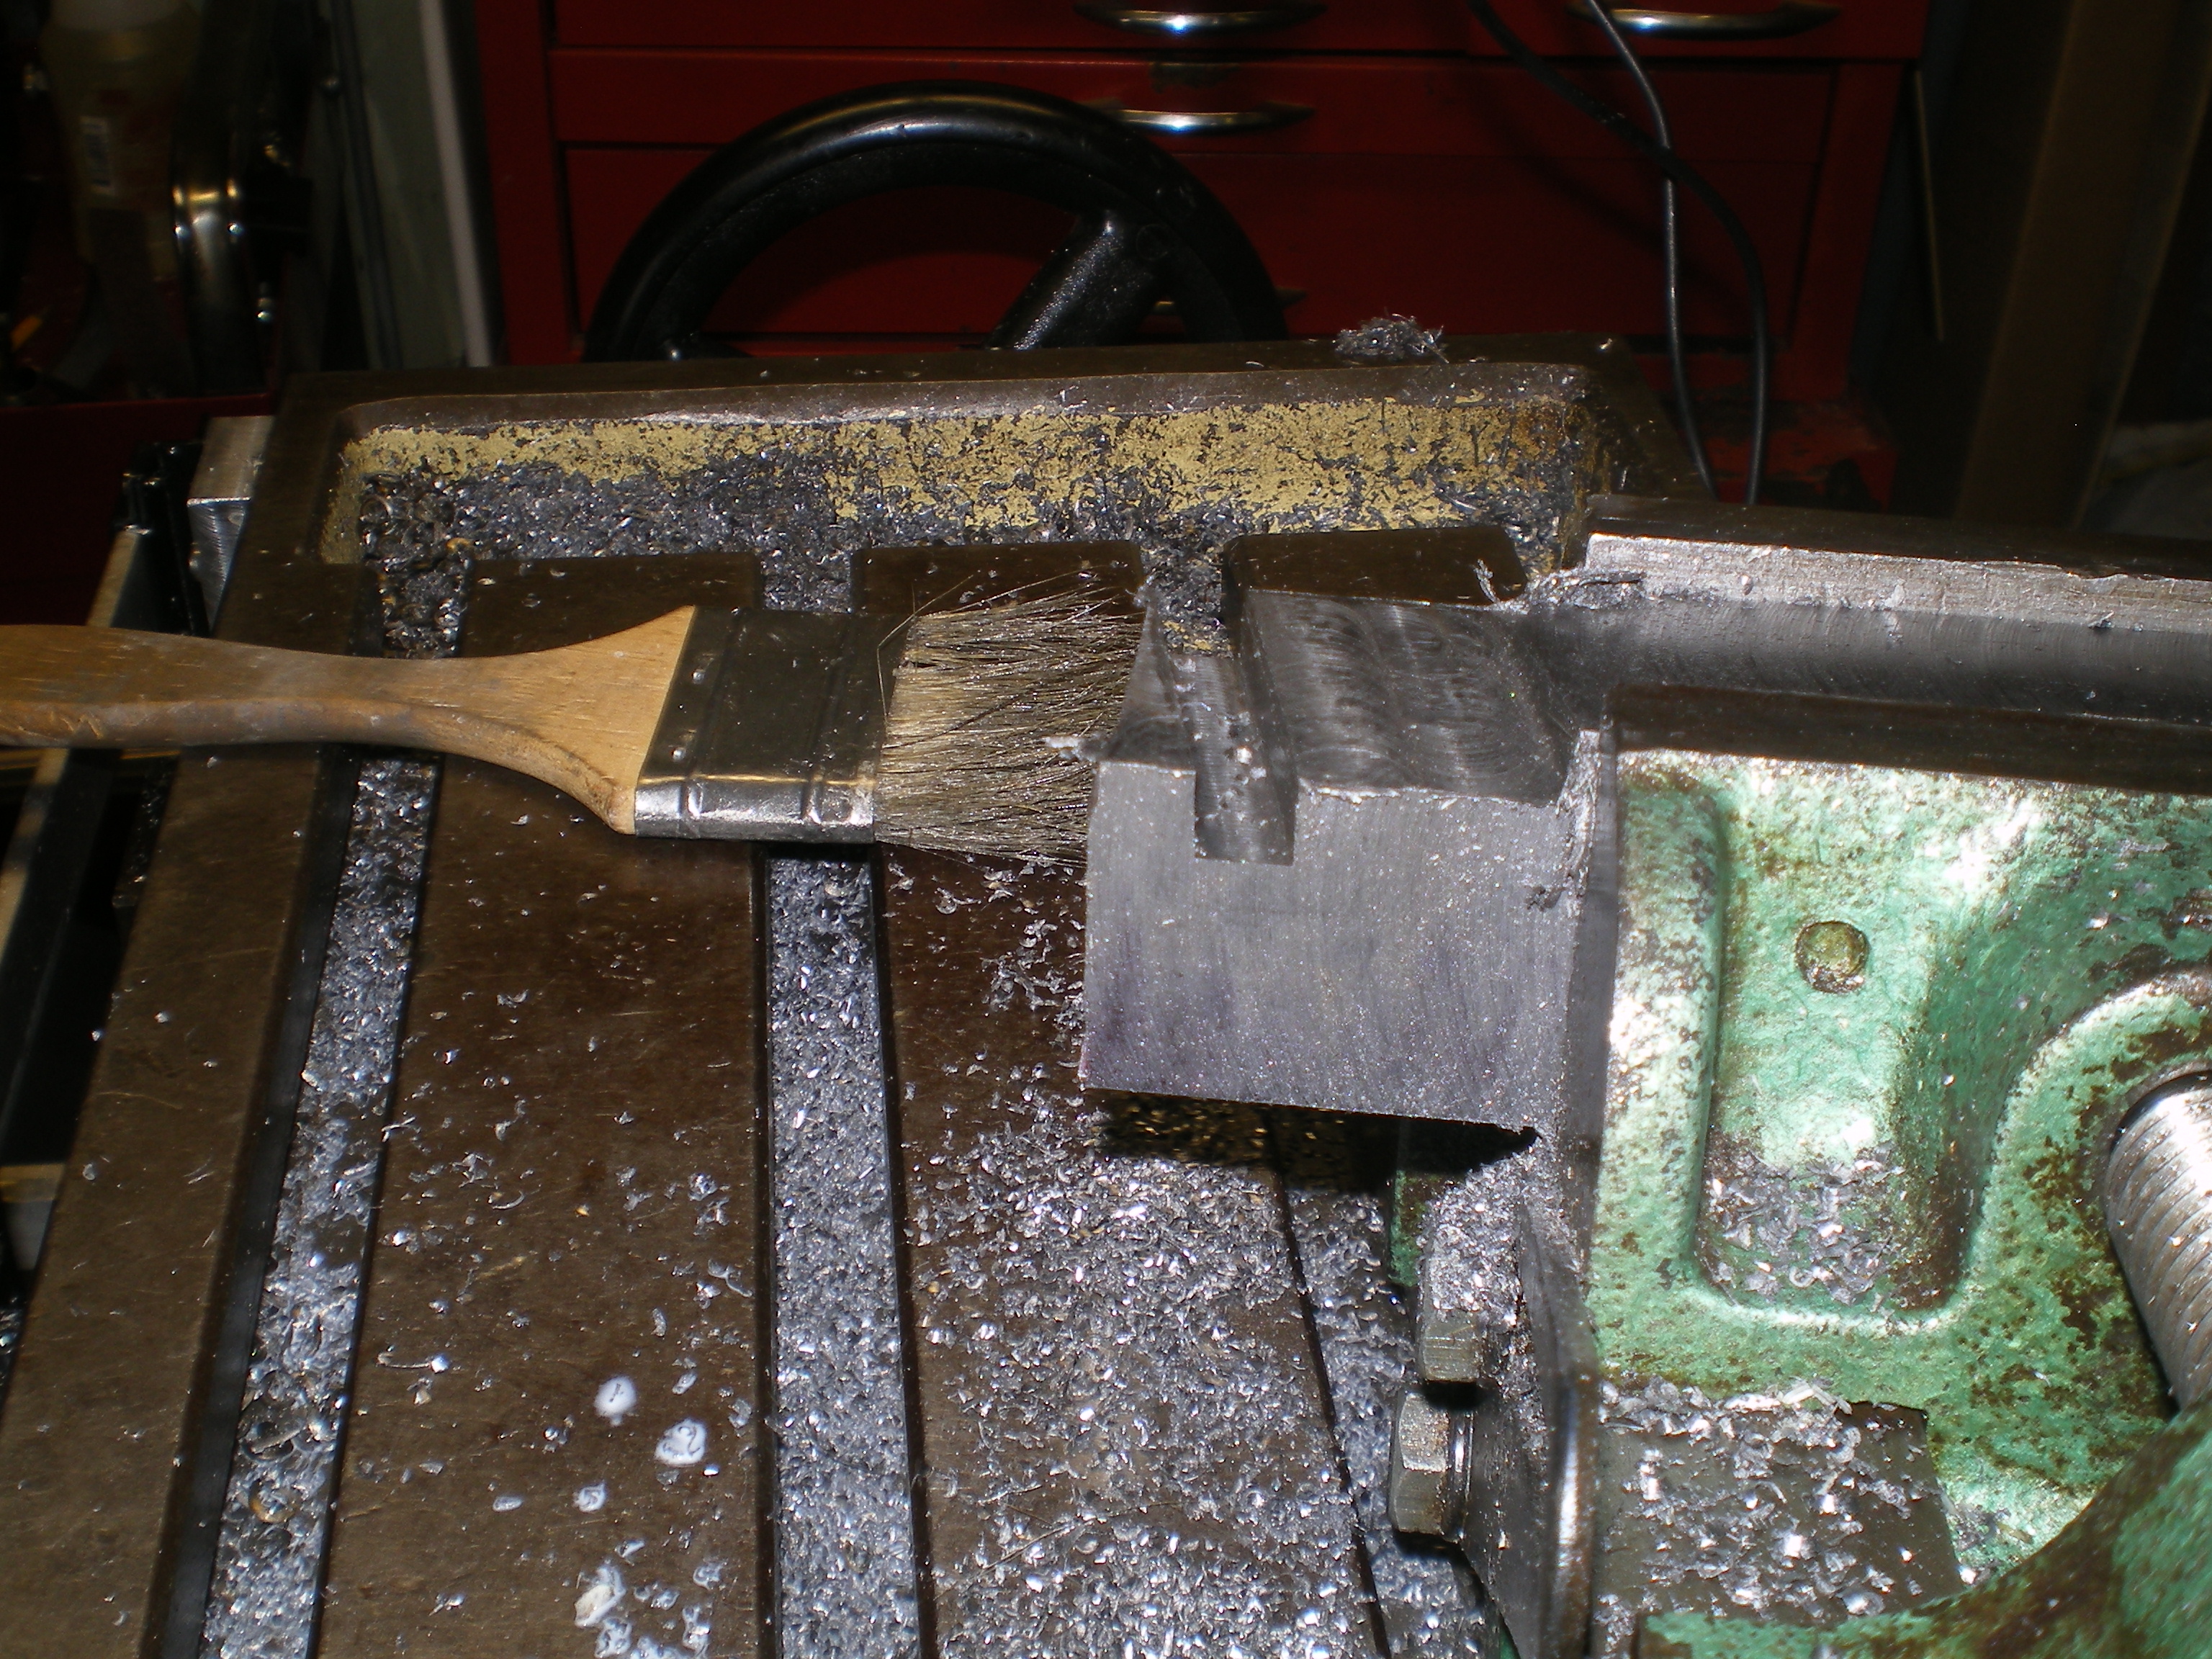
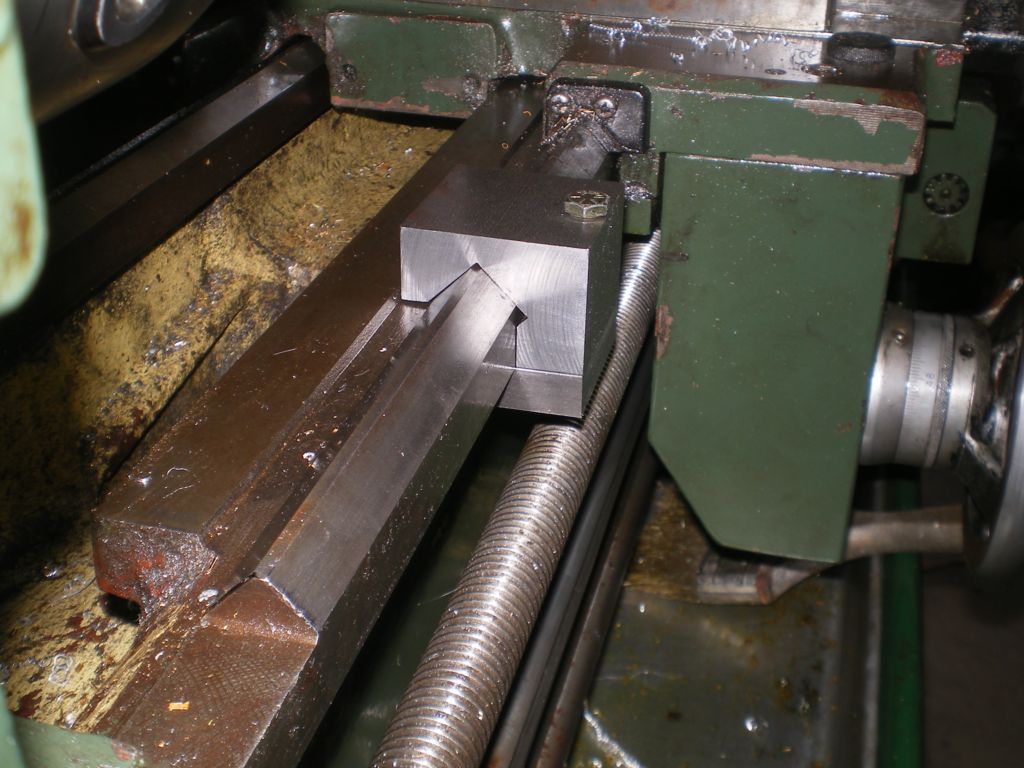
2nd picture The stock was rotated 90° to present the side that will hold the cutting tool. The vice was left at 12° and rotated 12° off the x axis, to make a compound angle. In the 3rd picture a 5/16" slot for the tool was cut with everything in the same position. I didn't have my bolt so I had to stop. The bolt hole will be drilled as it sits and I need to see what bolt I end up with.
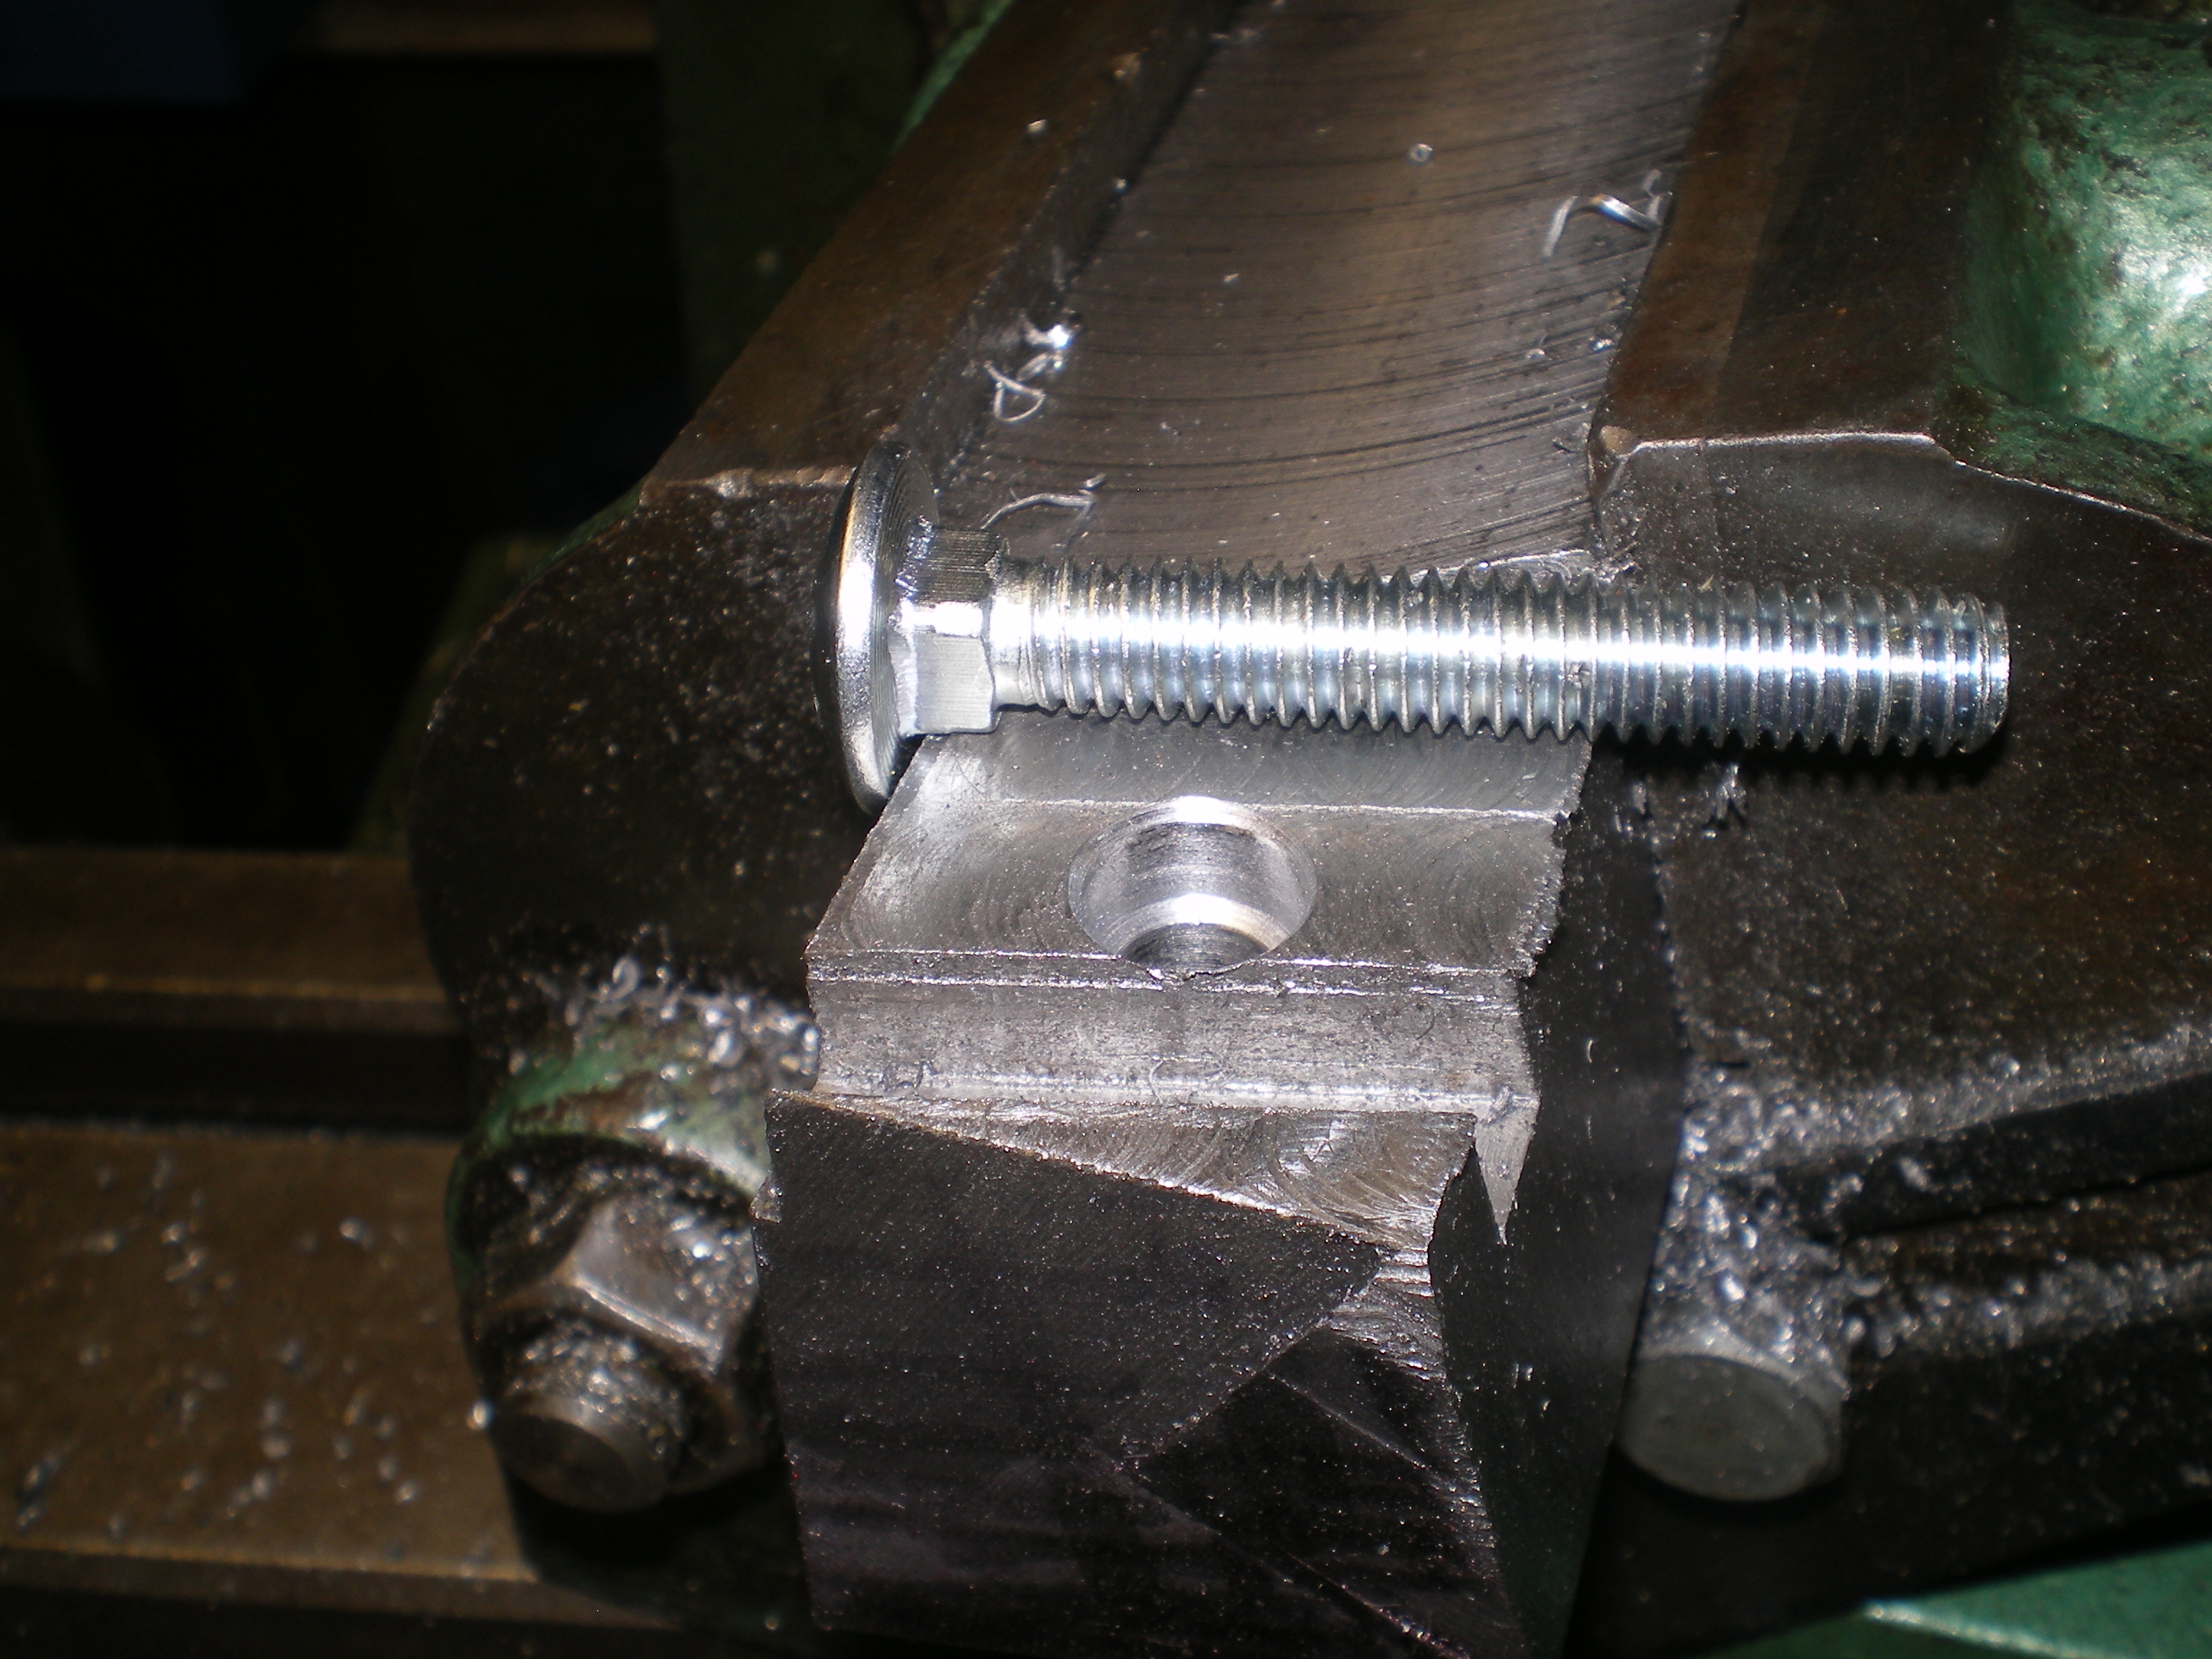

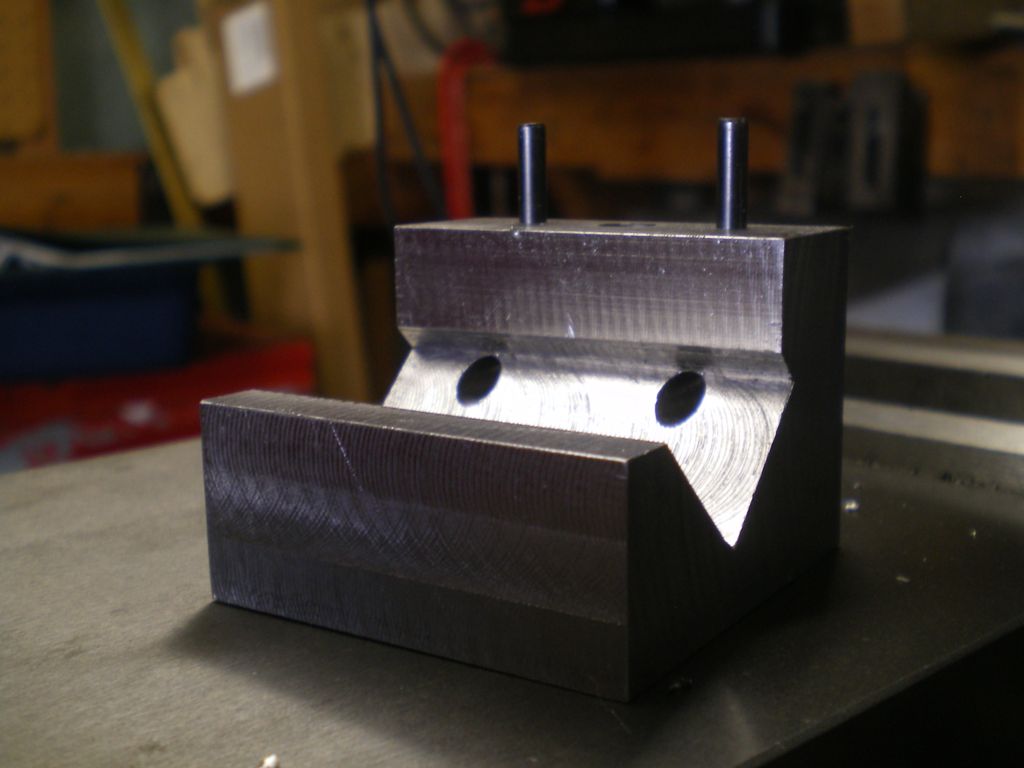
That pretty much completes the business end of the cutter holder. I couldn't find a suitable wheel stud so I went with a 5/16" carriage bolt. It will be cut 2 threads proud of flush with the nut. All that is left now is to make it fit my tool holders and finish it.
I opted to leave plenty of mass. It is now fully functional and works well. I have cleaned it up a little since the pictures were taken.
Porta Band Table

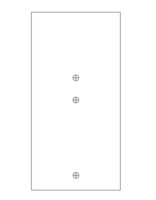
For several months now most of the stock cutting has been done by a Craig's list porta band. I had used one quiet a bit when I worked for General Foam and Plastics. Some people claim they are futile but it's all in the blade, like any other saw. Generally I have no problem with angle, and round but trying to cut straight down a square is difficult as the shoe hides the line. So I cobbled up this table for it. 3 screws to change back to the shoe or table. 2nd pic is a link to a PDF of the screw spacing as a template if printed actual size. I haven't tried any of the other designs but I like this one since the table can be clamped upside down to a stool and the saw set on top for installing the screws without wrestling with it. Even the initial assembly was smooth.
Camjack Knurler.
This project has a bunch of details so it will get it's own page. Click here!
Carriage Stop
I had been putting off making a stop for the 12x36 because I didn't see much need for one. I got bored and made one anyway. Beginning with a base that can be added to as needed.


So now we have a stop that can easily be removed by sliding off near the headstock. Nice square face for adding on. The clamp is guided by 2 pins.
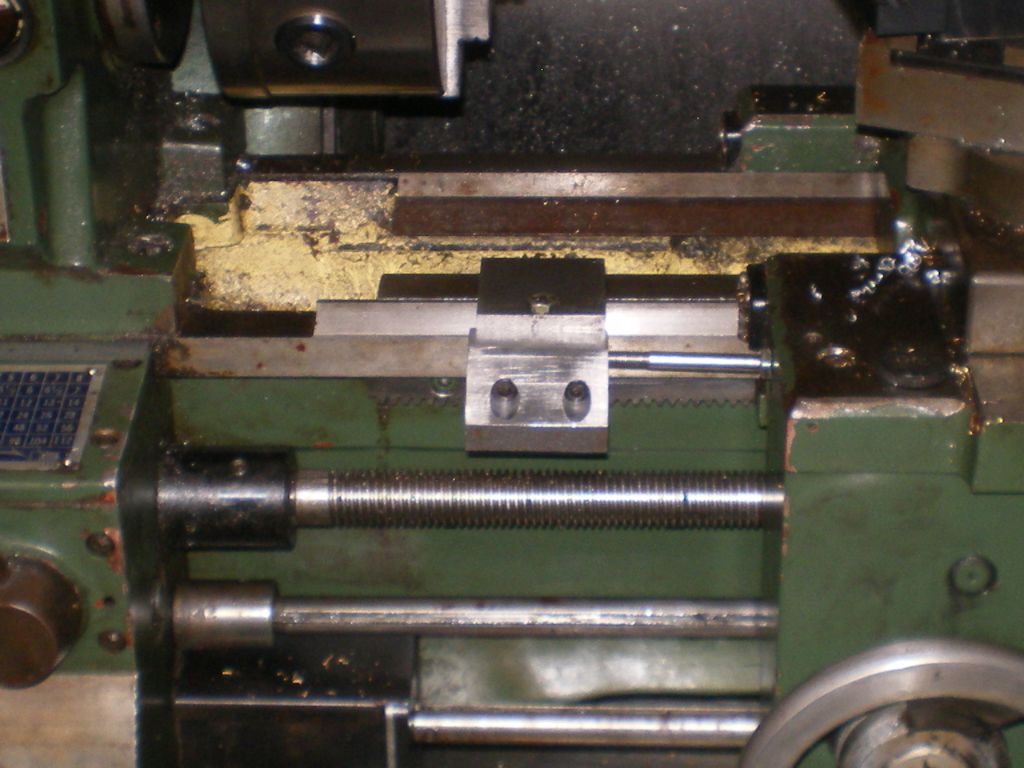
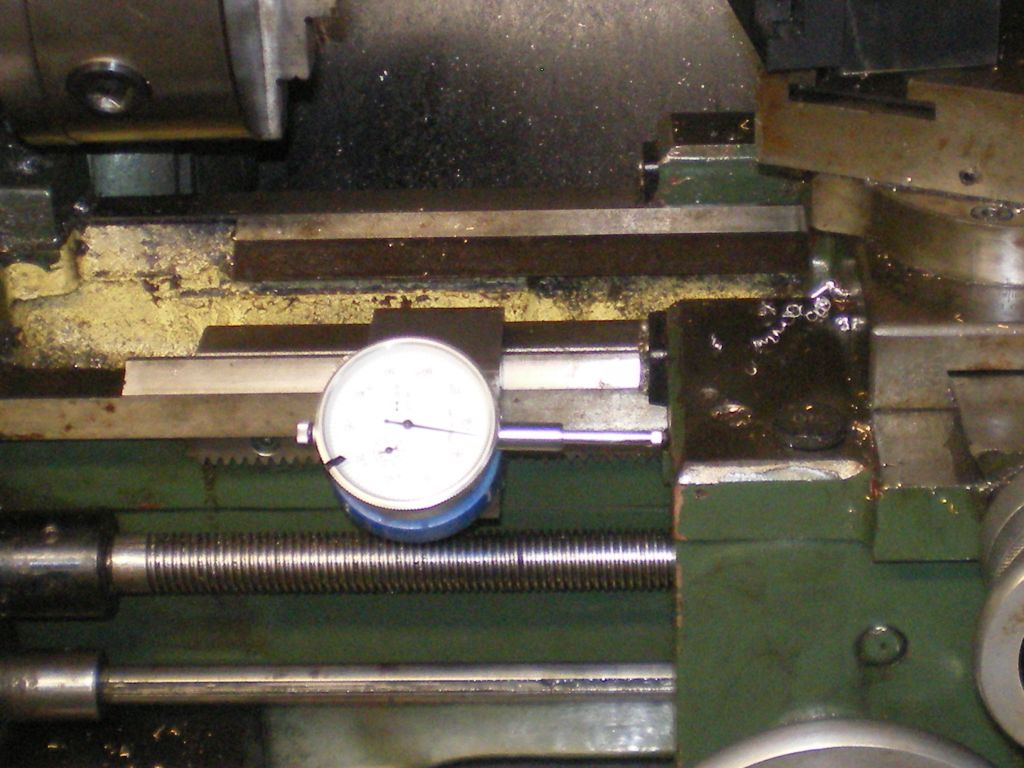
The base was drilled and tapped. A section was added with a threaded stop, and an angle for the mag back DI. It is much more stable than the mag back on the ways.
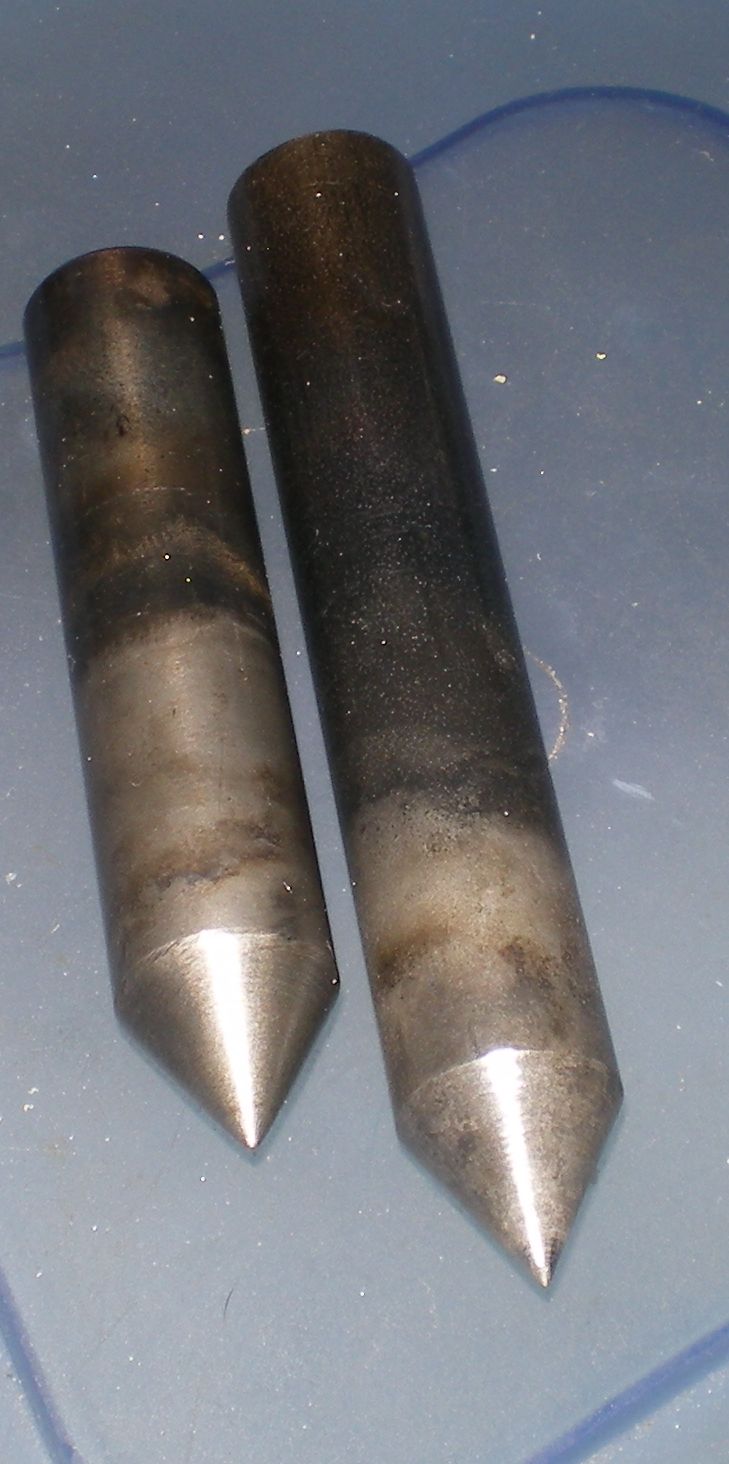
I have gotten so ravening tired of cutting the ever useful center. Rings dings and bent noses. One of these is 1018 and the other (shorter I think is A2). I have no oxy acetylene available but I do have a turbo torch. The pieces were heated with the turbo torch, coated with casenit, re-heated as hot as Ole Turbo can go and then quenched. They are file proof on the nose and should prove useful for marking and centering. I did no drawing or tempering so they won't be used for more than marking and centering.
I'm having a lot of fun with this new hobby. I'm mostly making tooling right now so as to avoid buying it later.